Save This Zesty Wendy’s Chili Recipe for a Crisp Fall Day
Memories of comfort flood my mind when thinking about Wendy’s chili, a classic dish that warms the soul on chilly afternoons.
Cold weather calls for hearty meals that hug you from the inside out.
Simple ingredients combine to create something truly magical in this beloved recipe.
Comfort food doesn’t get more satisfying than this familiar favorite.
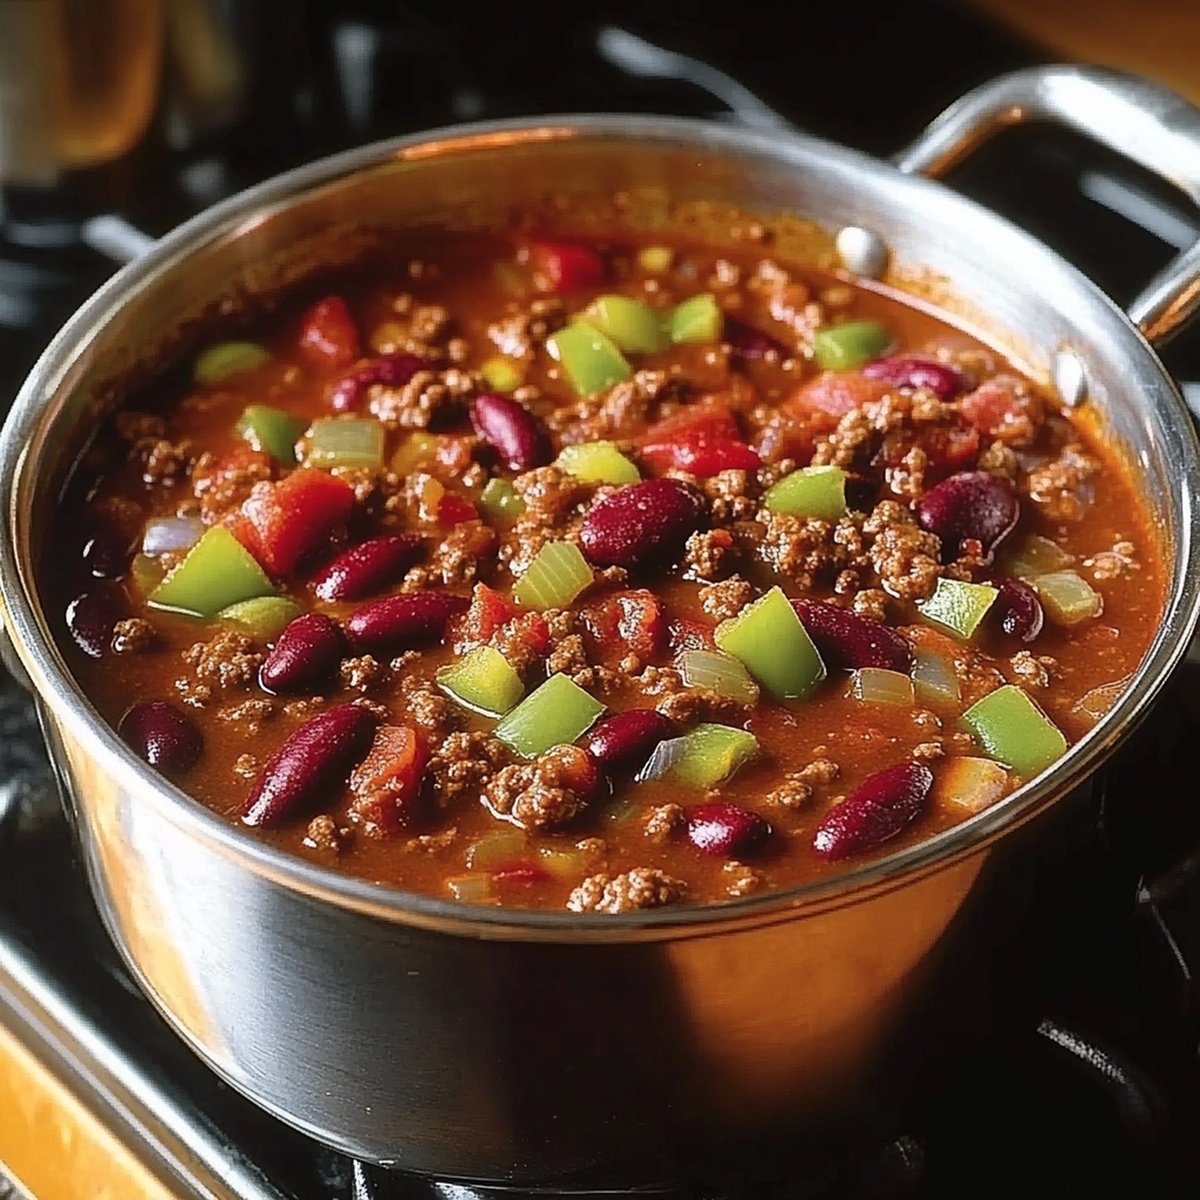
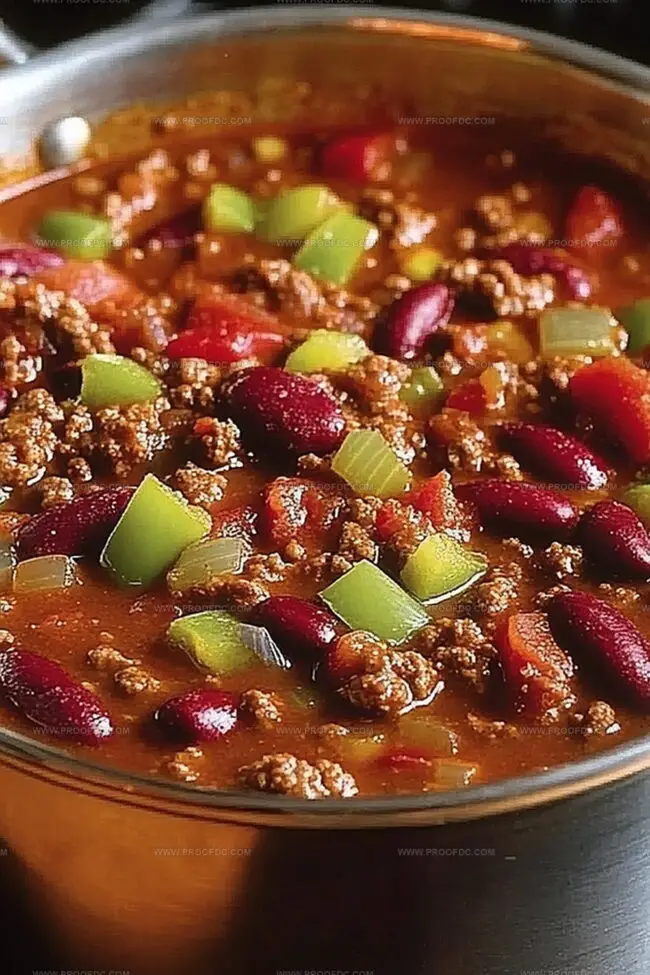
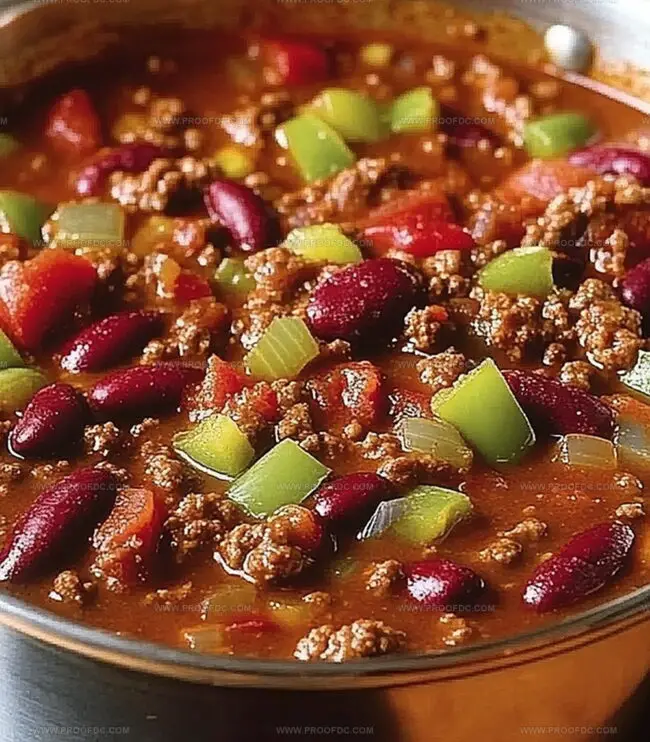
The rich blend of ground beef, beans, and secret spices makes each spoonful a delightful experience.
Gathering around the table, savoring spoonfuls of this delicious chili that brings people together.
Trust me, you’ll want to bookmark this recipe for those moments when only pure comfort will do.
Why Wendy’s Chili Save This Recipe for a Crisp Day
Ingredients Found in Wendy’s Chili Recipe
Meat Base:Vegetables:Tomato Components:Beans:Seasonings:Optional Garnishes:How to Make Wendy’s Chili with Ease
Step 1: Brown The Ground Beef
Cook ground beef in a large pot over medium heat, breaking it into small crumbles. Drain away any excess fat thoroughly to ensure a clean, rich flavor base.
Step 2: Sauté Fresh Vegetable Medley
Add these vegetables to the pot:Sauté for approximately 5 minutes until vegetables become tender and release their aromatic oils.
Step 3: Create Tomato Liquid Foundation
Pour into the pot:Stir ingredients completely to create a smooth, rich liquid base.
Step 4: Incorporate Hearty Beans And Spices
Mix in these ingredients:Blend all components thoroughly to distribute flavors evenly.
Step 5: Simmer And Develop Flavors
Bring mixture to a rapid boil, then reduce heat to low. Cover and let simmer for 1-1.5 hours, stirring occasionally. This slow cooking process allows flavors to meld and intensify.
Step 6: Serve And Garnish
Ladle hot chili into serving bowls. Optional garnishes include:Enjoy your homemade Wendy’s style chili!
Top Tips for Wendy’s Chili You’ll Love
How to Reheat and Store Wendy’s Chili Like a Pro
What Goes Great with Wendy’s Chili
Tasty Tweaks to Wendy’s Chili Save This Recipe
FAQs for Wendy’s Chili Fans
Wendy’s Chili is famous for its hearty, comforting flavor that comes from slow-simmering ground beef with a perfect blend of beans, tomatoes, and signature spices. The secret is in letting the chili cook low and slow to develop deep, rich flavors.
Absolutely! Adjust the cayenne pepper to control the heat. For a milder version, reduce or omit the cayenne. If you love extra kick, add more cayenne or even some hot sauce to boost the spice level to your liking.
Yes! This chili is super economical. It uses simple, affordable ingredients like ground beef, canned beans, and common spices. One batch can easily feed a crowd and tastes even better as leftovers, making it a wallet-friendly meal option.
Totally! While the recipe calls for kidney and pinto beans, you can experiment with black beans, red beans, or a mix of your favorite beans. Just keep the total bean quantity similar to maintain the chili’s classic texture.
Print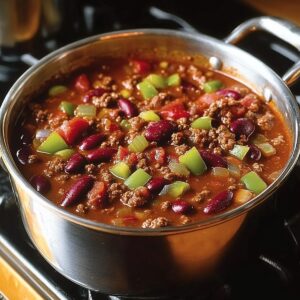
Wendys Chili Save This Recipe For A Crisp Recipe
- Total Time: 1 hour 30 minutes
- Yield: 8 1x
Description
Wendy’s chili brings comfort and warmth to classic American comfort cuisine. Hearty beef, tender beans, and signature spices create a satisfying meal perfect for chilly days and casual dining enjoyment you’ll crave again and again.
Ingredients
Meat and Protein:
- 2 lbs (900 g) ground beef
- 1 (15 oz / 425 g) can kidney beans, drained and rinsed
- 1 (15 oz / 425 g) can pinto beans, drained and rinsed
Vegetables and Tomato Base:
- 1 medium onion, diced
- 1 green bell pepper, diced
- 2 stalks celery, diced
- 1 (28 oz / 800 g) can diced tomatoes, undrained
- 1 (14 oz / 400 g) can tomato sauce
- 1 (10 oz / 280 g) can diced tomatoes with green chilies (e.g., Rotel)
Seasonings and Liquid:
- 1 cup (240 ml) water
- 2 tablespoons chili powder
- 1 teaspoon ground cumin
- 1 teaspoon garlic powder
- ½ teaspoon onion powder
- ½ teaspoon cayenne pepper (adjust to taste)
- 1 teaspoon salt (or to taste)
- ½ teaspoon black pepper
Instructions
- Brown the ground beef in a spacious pot over medium flame, crumbling it thoroughly while cooking. Eliminate excess grease through careful draining.
- Introduce diced onions, green bell peppers, and celery into the beef-filled pot. Sauté the vegetables until they transform into a soft, translucent mixture, approximately 4-5 minutes.
- Pour in diced tomatoes, tomato sauce, fire-roasted tomatoes with green chilies, and water. Stir the liquid components to create a harmonious base.
- Integrate kidney and pinto beans into the simmering mixture. Sprinkle chili powder, cumin, garlic powder, onion powder, cayenne pepper, salt, and black pepper across the surface. Mix thoroughly to distribute seasonings evenly.
- Escalate the temperature momentarily to trigger boiling, then immediately reduce heat to a gentle simmer. Cover the pot and allow the chili to develop deep, rich flavors for approximately 1-1.5 hours. Occasionally stir to prevent ingredient settlement.
- Transfer the aromatic chili into serving bowls. Enhance the presentation with optional garnishes like shredded cheese, dollops of sour cream, freshly chopped green onions, or crisp oyster crackers.
Notes
- Optimize browning by using high-quality ground beef with moderate fat content for deeper flavor development.
- Drain excess fat thoroughly to prevent greasy chili, using a colander or paper towels to remove unwanted oil.
- Enhance vegetable preparation by finely dicing onions, peppers, and celery to ensure even cooking and better texture integration.
- Experiment with bean variations like black beans or cannellini for unique taste profiles and added nutritional diversity.
- Control spice levels by adjusting cayenne pepper and chili powder amounts, allowing customization for different heat tolerances.
- Maximize flavor depth by allowing chili to rest overnight, which helps ingredients meld and intensify taste complexities.
- Consider using a slow cooker for more convenient, hands-off cooking method with consistent temperature and minimal stirring required.
- Prep Time: 15 minutes
- Cook Time: 1 hour 15 minutes
- Category: Lunch, Dinner, Snacks
- Method: Simmering
- Cuisine: American
Nutrition
- Serving Size: 8
- Calories: 153
- Sugar: 3 g
- Sodium: 477 mg
- Fat: 6 g
- Saturated Fat: 2 g
- Unsaturated Fat: 4 g
- Trans Fat: 0 g
- Carbohydrates: 16 g
- Fiber: 5 g
- Protein: 10 g
- Cholesterol: 42 mg
Jenna Stewart
Head Chef & Recipe Innovator
Expertise
Farm-to-Table Cooking; Seasonal Menu Development; Visual Plating Techniques; Flavor Layering and Simple Prep Hacks.
Education
The Culinary Institute of America, Hyde Park, NY
Jenna Stewart is the inventive spirit behind many of our standout dishes at Pro of Delicious Creations. A proud graduate of The Culinary Institute of America, she built her skills mastering both classic recipes and fresh, modern twists.
Now, Jenna celebrates the beauty of seasonal, local ingredients, often sourced from her garden and nearby markets, to create recipes that are bursting with flavor yet easy to follow. When she’s not experimenting in the kitchen, Jenna loves exploring nature on hikes and discovering new treasures at local co-ops.