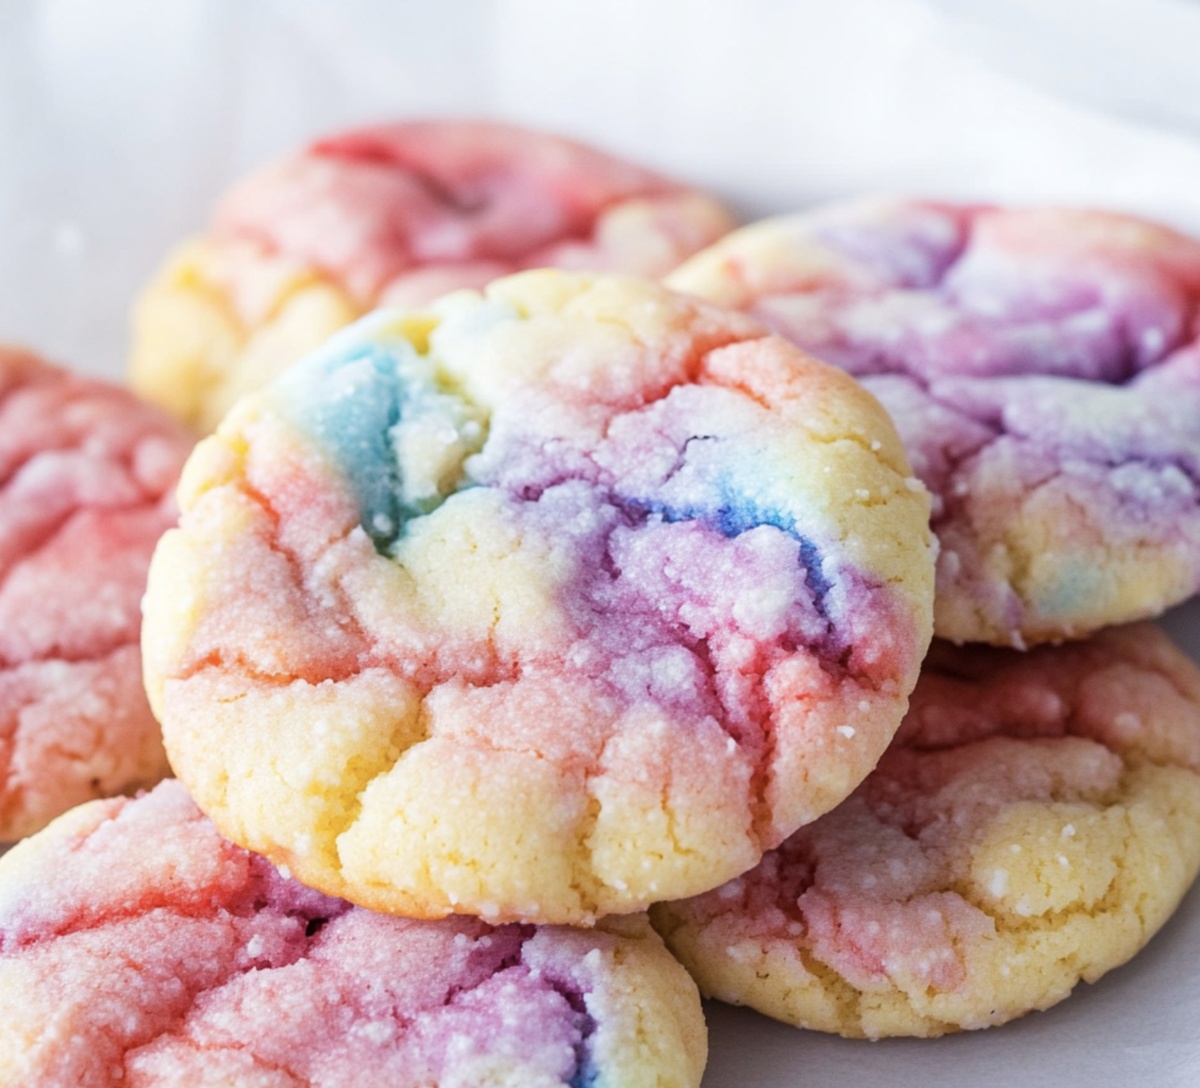
Rainbow Swirl Tie Dye Cookies Recipe: Colorful Sweet Fun!
Swirling colors burst onto classic sugar cookies with this vibrant tie dye cookies recipe that turns ordinary baking into an artistic adventure.
Soft, buttery dough becomes a canvas for bright, playful designs that spark joy in every bite.
Bakers of all skill levels can easily create these stunning treats using simple ingredients and a few clever techniques.
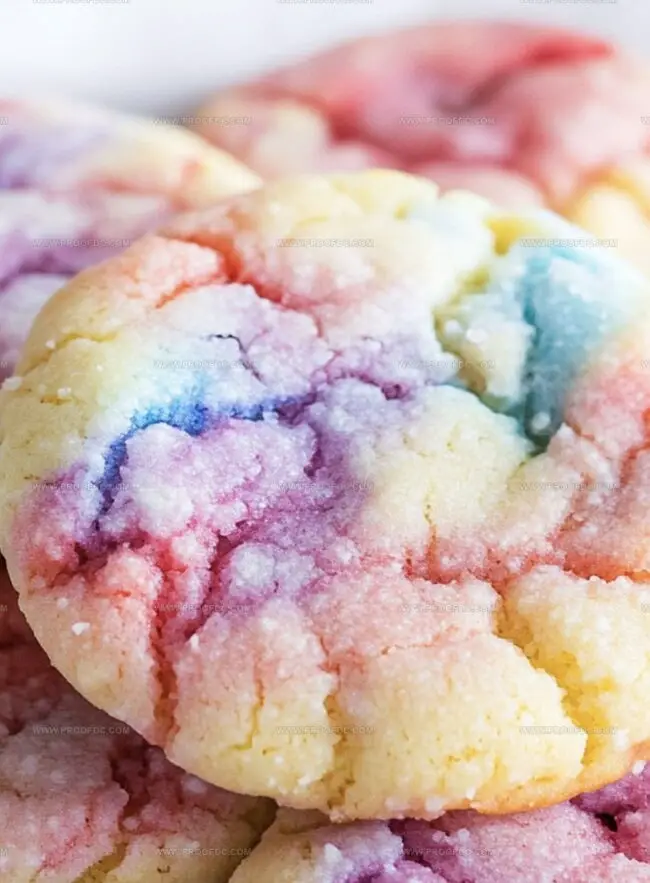
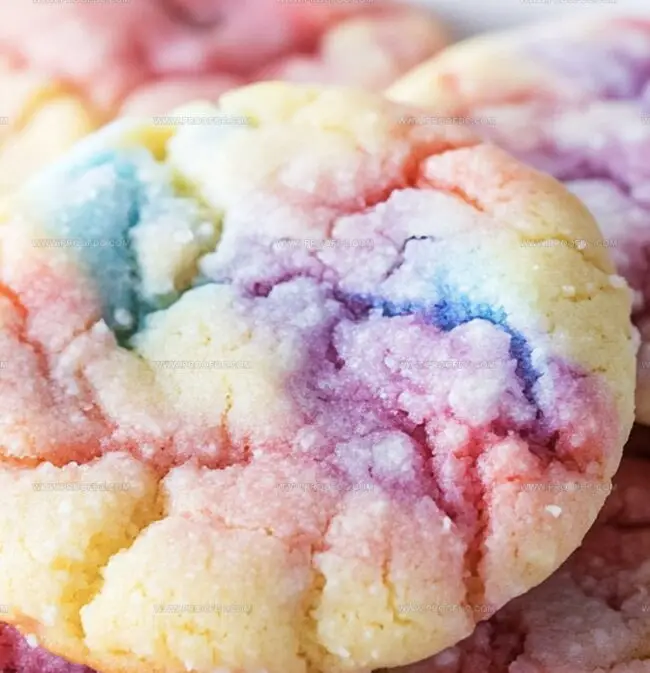
The colorful swirls dance across each cookie, making them as fun to create as they are delicious to eat.
Mixing food coloring with precision creates mesmerizing patterns that look almost too beautiful to devour.
Children and adults alike will love the whimsical, eye-catching results of this playful recipe.
Dive into a world of edible art that transforms a basic sugar cookie into a celebration of color and creativity.
Quick Recipe Overview
Ingredients For Tie Dye Cookies That Pop With Color
For Base Dry Ingredients:For Wet Binding Ingredients:For Decorative And Coloring Ingredients:Tools To Shape And Bake Tie Dye Cookies With Ease
How To Make Tie Dye Cookies Step By Step
Craft a delightful cookie base by blending flour, butter, sugar, egg, and vanilla into a smooth, dreamy mixture. The secret is creating a soft, pliable dough that will become your colorful canvas.
Separate your dough into exciting sections and introduce vibrant gel colors. Gently knead each portion until the hues dance throughout the dough, creating a playful palette of possibilities.
Playfully combine different colored dough pieces, pressing them together in a whimsical pattern. Roll and twist the dough to create mesmerizing swirls that look like miniature art pieces. Let each cookie become a unique masterpiece with unpredictable color patterns.
Warm your oven to a cozy 350F. Arrange your rainbow-swirled cookies on parchment-lined baking sheets, giving them space to shine. Bake until the edges turn a gentle golden, transforming your colorful dough into delectable treats that spark joy.
Optional glaze adds an extra layer of excitement. Mix powdered sugar with milk and vanilla, then drizzle over cooled cookies for a final burst of sweetness that makes your creations truly spectacular.
Flavor Mix-Ins For Colorful Tie Dye Cookies
Ways To Serve Tie Dye Cookies At Any Occasion
Storage Tips For Keeping Tie Dye Cookies Bright And Fresh
Print
Vibrant Tie Dye Cookies Recipe
- Total Time: 32 minutes
- Yield: 23 1x
Description
Colorful tie dye cookies blend artistic creativity with delightful sweetness, offering a playful dessert that delights both children and adults. Swirling rainbow hues and sugar-studded edges make these treats a festive celebration of edible art.
Ingredients
- 1 cup (227 g / 8 oz) unsalted butter, softened
- 1 cup (200 g / 7 oz) granulated sugar
- 1 large egg
- 1 tsp vanilla extract
- 2 ¾ cups (660 ml / 330 g) all-purpose flour
- 1 tsp baking powder
- ½ tsp salt
- Gel food coloring (assorted colors: red, blue, yellow, green)
- 1 cup (120 g / 4 oz) powdered sugar
- ⅔ tbsps (30-45 ml) milk
- ½ tsp vanilla extract
- Gel food coloring (optional for colorful drizzle)
Instructions
- Dough Preparation: Meticulously combine dry ingredients in one vessel while simultaneously creaming butter and sugar in another. Integrate egg and vanilla extract seamlessly, then gradually fold dry ingredients into wet mixture until uniform, supple dough forms.
- Color Infusion: Partition dough into multiple segments, allocating one portion per color scheme. Massage gel food coloring into each segment, kneading thoroughly to ensure uniform pigmentation distribution across dough fragments.
- Pattern Creation: Artfully assemble miniature colored dough pieces, gently pressing and rolling to generate intricate swirled patterns. Intertwine colors strategically without overworking, preserving distinctive marbled visual texture.
- Baking Process: Position oven rack at 350F (175C). Arrange chromatic dough clusters on parchment-lined baking sheets, maintaining adequate spacing. Bake for 10-12 minutes, monitoring edges to prevent excessive browning. Transfer immediately to cooling rack for complete temperature reduction.
- Decorative Finishing: Construct luminescent glaze by whisking powdered sugar, milk, and vanilla into silky consistency. Divide glaze into separate containers, experimenting with additional food coloring. Delicately drizzle or brush vibrant layers across cooled cookies, transforming them into edible masterpieces.
Notes
- Prevent Color Bleeding: Chill dough segments after adding food coloring to stabilize colors and prevent unwanted blending during mixing and baking.
- Master Color Technique: Knead food coloring gently and sparingly to achieve vibrant, distinct color swirls without muddying the overall cookie appearance.
- Maintain Dough Integrity: Avoid overworking the dough when creating marbled patterns to preserve the delicate texture and prevent tough cookies.
- Control Baking Precision: Watch cookies closely during the last few minutes of baking to achieve a soft, slightly underbaked center while ensuring crisp edges.
- Prep Time: 20 minutes
- Cook Time: 12 minutes
- Category: Desserts, Snacks
- Method: Baking
- Cuisine: American
Nutrition
- Serving Size: 23
- Calories: 210
- Sugar: 12 g
- Sodium: 100 mg
- Fat: 10 g
- Saturated Fat: 6 g
- Unsaturated Fat: 4 g
- Trans Fat: 0 g
- Carbohydrates: 30 g
- Fiber: 0 g
- Protein: 2 g
- Cholesterol: 30 mg
Marcus Foley
Food Critic & Kitchen Coach
Expertise
Recipe Testing and Troubleshooting; Time-Saving Kitchen Hacks; Global Flavor Exploration; Engaging Food Writing and Honest Reviews.
Education
Institute of Culinary Education (ICE), New York, NY
Marcus Foley, based in Atlanta, GA, is a friendly food expert who makes cooking fun and simple.
With hands-on training from the Institute of Culinary Education and years of tasting everything from street food to fine dining, he shares easy kitchen hacks, global flavor ideas, and step-by-step recipes that turn kitchen mishaps into delicious surprises.