Dreamy Red Velvet Cheesecake Cupcake Recipe For Sweet Cravings
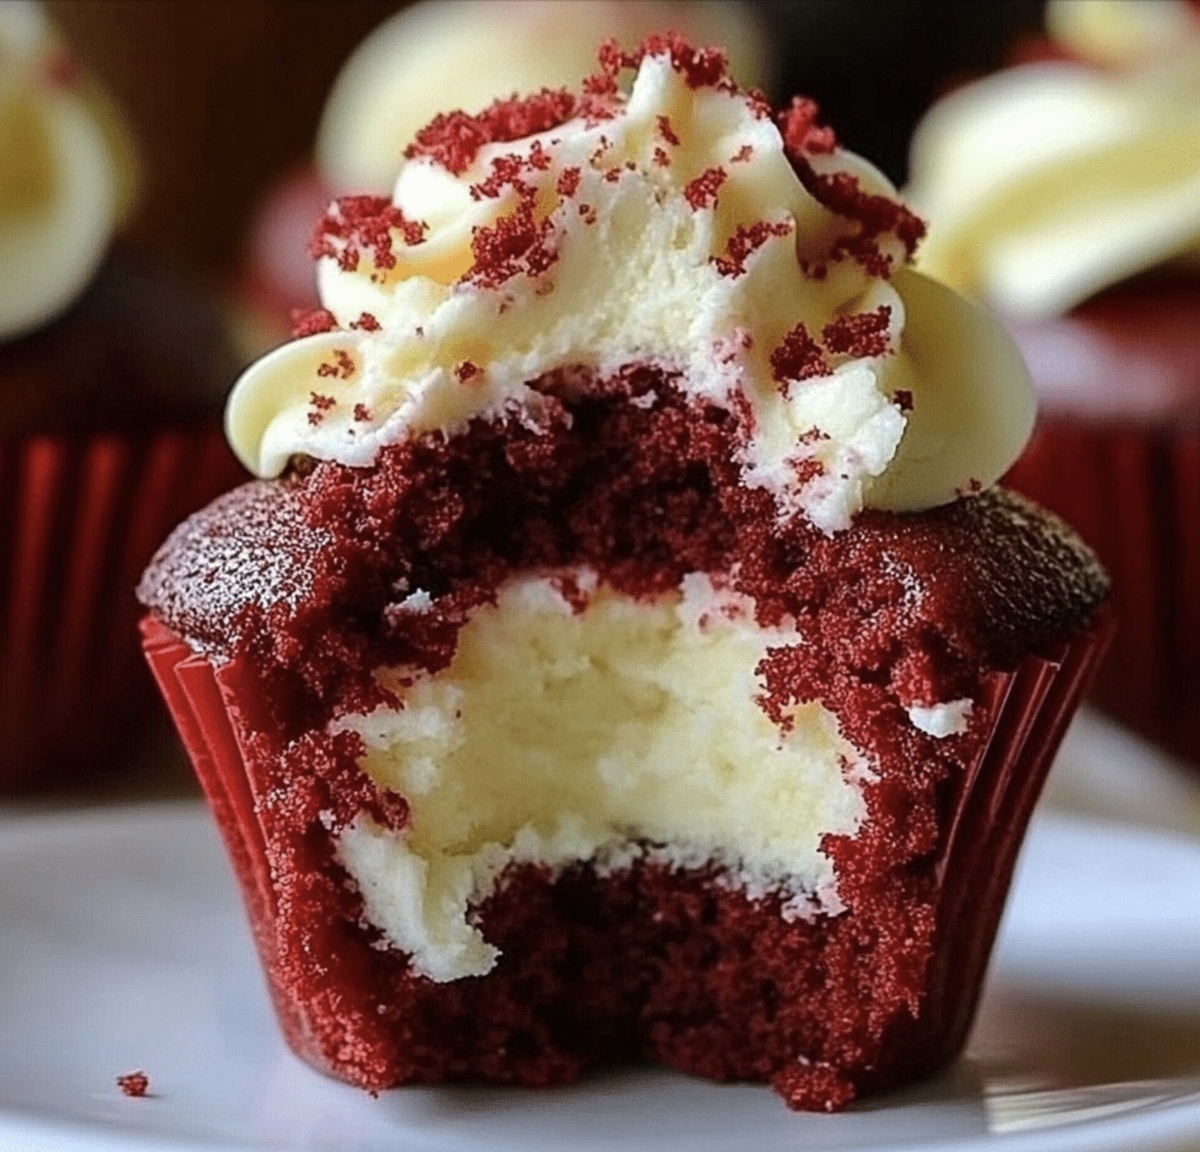
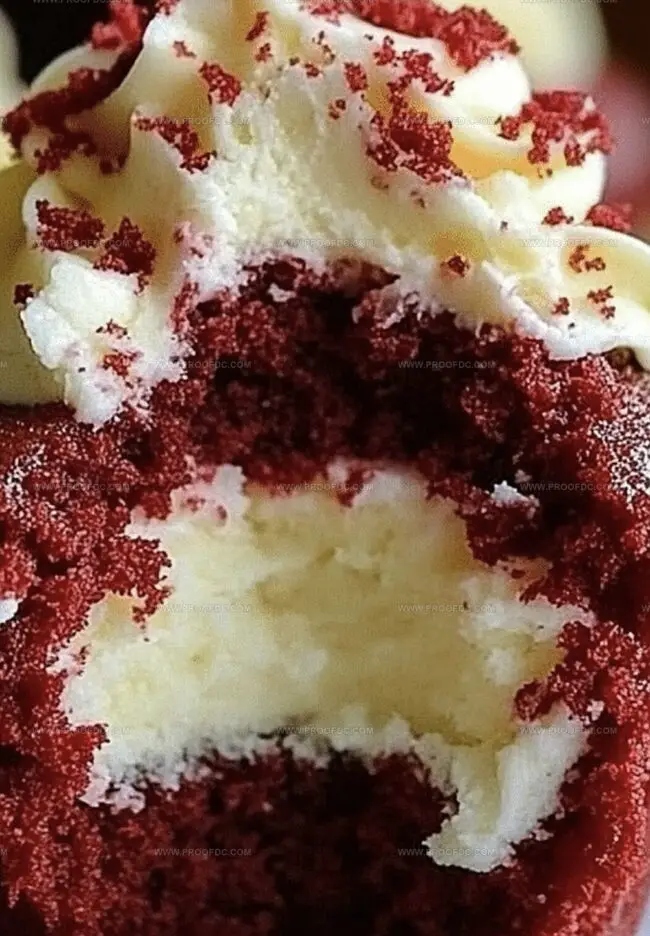
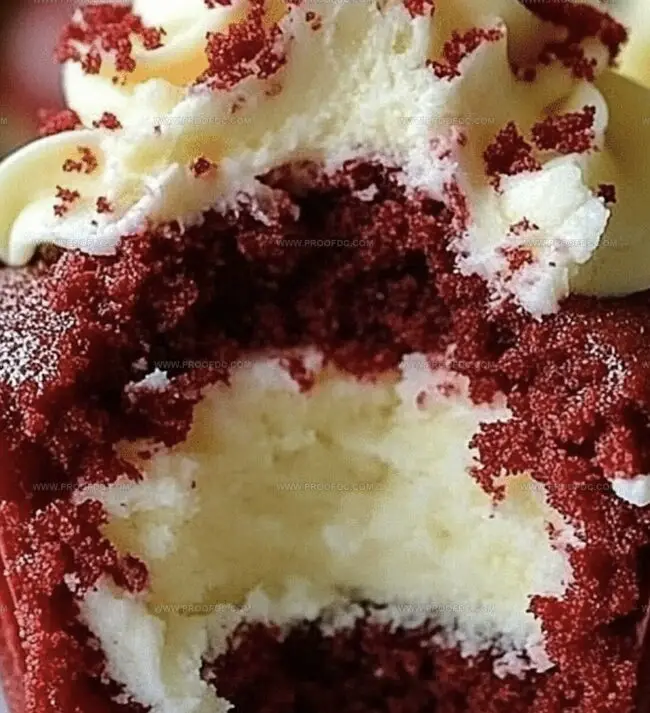
Soft, decadent red velvet cheesecake cupcakes burst with luxurious flavor that melts in your mouth.
These stunning dessert gems combine rich cream cheese with classic red velvet magic.
Delicate cocoa notes dance through each tender bite.
Swirled with silky cream cheese frosting, these cupcakes promise pure indulgence.
Elegant yet approachable, they work perfectly for casual gatherings or special celebrations.
Every forkful delivers a symphony of sweet, tangy, and velvety textures.
Prepare to fall in love with this irresistible dessert that will impress even the most discerning sweet tooth.
Quick Recipe Overview
What You’ll Need For Red Velvet Cheesecake Cupcake
For Dry Ingredients:For Wet Ingredients:For Cheesecake Topping:Gear You’ll Use For Red Velvet Cheesecake Cupcake
Step-By-Step Guide For Red Velvet Cheesecake Cupcake
Grab a mixing bowl and combine flour, cocoa powder, baking soda, and salt. Whisk these ingredients until they’re perfectly blended and smooth.
In another bowl, blend oil, sugar, egg, buttermilk, vanilla, vinegar, and red food coloring. Mix until the ingredients form a vibrant, silky mixture.
Slowly fold the dry ingredients into the wet batter. Stir gently until everything is just incorporated – avoid overmixing to keep the cupcakes tender.
Line a cupcake pan with colorful paper liners. This will make your cupcakes look adorable and prevent sticking.
Carefully spoon the batter into each cupcake liner, filling about two-thirds full. Slide the tray into a preheated oven and bake until a toothpick comes out clean.
Let the cupcakes cool completely on a wire rack. Once cooled, top with a creamy cheesecake frosting and sprinkle with a dusting of cocoa powder for extra flair.
Helpful Tips For Red Velvet Cheesecake Cupcake
Serving Red Velvet Cheesecake Cupcake Made Simple
Smart Storage For Red Velvet Cheesecake Cupcake
Print
Velvety Red Velvet Cheesecake Cupcake Recipe
- Total Time: 35 minutes
- Yield: 13 1x
Description
Red velvet cheesecake cupcakes offer a luxurious blend of classic dessert flavors. Rich cream cheese frosting and moist cocoa-infused cake create an irresistible treat lovers will adore.
Ingredients
- 8 oz (226 g) cream cheese
- 8 oz (226 g) cream cheese
- 1.25 cups all-purpose flour
- 0.75 cup granulated sugar
- 0.25 cup granulated sugar
- 1 cup powdered sugar
- 0.5 cup vegetable oil
- 0.5 cup buttermilk
- 4 tbsps unsalted butter
- 1 large egg
- 1 egg yolk
- 1 tbsp cocoa powder
- 0.5 tsp baking soda
- 0.25 tsp salt
- 1 tsp vanilla extract
- 0.5 tsp vanilla extract
- 1 tsp vanilla extract
- 1 tsp white vinegar
- 1 tbsp red food coloring
Instructions
- Dry Ingredient Fusion: Whisk flour, cocoa powder, baking soda, and salt in a mixing bowl until perfectly integrated, eliminating any potential clumping.
- Liquid Component Transformation: Energetically combine vegetable oil, granulated sugar, egg, buttermilk, vanilla extract, white vinegar, and food coloring in a separate large bowl, creating a vibrant, homogeneous mixture that promises rich flavor and striking color.
- Batter Harmonization: Delicately incorporate dry ingredients into the liquid base using minimal strokes, stopping the moment ingredients are just blended to maintain the cupcakes’ signature light and tender texture.
- Cupcake Preparation: Distribute the crimson batter evenly into lined cupcake wells, filling each compartment two-thirds full to allow optimal rising and perfect dome formation during baking.
- Baking and Cooling Cycle: Position the cupcake pan in a preheated oven, baking until a toothpick inserted comes out clean, then transfer to a wire rack for complete cooling, ensuring the cupcakes develop their characteristic delicate crumb and intense red velvet personality.
- Final Flourish: Crown the cooled cupcakes with luxurious cream cheese frosting, transforming these delectable treats into an irresistible dessert experience that celebrates the classic red velvet tradition.
Notes
- Choose Quality Food Coloring: Select gel-based red food coloring for vibrant, deep color without altering batter consistency or taste.
- Prevent Overmixing: Stir batter gently until just combined to maintain a soft, tender cupcake texture and avoid dense, tough results.
- Room Temperature Ingredients: Ensure eggs, buttermilk, and other wet ingredients are at room temperature for smoother mixing and better overall cupcake texture.
- Check Baking Doneness: Insert a toothpick into cupcake center; if it comes out clean with minimal crumbs, the cupcakes are perfectly baked and ready to cool.
- Prep Time: 15 minutes
- Cook Time: 20 minutes
- Category: Desserts, Snacks
- Method: Mixing
- Cuisine: American
Nutrition
- Serving Size: 13
- Calories: 380
- Sugar: 30 g
- Sodium: 250 mg
- Fat: 20 g
- Saturated Fat: 5 g
- Unsaturated Fat: 15 g
- Trans Fat: 0 g
- Carbohydrates: 42 g
- Fiber: 1 g
- Protein: 4 g
- Cholesterol: 55 mg
Marcus Foley
Food Critic & Kitchen Coach
Expertise
Recipe Testing and Troubleshooting; Time-Saving Kitchen Hacks; Global Flavor Exploration; Engaging Food Writing and Honest Reviews.
Education
Institute of Culinary Education (ICE), New York, NY
Marcus Foley, based in Atlanta, GA, is a friendly food expert who makes cooking fun and simple.
With hands-on training from the Institute of Culinary Education and years of tasting everything from street food to fine dining, he shares easy kitchen hacks, global flavor ideas, and step-by-step recipes that turn kitchen mishaps into delicious surprises.