
Golden Butterscotch Pie Recipe: Sweet Comfort in Every Slice
Sweet, creamy butterscotch pie weaves magic into every slice of dessert heaven.
The rich butterscotch pie recipe captures decades of homestyle baking tradition.
Deep caramel notes dance through a silky smooth filling that melts on your tongue.
Each forkful promises comfort and nostalgia wrapped in a flaky, golden crust.
Generations of home bakers have perfected this delectable treat with simple, wholesome ingredients.
The dessert whispers stories of family gatherings and cherished moments around the table.
Dive into this classic pie and experience a slice of pure, sugary bliss that will transport you to cherished memories.
Quick Recipe Overview
Sweet Essentials For Butterscotch Pie
For Pie Crust:For Filling Ingredients:For Meringue Topping:Tools To Bake Butterscotch Pie The Easy Way
How To Make Butterscotch Pie Rich And Creamy
Create a silky smooth butterscotch base by gently combining rich ingredients in a saucepan. Stir continuously as the mixture transforms, thickening into a luxurious golden cream. Watch carefully as the mixture bubbles and develops complex caramel notes.
Carefully blend hot butterscotch with egg yolks, creating a velvety smooth custard. The delicate tempering process ensures a seamless, creamy texture that will melt in your mouth. Cook the mixture until it reaches a perfect, glossy consistency.
Whip egg whites into a dreamy, pillowy meringue that rises like a soft cloud. Gradually add sweetness, beating until the mixture becomes glossy and forms elegant peaks. The meringue should look light and airy, promising a heavenly texture.
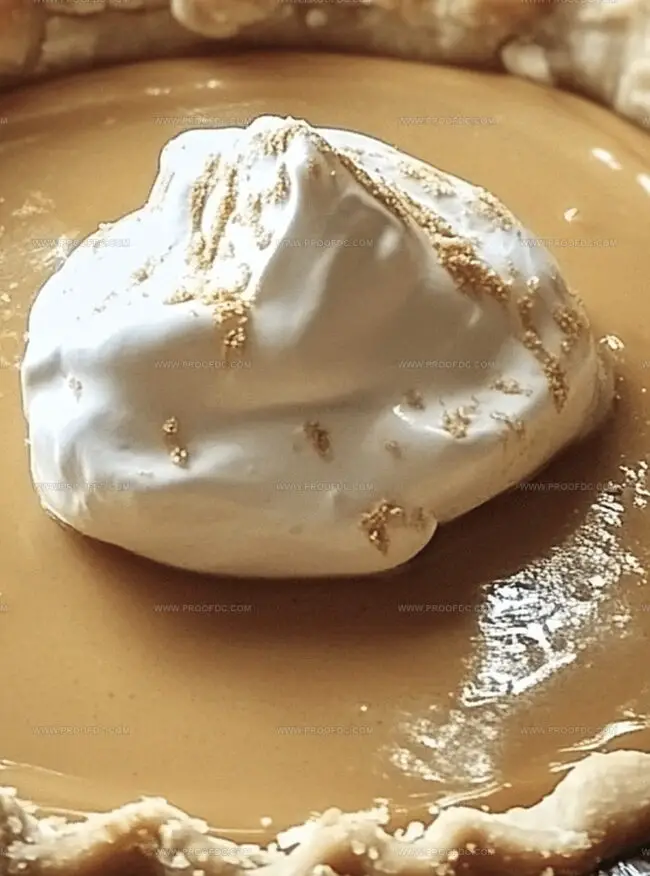
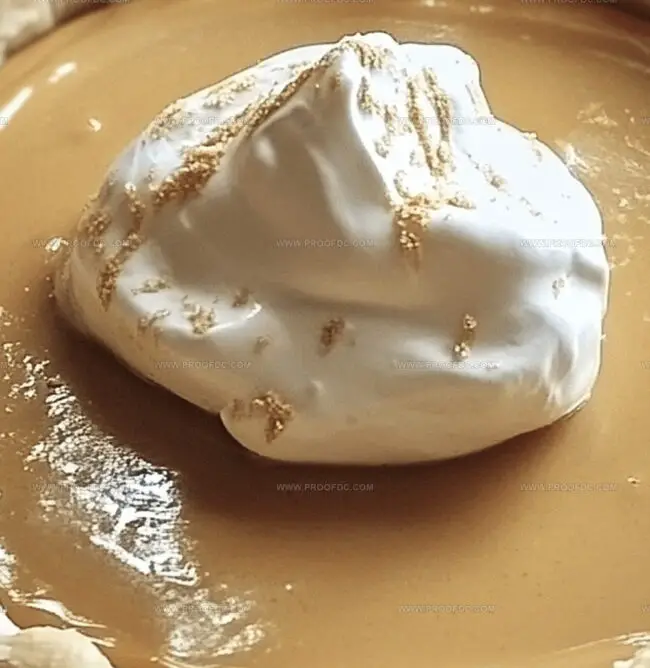
Carefully spread the meringue over the butterscotch filling, creating beautiful swirls and peaks. Bake until the surface turns a delicate golden brown, with hints of caramelized sugar dancing across the top. The meringue should look like a sunset – warm, inviting, and perfectly browned.
Let the pie rest and cool completely, allowing the flavors to settle and merge. The anticipation builds as the pie transforms from a hot, bubbling creation to a stunning dessert ready to be enjoyed. Slice and serve to reveal the beautiful layers of butterscotch and meringue.
Tips To Perfect Your Butterscotch Pie Texture
Serving Suggestions For Butterscotch Pie Fans
Smart Storage For Butterscotch Pie Leftovers
Print
Velvety Butterscotch Pie Recipe
- Total Time: 40 minutes
- Yield: 7 1x
Description
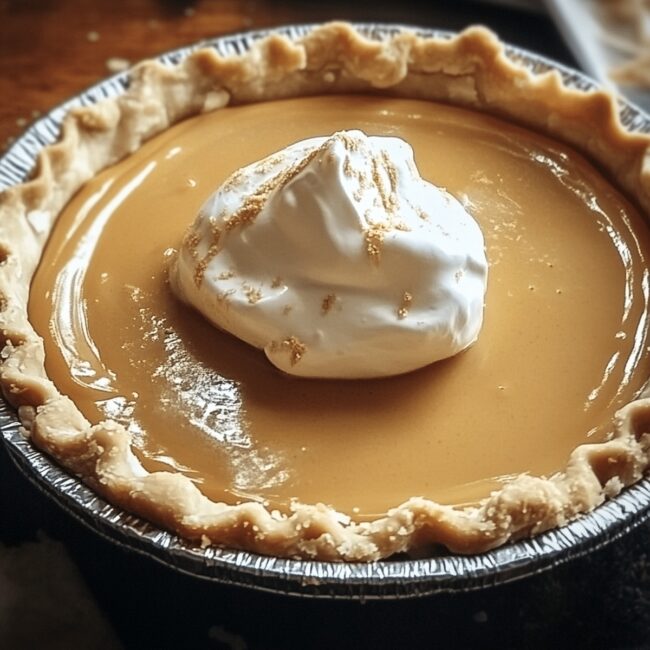
Homemade butterscotch pie delivers rich, caramel-like flavors from a traditional Southern dessert. Buttery graham cracker crust and silky custard create a classic comfort treat you’ll savor with each delightful bite.
Ingredients
- 1 pre-baked 9-inch (23 cm) pie crust
- 2 cups (480 ml) whole milk
- 1 cup (200 g) packed dark brown sugar
- 1 cup (200 g) granulated sugar
- 2 large egg yolks
- 4 large egg whites
- ¼ cup (30 g) cornstarch
- ½ tsp (2.5 ml) salt
- 1 tbsp (15 g) unsalted butter
- 2 tsps (10 ml) pure vanilla extract
- ¼ tsp (1.25 ml) cream of tartar
Instructions
- Butterscotch Base Preparation: Whisk milk, brown sugar, cornstarch, and salt in a saucepan over medium heat, stirring continuously until the mixture thickens and bubbles intensely.
- Egg Integration: Temper hot mixture into beaten egg yolks, then return to saucepan and cook over low heat, stirring constantly to create a smooth, creamy consistency.
- Flavor Enhancement: Remove from heat and incorporate butter and vanilla extract, blending until the filling achieves a luxurious, uniform texture.
- Pie Shell Filling: Pour the velvety butterscotch mixture into a pre-baked pie shell, spreading evenly to create a glossy surface.
- Meringue Creation: Whip egg whites with cream of tartar until soft peaks form, then gradually add granulated sugar, beating until stiff, glossy peaks develop.
- Meringue Finishing: Fold in vanilla extract and spread the meringue elegantly over the butterscotch filling, ensuring complete coverage that connects with the crust edges.
- Baking and Cooling: Bake in a preheated oven until the meringue turns golden and lightly toasted, then allow the pie to cool completely, letting flavors meld and settle before serving.
Notes
- Prevent Curdling: Temper egg yolks slowly by adding hot liquid gradually to avoid scrambling, which ensures a smooth butterscotch base.
- Control Heat Sensitivity: Use low, consistent heat when cooking custard and meringue to prevent burning or separating ingredients.
- Achieve Meringue Perfection: Ensure egg whites are room temperature and use clean, grease-free equipment for maximum volume and stability.
- Prevent Weeping Meringue: Spread meringue while filling is still warm and seal edges completely with crust to minimize moisture separation.
- Prep Time: 20 minutes
- Cook Time: 20 minutes
- Category: Desserts
- Method: Baking
- Cuisine: American
Nutrition
- Serving Size: 7
- Calories: 290
- Sugar: 34 g
- Sodium: 150 mg
- Fat: 7 g
- Saturated Fat: 4 g
- Unsaturated Fat: 2 g
- Trans Fat: 0 g
- Carbohydrates: 48 g
- Fiber: 0 g
- Protein: 5 g
- Cholesterol: 80 mg
Marcus Foley
Food Critic & Kitchen Coach
Expertise
Recipe Testing and Troubleshooting; Time-Saving Kitchen Hacks; Global Flavor Exploration; Engaging Food Writing and Honest Reviews.
Education
Institute of Culinary Education (ICE), New York, NY
Marcus Foley, based in Atlanta, GA, is a friendly food expert who makes cooking fun and simple.
With hands-on training from the Institute of Culinary Education and years of tasting everything from street food to fine dining, he shares easy kitchen hacks, global flavor ideas, and step-by-step recipes that turn kitchen mishaps into delicious surprises.