
Buttery Bliss: Simple Thumbprint Cookies Recipe
Soft, buttery thumbprint cookies have been my secret holiday weapon for years.
These delightful treats capture childhood memories with every crumbly bite.
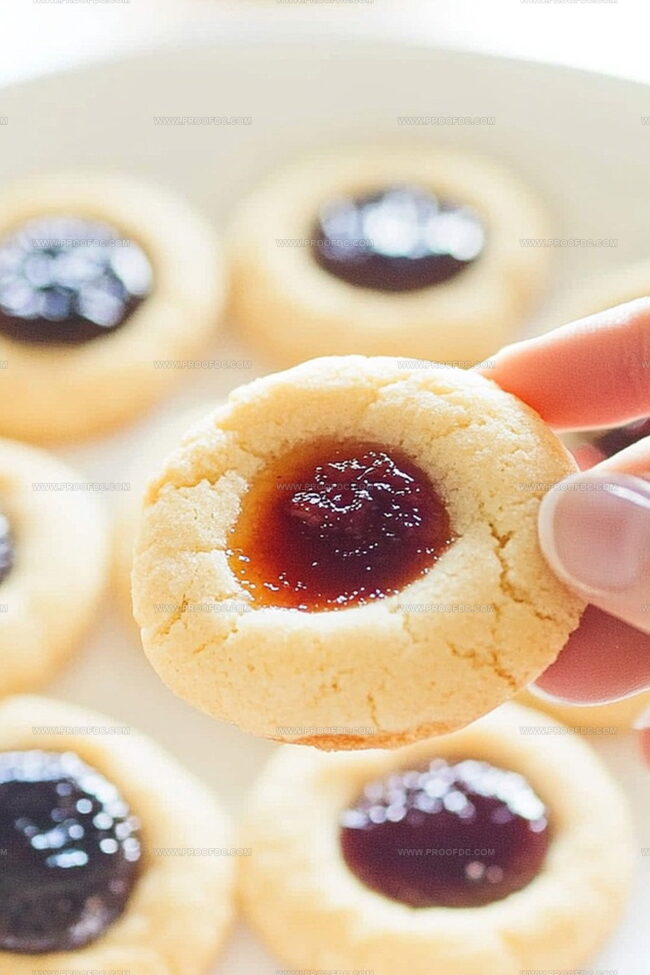
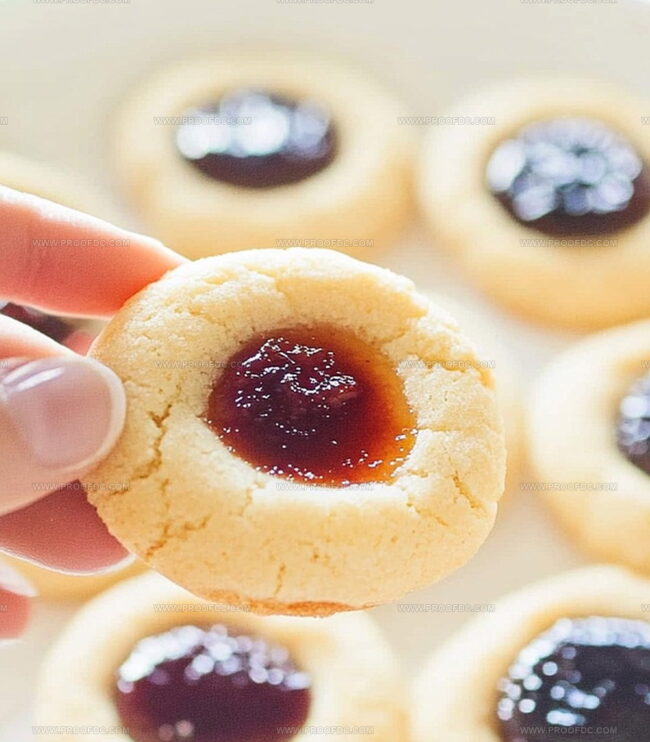
Delicate shortbread forms the perfect base for sweet jam centers.
Each cookie looks like a miniature work of art, carefully pressed with loving fingertips.
Homemade jam adds a personal touch that store-bought versions can never match.
The smiles when you present these beautiful, golden-edged cookies on a festive platter.
Baking these little gems might just become your new favorite tradition.
You’ll want to make a double batch because they disappear quickly!
Why Thumbprint Cookies Are A Classic Treat
Everything Needed For Thumbprint Cookies
Base Ingredients:Filling and Topping:Baking Essentials:How To Fill And Bake Thumbprint Cookies
Step 1: Whip Up the Perfect Dough
Grab a mixing bowl and cream together softened butter and sugar until they’re light and dreamy. Gently fold in egg yolks and vanilla extract, creating a smooth mixture. Slowly incorporate flour and salt, mixing until a soft dough comes together. The key is to be gentle and patient, letting the ingredients dance together.
Ingredients:Step 2: Shape Adorable Cookie Balls
Preheat the oven to 350°F (175°C). Line a baking sheet with parchment paper. Scoop out small portions of dough and roll them into cute little balls. Arrange these balls on the baking sheet, giving them some breathing room. Using your thumb or the back of a spoon, create a cozy little indent in the center of each ball.
Step 3: Bring on the Colorful Filling
Time to add some excitement! Carefully spoon a small dollop of your favorite jam into the center of each cookie. Be mindful not to go overboard – we want a perfect jam pocket, not an overflow situation.
Suggested Fillings:Step 4: Bake to Golden Perfection
Slide the baking sheet into the preheated oven. Watch as the cookies transform into golden-edged delights in about 12-14 minutes. Once they reach that perfect shade of golden brown, remove from the oven. Let the cookies rest on the baking sheet for a few minutes to firm up, then transfer to a wire rack for complete cooling.
Tips For Soft And Buttery Thumbprint Cookies
How To Store Thumbprint Cookies Without Mess
Best Fillings For Thumbprint Cookies
New Flavors To Try In Thumbprint Cookies
Thumbprint Cookies FAQs
These classic cookies combine a buttery, tender shortbread-like base with a burst of fruity jam in the center, creating a perfect balance of sweet and rich flavors that everyone loves.
Absolutely! While traditional recipes often use raspberry or strawberry jam, you can experiment with apricot, blackberry, or even marmalade to create your own unique twist on this classic cookie.
The signature thumbprint creates a little well that holds the jam, preventing it from spreading during baking and ensuring each bite has the perfect jam-to-cookie ratio. The indent is what gives these cookies their charming, homemade look.
Not at all! These cookies are actually quite simple and perfect for bakers of all skill levels. With just a few basic ingredients and a little patience, you can create delicious homemade thumbprint cookies that look and taste amazing.
Print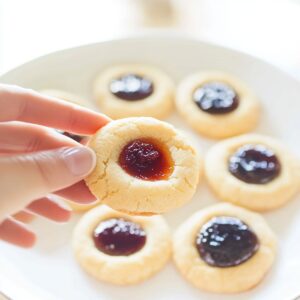
Thumbprint Cookies Recipe
- Total Time: 29 minutes
- Yield: 24 1x
Description
Delightful Thumbprint Cookies blend sweet raspberry jam with buttery shortbread for a classic treat that brings comfort to cookie lovers. Crisp edges and a perfect center make these little gems a crowd-pleasing dessert you’ll want to share with friends and family.
Ingredients
Main Ingredients:
- 2 cups all-purpose flour
- 1 cup unsalted butter, softened
- ½ cup granulated sugar
- 2 large egg yolks
Flavoring Ingredients:
- 1 teaspoon vanilla extract
- ¼ teaspoon salt
Filling Ingredients:
- ½ cup fruit jam or preserves (e.g., raspberry, strawberry, apricot)
Instructions
- Craft a velvety dough by whipping butter and sugar until airy and pale. Incorporate egg yolks and vanilla, blending smoothly. Gradually fold in flour and salt, kneading until a tender, malleable dough emerges.
- Sculpt uniform spheres from the dough, each approximately the size of a walnut. Arrange these delicate orbs on a parchment-lined baking sheet, ensuring ample spacing between them.
- With a gentle touch, create a well in the center of each cookie using your thumb or the curved edge of a small utensil. The indentation should be deep enough to cradle a dollop of jam without compromising the cookie’s structural integrity.
- Carefully nestle a precise amount of jam into each cookie’s center, maintaining a delicate balance to prevent overflow during baking.
- Slide the cookie-laden sheet into a preheated oven, allowing the delicate morsels to transform. Bake until the edges acquire a subtle golden hue, indicating a perfect balance of crisp exterior and tender interior.
- Once removed from the oven, allow the cookies to rest briefly on the baking sheet, helping them stabilize. Afterward, transfer them to a cooling rack, permitting them to reach room temperature and develop their full flavor profile.
Notes
- Make sure butter is softened at room temperature for easier mixing and smoother dough texture.
- Chill the dough for 30 minutes before shaping to prevent spreading and maintain cookie shape during baking.
- Use a variety of jam flavors like raspberry, strawberry, or apricot to create colorful and diverse cookies.
- For gluten-free version, substitute all-purpose flour with almond flour or gluten-free flour blend to accommodate dietary restrictions.
- Prep Time: 15 minutes
- Cook Time: 14 minutes
- Category: Desserts, Snacks
- Method: Baking
- Cuisine: American
Nutrition
- Serving Size: 24
- Calories: 150
- Sugar: 6 g
- Sodium: 50 mg
- Fat: 7 g
- Saturated Fat: 4 g
- Unsaturated Fat: 3 g
- Trans Fat: 0 g
- Carbohydrates: 20 g
- Fiber: 0.5 g
- Protein: 2 g
- Cholesterol: 35 mg
Jenna Stewart
Head Chef & Recipe Innovator
Expertise
Farm-to-Table Cooking; Seasonal Menu Development; Visual Plating Techniques; Flavor Layering and Simple Prep Hacks.
Education
The Culinary Institute of America, Hyde Park, NY
Jenna Stewart is the inventive spirit behind many of our standout dishes at Pro of Delicious Creations. A proud graduate of The Culinary Institute of America, she built her skills mastering both classic recipes and fresh, modern twists.
Now, Jenna celebrates the beauty of seasonal, local ingredients, often sourced from her garden and nearby markets, to create recipes that are bursting with flavor yet easy to follow. When she’s not experimenting in the kitchen, Jenna loves exploring nature on hikes and discovering new treasures at local co-ops.