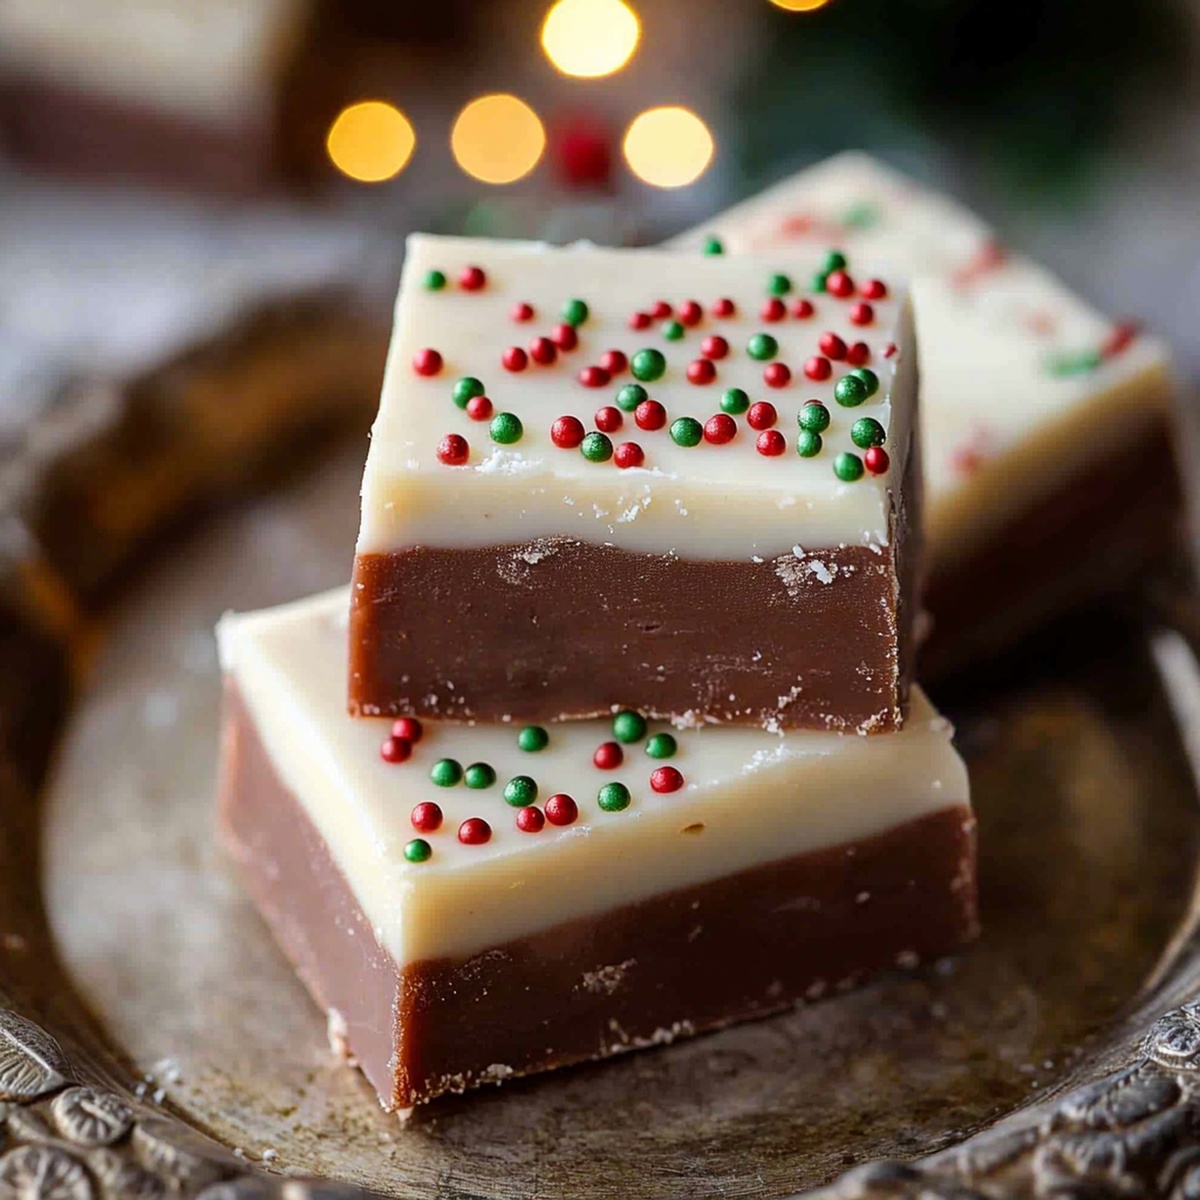
Creamy Homemade Christmas Fudge Recipe That Melts Hearts
Sinking your teeth into the most decadent Christmas fudge recipe that melts instantly on your tongue.
Sweet memories of holiday gatherings flood back with each creamy bite.
Grandmothers across generations have perfected this delightful treat that whispers comfort and joy.
Chocolate lovers understand the magic of a perfectly crafted confection that sparks instant happiness.
Every kitchen needs this foolproof method for creating smooth, rich fudge that impresses without complicated techniques.
the secret lies in simple ingredients and careful preparation that transforms basic components into something extraordinary.
You’ll want to make multiple batches to share with loved ones or keep all to yourself.
Why The Best Christmas Fudge Recipe Wins Every Time
The Best Christmas Fudge Recipe Ingredients List
Base Ingredients:Flavor and Texture Enhancers:Festive Mix-Ins:Easy Directions for The Best Christmas Fudge Recipe
Step 1: Prepare Baking Surface
Line a square baking pan with parchment paper, ensuring the edges extend slightly over the sides. This little trick will help you lift out the fudge like a smooth chocolate dream later.
Step 2: Create Creamy Chocolate Base
Grab a large saucepan and combine:Melt these ingredients over low heat, stirring constantly until they transform into a silky smooth mixture. Keep the heat gentle to prevent scorching your precious chocolate blend.
Step 3: Enhance Flavor Profile
Once the chocolate mixture is completely melted and glossy, remove from heat. Stir in:These magical additions will elevate the fudge from good to absolutely incredible.
Step 4: Pour and Settle
Carefully transfer the molten chocolate mixture into your prepared pan. Use a spatula to spread it evenly, creating a perfect, smooth surface that looks like edible artwork.
Step 5: Chill and Set
Place the pan in the refrigerator for several hours. Patience is key here – let the fudge completely firm up and become wonderfully solid.
Step 6: Cut and Serve
Once fully set, lift the fudge out using the parchment paper edges. Slice into small squares, creating bite-sized pieces of holiday happiness.
Top Tips for The Best Christmas Fudge Recipe
Storage and Reheating for The Best Christmas Fudge Recipe
Perfect Pairings for The Best Christmas Fudge Recipe
Switch-Ups for The Best Christmas Fudge Recipe
Questions About The Best Christmas Fudge Recipe Answered
This fudge is a classic holiday treat that combines rich chocolate flavor with festive cheer, perfect for family gatherings and gift-giving.
Yes, you can substitute semi-sweet or dark chocolate depending on your preference. Just ensure you use high-quality chocolate for the best results.
Absolutely! Even if you’re new to making fudge, this recipe uses simple techniques and basic ingredients that anyone can master with a little patience.
When stored in an airtight container in the refrigerator, this fudge can stay delicious for up to two weeks, making it great for holiday preparation in advance.
Print
The Best Christmas Fudge Recipe
- Total Time: 2 hours 10 minutes
- Yield: 12 1x
Description
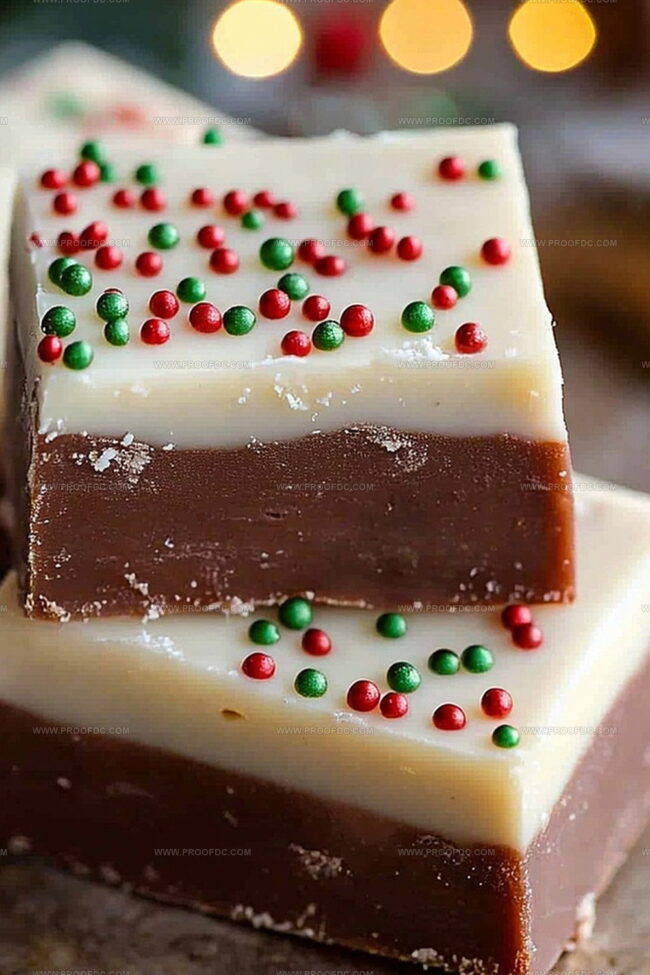
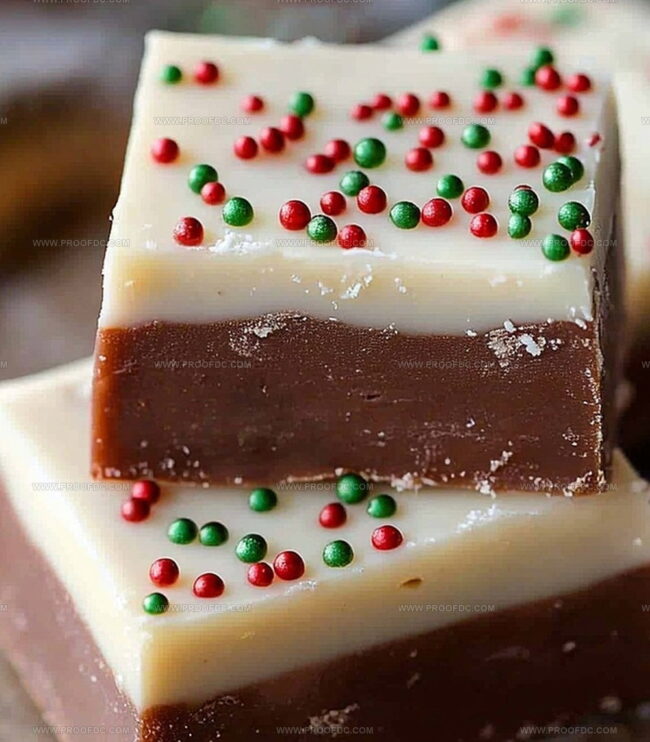
Sweet holiday magic comes alive with this Christmas Fudge, blending rich chocolate and festive cheer in one delectable treat. Merry moments melt together, creating delightful memories you’ll savor long after the last delicious bite.
Ingredients
Main Ingredients:
- 3 cups (525 grams) white chocolate chips
- 1 can (14 ounces / 396 grams) sweetened condensed milk
Flavoring:
- 1 teaspoon vanilla extract
Decorative Ingredients:
- Red gel food coloring
- Green gel food coloring
- Holiday sprinkles
Instructions
- Prepare a square baking vessel by carefully lining it with parchment paper, ensuring the edges extend slightly over the sides for convenient fudge extraction and removal.
- Create a smooth, creamy chocolate base by gently melting chocolate chips and sweetened condensed milk in a heavy-bottomed saucepan over low, consistent heat.
- Stir the mixture continuously with a silicone spatula to prevent scorching and achieve a uniform, glossy consistency.
- Incorporate vanilla extract and salt into the melted chocolate mixture, blending thoroughly to enhance the deep, rich flavor profile.
- For festive Christmas variation, fold in crushed peppermint candies or sprinkle chopped candy canes across the surface before the fudge sets.
- Pour the molten chocolate mixture into the prepared parchment-lined pan, using gentle, even movements to distribute the fudge uniformly.
- Smooth the top with a clean spatula, creating a level surface that will result in perfectly cut squares.
- Refrigerate the fudge for approximately two hours, allowing it to solidify completely and develop a firm, slice-able texture.
- Once chilled, lift the fudge from the pan using the parchment paper overhang and transfer to a cutting board.
- Slice into precise, bite-sized squares using a sharp knife, wiping the blade clean between cuts for crisp edges.
- Store the festive fudge in an airtight container, layered between sheets of parchment paper to maintain its delectable texture.
Notes
- Ensure parchment paper extends slightly over pan edges for hassle-free fudge lifting and clean cutting.
- Use heavy-bottomed saucepan to prevent sugar from burning and distribute heat evenly during cooking process.
- Consider adding festive mix-ins like crushed peppermint, chopped nuts, or holiday sprinkles for extra Christmas cheer and texture variation.
- Cool fudge completely at room temperature before refrigerating to avoid condensation and maintain smooth, creamy consistency.
- Prep Time: 10 minutes
- Cook Time: 2 hours
- Category: Desserts, Snacks
- Method: Mixing
- Cuisine: American
Nutrition
- Serving Size: 12
- Calories: 226
- Sugar: 24 g
- Sodium: 55 mg
- Fat: 10 g
- Saturated Fat: 6 g
- Unsaturated Fat: 4 g
- Trans Fat: 0 g
- Carbohydrates: 32 g
- Fiber: <1 g
- Protein: <1 g
- Cholesterol: <5 mg
Jenna Stewart
Head Chef & Recipe Innovator
Expertise
Farm-to-Table Cooking; Seasonal Menu Development; Visual Plating Techniques; Flavor Layering and Simple Prep Hacks.
Education
The Culinary Institute of America, Hyde Park, NY
Jenna Stewart is the inventive spirit behind many of our standout dishes at Pro of Delicious Creations. A proud graduate of The Culinary Institute of America, she built her skills mastering both classic recipes and fresh, modern twists.
Now, Jenna celebrates the beauty of seasonal, local ingredients, often sourced from her garden and nearby markets, to create recipes that are bursting with flavor yet easy to follow. When she’s not experimenting in the kitchen, Jenna loves exploring nature on hikes and discovering new treasures at local co-ops.