The Perfect Sweetened Condensed Milk Snowball Cookies Recipe
Memories of winter gatherings sparked my love for sweetened condensed milk snowball cookies that melt instantly on your tongue.
These delicate treats carry a nostalgic charm from childhood kitchens.
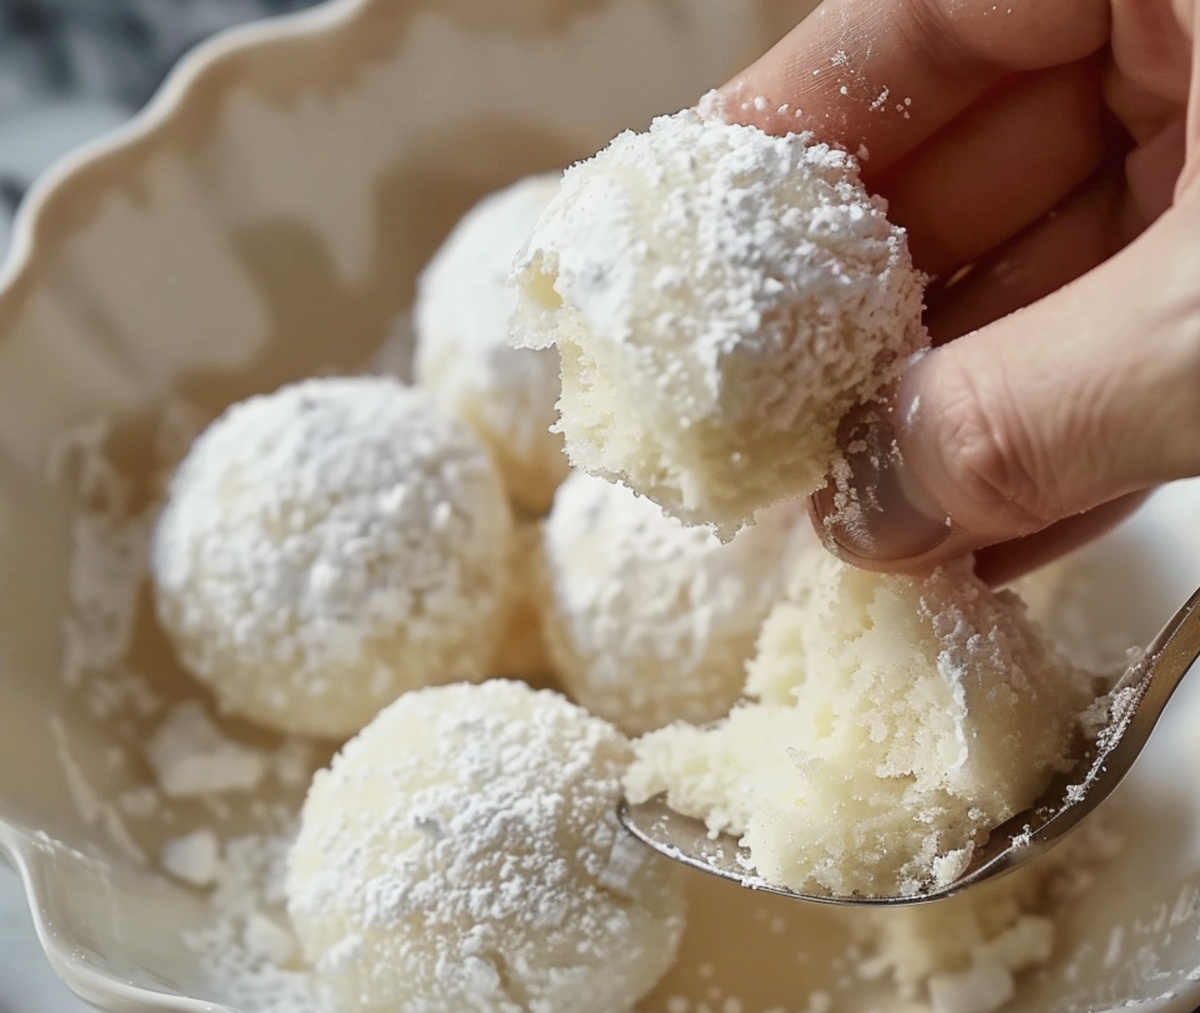
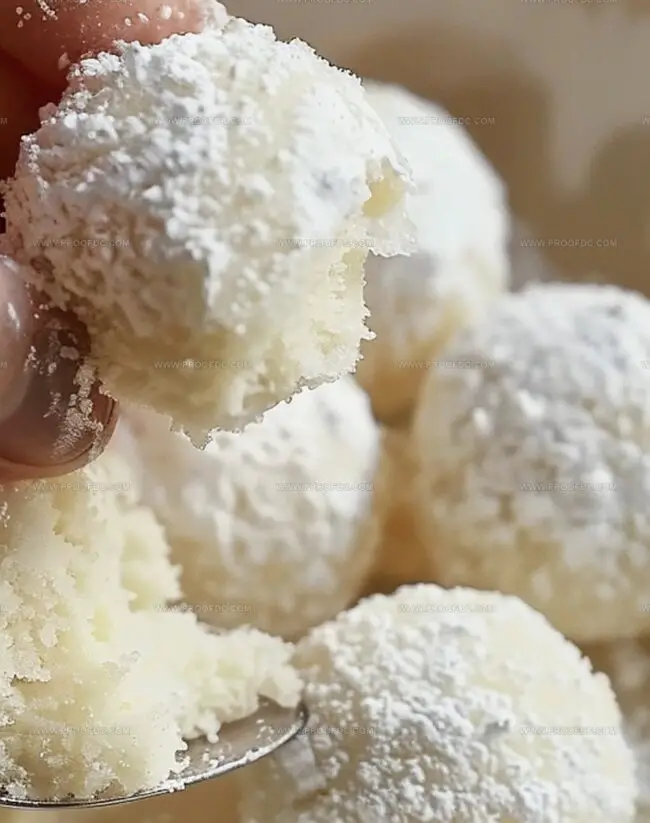
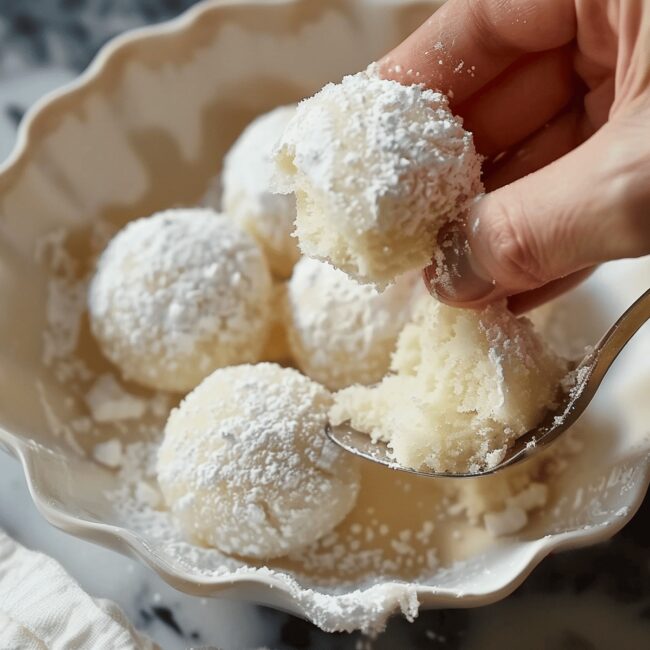
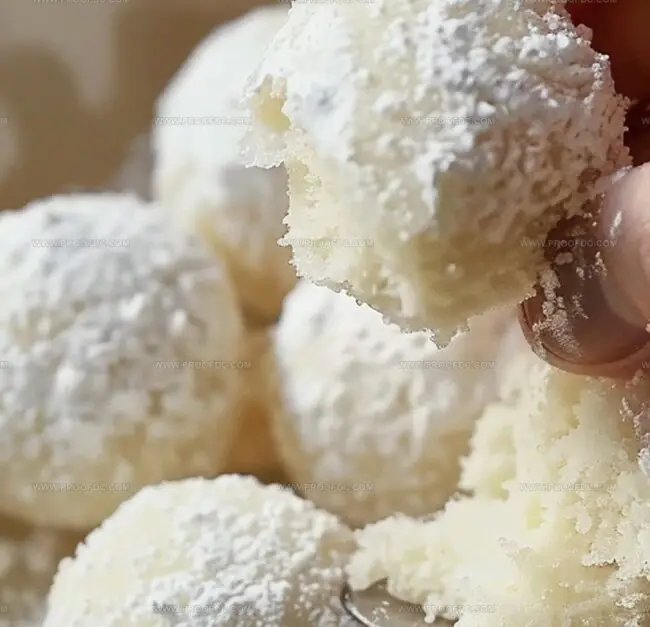
Soft and powdery, each cookie promises a delightful surprise with its creamy center.
Biting into a cloud-like confection dusted with fine sugar.
Gentle warmth and sweet memories blend perfectly in this simple recipe.
The magical combination of ingredients transforms ordinary moments into extraordinary experiences.
Trust me, these cookies will become your new favorite winter indulgence.
Grab a mug of hot cocoa and let’s bake something special together.
Why You’ll Love Sweetened Condensed Milk Snowball Cookies
Ingredients for Sweetened Condensed Milk Snowball Cookies
Base Ingredients:Dry Ingredients:Texture and Crunch Ingredients:Steps to Make Sweetened Condensed Milk Snowball Cookies
Step 1: Whip Up the Creamy Base
Grab a spacious mixing bowl and beat the butter until it transforms into a silky smooth mixture. Pour in the sweetened condensed milk and vanilla extract, blending everything into a luxurious cream. Gradually sprinkle in the flour and salt, stirring until the dough comes together. Gently fold in the chopped nuts, creating a delightful texture throughout.
Step 2: Chill and Relax the Dough
Wrap the dough securely and slide it into the refrigerator for a cool 30-minute rest. This little break helps the dough firm up, making it easier to shape into perfect little balls.
Step 3: Warm Up the Oven
Fire up your oven to a toasty 350F (175C). Line a baking sheet with parchment paper, creating a pristine surface for your cookies.
Step 4: Roll Into Delightful Spheres
Take small portions of the chilled dough and roll them into adorable one-inch balls. Arrange these little treasures on the prepared baking sheet, giving each cookie some breathing room.
Step 5: Bake to Golden Perfection
Slide the baking sheet into the oven and let the cookies bake for 12-15 minutes. Look for a subtle golden color on the bottom while keeping the tops delicately pale.
Step 6: Sugar Coat the Cookies
Once the cookies have cooled for about 5 minutes, begin the magical sugar coating process:Step 7: Serve and Enjoy
Plate these heavenly treats and watch them disappear! Store any leftovers in an airtight container, keeping them fresh and delicious.
Helpful Hints for Sweetened Condensed Milk Snowball Cookies
Storing Sweetened Condensed Milk Snowball Cookies the Right Way
What Goes Well With Sweetened Condensed Milk Snowball Cookies
New Takes on Sweetened Condensed Milk Snowball Cookies
Sweetened Condensed Milk Snowball Cookies FAQs
The addition of sweetened condensed milk gives these cookies an extra creamy, rich texture that sets them apart from traditional snowball cookies. The condensed milk creates a more tender and moist cookie with a subtle sweetness.
Absolutely! You can easily omit the nuts or substitute them with other mix-ins like mini chocolate chips or dried fruit if you prefer. The base cookie recipe will still turn out delicious and tender.
Chilling the dough helps prevent the cookies from spreading too much during baking and makes the dough easier to handle. It allows the butter to firm up, which helps the cookies maintain their perfect round shape when baking.
The key is to roll the cookies in powdered sugar twice – once when they’re still warm and again after they’ve completely cooled. This double coating creates that signature thick, powdery snow-like exterior that makes snowball cookies so special.
Print
Sweetened Condensed Milk Snowball Cookies Recipe
- Total Time: 55 minutes
- Yield: 24 1x
Description
Snowball cookies elevate festive baking with their delightful Mexican wedding cookie charm. Powdery clouds of buttery shortbread melt in your mouth, inviting sweet comfort and holiday nostalgia that connects generations of bakers.
Ingredients
Main Ingredients:
- 1 cup (230g) unsalted butter, softened
- 2 cups (250g) all-purpose flour
- 1 cup (100g) finely chopped pecans or walnuts
Liquid and Flavor Ingredients:
- ½ cup (120 milliliters) sweetened condensed milk
- 1 teaspoon vanilla extract
Finishing and Seasoning Ingredients:
- 1 cup (120 grams) powdered sugar, for coating
- ¼ teaspoon salt
Instructions
- Create a silky foundation by whipping softened butter until it transforms into a smooth, airy texture. Incorporate sweetened condensed milk and pure vanilla extract, blending thoroughly to form a harmonious mixture.
- Gradually introduce flour and salt into the creamy base, stirring gently until just integrated. Tenderly fold chopped nuts throughout the dough, ensuring even distribution.
- Wrap the dough completely and refrigerate for a minimum of 30 minutes, allowing the mixture to solidify and become more manageable for shaping.
- Warm the oven to 350F (175C) and prepare a baking sheet with parchment paper, creating a pristine surface for cookie placement.
- Using gentle hands, craft uniform spherical shapes approximately one inch in diameter. Position these delicate orbs across the prepared baking surface, maintaining slight separation between each cookie.
- Slide the tray into the preheated oven and bake for 12-15 minutes. Monitor closely, removing when the cookie bottoms develop a subtle golden hue while maintaining a pale upper surface.
- After removing from the oven, permit cookies to rest momentarily. While still warm, delicately roll each cookie in powdered sugar, creating an initial light coating.
- Once cookies reach room temperature, perform a second powdered sugar dusting, transforming them into elegant, snow-white confections with a delicate, powdery exterior.
- Serve immediately or preserve in an airtight container, maintaining their delectable texture and appearance.
Notes
- Chilling the dough is crucial for preventing spread and maintaining the snowball shape during baking.
- Opt for finely chopped nuts like pecans or almonds for a delicate texture that integrates smoothly into the cookie.
- Ensure butter is at room temperature to create a smooth, evenly mixed dough that prevents lumpy cookies.
- For gluten-free variations, substitute all-purpose flour with a 1:1 gluten-free baking flour blend to accommodate dietary restrictions.
- Prep Time: 10 minutes
- Cook Time: 15 minutes
- Category: Desserts, Snacks
- Method: Baking
- Cuisine: American
Nutrition
- Serving Size: 24
- Calories: 135
- Sugar: 5g
- Sodium: 30mg
- Fat: 9g
- Saturated Fat: 6g
- Unsaturated Fat: 3g
- Trans Fat: 0g
- Carbohydrates: 15g
- Fiber: 0.5g
- Protein: 2g
- Cholesterol: 30mg

Jenna Stewart
Head Chef & Recipe Innovator
Expertise
Farm-to-Table Cooking; Seasonal Menu Development; Visual Plating Techniques; Flavor Layering and Simple Prep Hacks.
Education
The Culinary Institute of America, Hyde Park, NY
Jenna Stewart is the inventive spirit behind many of our standout dishes at Pro of Delicious Creations. A proud graduate of The Culinary Institute of America, she built her skills mastering both classic recipes and fresh, modern twists.
Now, Jenna celebrates the beauty of seasonal, local ingredients, often sourced from her garden and nearby markets, to create recipes that are bursting with flavor yet easy to follow. When she’s not experimenting in the kitchen, Jenna loves exploring nature on hikes and discovering new treasures at local co-ops.