
Little Chocolate Chip Cookie Cups: Candy-Topped Joy Recipe
Baking delectable mini chocolate chip cookie cups with candy topping creates a delightful dessert that melts in your mouth.
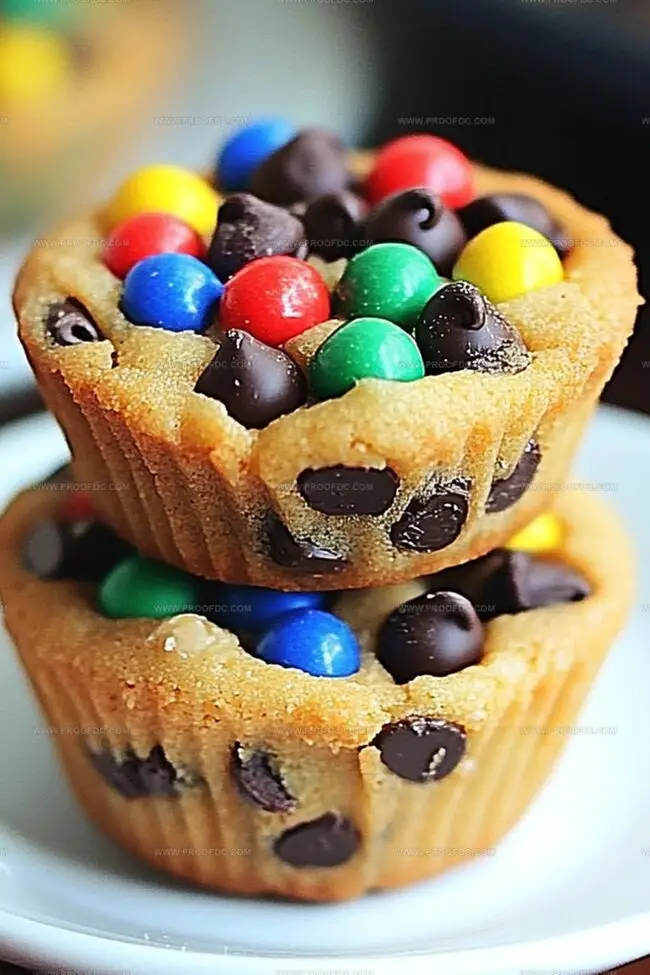
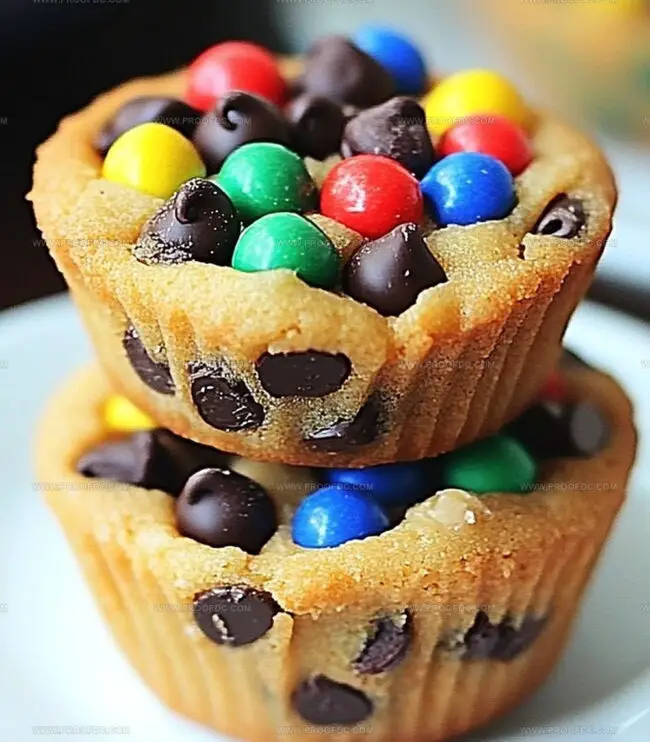
Soft, chewy cookies transform into adorable bite-sized treats perfect for any occasion.
Each miniature cup bursts with rich chocolate chips and colorful candy pieces.
The recipe combines classic cookie ingredients with a playful twist that surprises and delights.
Creamy textures and sweet flavors blend seamlessly in these irresistible mini desserts.
Serve these delightful morsels at parties, gatherings, or enjoy them as a special personal treat.
Dive into this simple yet impressive recipe and watch everyone’s eyes light up with pure dessert joy.
Quick Recipe Overview
Ingredients For Mini Chocolate Chip Cookie Cups With Candy Topping
For Cookie Base:For Sweeteners and Moisture:For Mix-Ins and Topping:Gear For Mini Chocolate Chip Cookie Cups With Candy Topping
How To Make Mini Chocolate Chip Cookie Cups With Candy Topping
Crank the oven to a cozy 350F. Grab your mini muffin tin and give it a quick spray or line with cute little paper cups.
Whip together butter, sugars until they’re light and fluffy like a cloud. Crack in an egg and vanilla, mixing until everything looks smooth and dreamy. In another bowl, blend flour, baking soda, and salt. Gently fold dry ingredients into the creamy mixture. Sprinkle in chocolate chips for bursts of sweetness.
Scoop a tablespoon of dough into each muffin cavity. Press down gently to create perfect little cookie cradles.
Slide the tin into the oven. Bake for 8-10 minutes until edges turn golden and centers look slightly puffy.
Pull out the hot cookie cups. Immediately press a colorful candy right into the center of each warm treat. Let them chill in the tin for a quick 5 minutes.
Transfer cookie cups to a cooling rack. Serve and watch faces light up with joy!
Helpful Tips For Mini Chocolate Chip Cookie Cups With Candy Topping
Serving Mini Chocolate Chip Cookie Cups With Candy Topping
Storage Plan For Mini Chocolate Chip Cookie Cups With Candy Topping
Print
Sweet Mini Chocolate Chip Cookie Cups
- Total Time: 20 minutes
- Yield: 11 1x
Description
Delightful mini chocolate chip cookie cups with candy topping blend classic American dessert nostalgia with playful sweet indulgence. Compact cookie vessels cradle colorful candies, creating irresistible bite-sized treats you’ll savor with pure joy.
Ingredients
- 1 ¼ cups (157 g) all-purpose flour
- ½ cup (113 g) unsalted butter, softened
- ½ cup (100 g) granulated sugar
- ¼ cup (50 g) light brown sugar, packed
- ¾ cup (128 g) mini chocolate chips
- 1 large egg
- 1 tsp vanilla extract
- ½ tsp baking soda
- ¼ tsp salt
- Assorted candies (mini peanut butter cups, M&Ms, Rolos, or Hershey’s Kisses)
Instructions
- Oven Preparation: Preheat oven to 350F (175C) and prepare mini muffin tin with non-stick spray or paper liners.
- Butter Mixture: Cream butter with granulated and brown sugars until fluffy, then blend in egg and vanilla extract until smoothly combined.
- Dough Creation: Whisk flour, baking soda, and salt, then gently fold into butter mixture. Incorporate mini chocolate chips, ensuring even distribution throughout the dough.
- Dough Placement: Fill each muffin cavity with one tablespoon of dough, pressing gently to create an even layer covering the bottom of each cup.
- Baking Process: Bake for 8-10 minutes, watching for golden-brown edges and slightly puffy centers as doneness indicators.
- Candy Topping: Immediately after removing from oven, press a candy into the center of each warm cookie cup. Let rest in tin for 5 minutes to stabilize shape.
- Finishing Touch: Transfer cookie cups to cooling rack and allow to reach room temperature. Optional: Drizzle with melted chocolate or add decorative elements for enhanced presentation.
Notes
- Soften Butter Perfectly: Ensure butter is at room temperature, soft enough to cream easily but not melted, which helps create a smooth, light cookie texture.
- Prevent Overmixing Dough: Gently fold dry ingredients and chocolate chips to maintain a soft, tender cookie structure without developing tough gluten.
- Precise Portioning Technique: Use a tablespoon or small cookie scoop for consistent size, pressing dough evenly to create uniform cookie cups with smooth edges.
- Candy Placement Strategy: Add candy toppings immediately after baking while cookies are warm, allowing the heat to slightly melt the candy and create a seamless surface connection.
- Prep Time: 10 minutes
- Cook Time: 10 minutes
- Category: Desserts, Snacks
- Method: Baking
- Cuisine: American
Nutrition
- Serving Size: 11
- Calories: 180
- Sugar: 12 g
- Sodium: 100 mg
- Fat: 9 g
- Saturated Fat: 5 g
- Unsaturated Fat: 4 g
- Trans Fat: 0 g
- Carbohydrates: 23 g
- Fiber: 1 g
- Protein: 2 g
- Cholesterol: 25 mg
Marcus Foley
Food Critic & Kitchen Coach
Expertise
Recipe Testing and Troubleshooting; Time-Saving Kitchen Hacks; Global Flavor Exploration; Engaging Food Writing and Honest Reviews.
Education
Institute of Culinary Education (ICE), New York, NY
Marcus Foley, based in Atlanta, GA, is a friendly food expert who makes cooking fun and simple.
With hands-on training from the Institute of Culinary Education and years of tasting everything from street food to fine dining, he shares easy kitchen hacks, global flavor ideas, and step-by-step recipes that turn kitchen mishaps into delicious surprises.