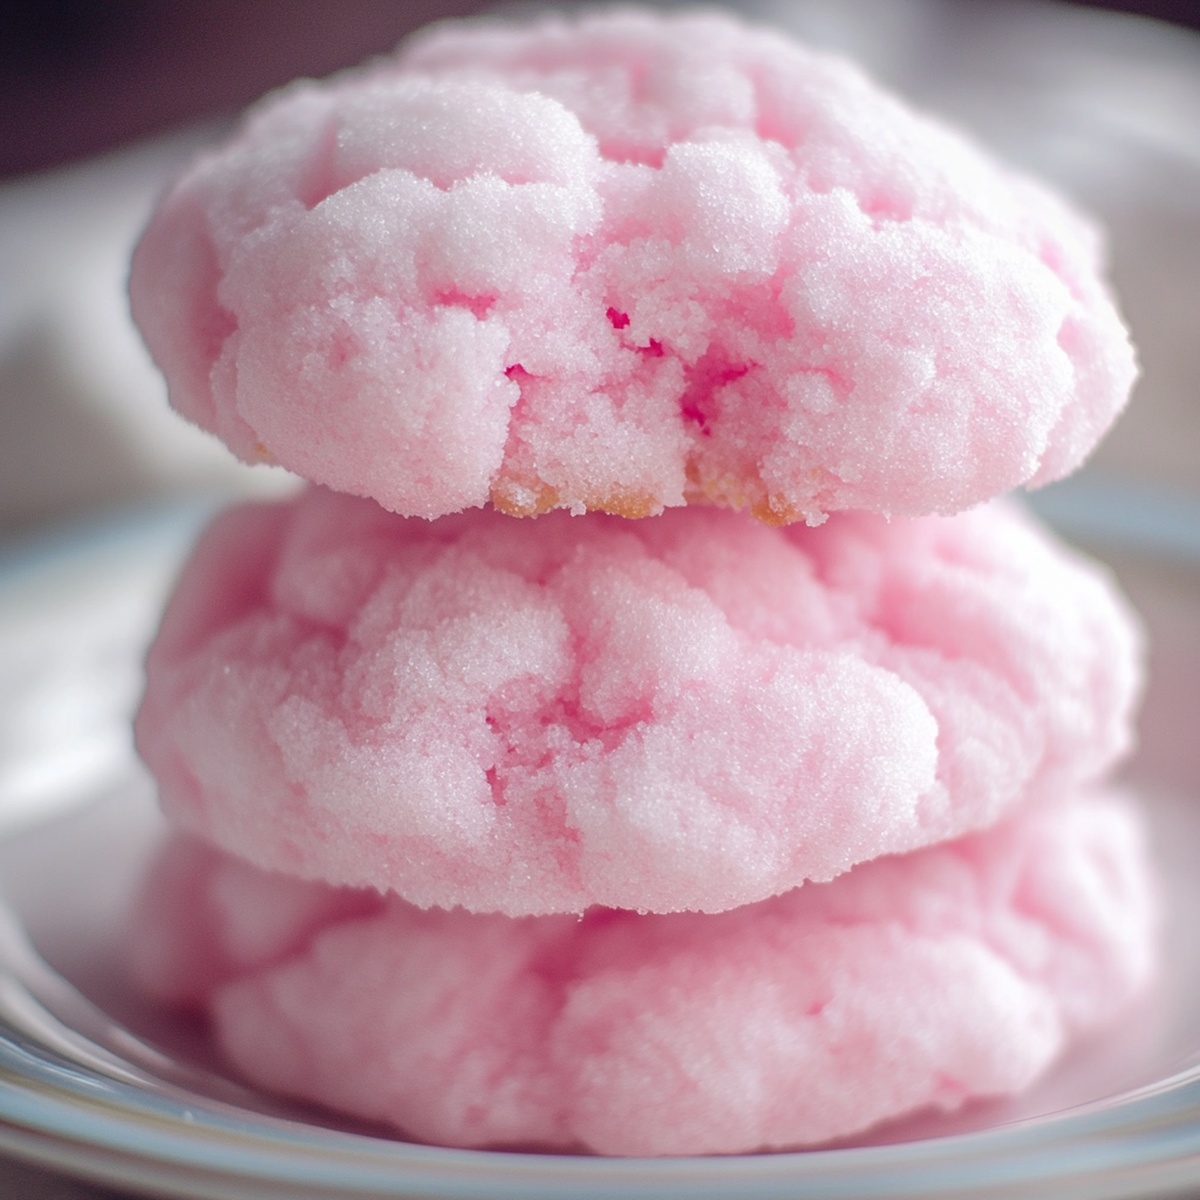
Fluffy Cotton Candy Cookies Recipe: Sweet Pastel Treats!
Sweet-toothed bakers delight in this whimsical cotton candy cookies recipe that captures childhood nostalgia in every delectable bite.
These magical treats blend classic sugar cookie foundations with vibrant, playful cotton candy flavors.
Soft, pillowy cookies emerge from the oven with a delicate pastel swirl that beckons dessert enthusiasts.
The recipe promises a delightful twist on traditional cookie classics, infusing each morsel with sugary, carnival-like memories.
Colorful and light, these cookies transform an ordinary baking session into a joyful celebration of flavor and fun.
The simple ingredients and straightforward method make these cotton candy cookies accessible to bakers of all skill levels.
Dive into this enchanting recipe and let your taste buds dance with sugary excitement.
Quick Recipe Overview
All Ingredients For Cotton Candy Cookies
For Wet Ingredients:For Dry Ingredients:For Decorative Elements:Kitchen Tools For Cotton Candy Cookies
Steps To Make Cotton Candy Cookies
Get your kitchen ready by heating the oven to a toasty 350F. Grab a baking sheet and line it with parchment paper for smooth cookie magic.
Grab a mixing bowl and blend butter with sugars until they transform into a fluffy cloud. Splash in egg, vanilla, and that dreamy cotton candy flavor. Mix until everything dances together beautifully.
In another bowl, gently combine flour, baking soda, baking powder, and salt. Slowly marry these dry ingredients with your wet mixture, stirring until just perfectly blended.
Sprinkle in those cotton candy sparkles. If you’re feeling adventurous, split the dough and paint it pink and blue. Softly swirl the colors without overdoing the mix, creating a dreamy marbled look.
Scoop out dollops of dough and roll them into cute little balls. Arrange them on the baking sheet, giving each cookie some breathing room.
Slide the tray into the oven and bake for 8-10 minutes. You’ll know they’re ready when the edges look set and the centers seem slightly shy of fully baked.
Let the cookies rest on the baking sheet for a quick moment, then transfer to a cooling rack. Once they’ve chilled out, dive into your cotton candy cookie wonderland!
Tips To Get Cotton Candy Cookies Just Right
How To Serve Cotton Candy Cookies
Keep Cotton Candy Cookies Fresh
Keep cookies in an airtight container at room temperature for up to 5 days, separating layers with parchment paper to prevent sticking.
Print
Sweet Cotton Candy Cookies Recipe
- Total Time: 25 minutes
- Yield: 11 1x
Description
Sweet cotton candy cookies combine childhood nostalgia with playful dessert magic. Pastel-hued treats deliver whimsical flavor for delightful celebrations and unexpected moments you will cherish.
Ingredients
- ½ cup (100 grams) light brown sugar, packed
- ½ cup (100 grams) granulated sugar
- ½ cup (113 grams) unsalted butter, softened
- 1 ½ cups (180 grams) all-purpose flour
- 1 large egg
- 1 tsp vanilla extract
- 1 tsp cotton candy extract
- ½ tsp baking soda
- ¼ tsp baking powder
- ¼ tsp salt
- ¼ cup cotton candy sprinkles (or colorful nonpareils)
- Optional: pink and blue gel food coloring
Instructions
- Preheat Preparation: Warm the oven to 350F (175C) and line a baking sheet with parchment paper or silicone mat for optimal cookie performance.
- Flavor Foundation: Whip softened butter with granulated and brown sugars until fluffy and pale, then seamlessly blend in egg, vanilla, and cotton candy extract to create a vibrant base.
- Dry Ingredient Integration: Whisk flour, baking soda, baking powder, and salt, then gently fold into the wet mixture until just combined, avoiding over-mixing.
- Playful Transformation: Incorporate cotton candy sprinkles and artfully divide the dough, tinting portions pink and blue. Delicately swirl colors together for a whimsical marbled effect.
- Shaping and Positioning: Craft uniform dough balls using a tablespoon, strategically placing them on the prepared sheet with ample space for spreading during baking.
- Baking Precision: Slide the sheet into the preheated oven, allowing cookies to bake for 8-10 minutes until edges are set and centers remain slightly soft.
- Cooling Ritual: Let cookies rest on the baking sheet for 5 minutes, then transfer to a wire rack to cool completely, ensuring a perfect texture and easy removal.
Notes
- Manage Moisture Carefully: Avoid overmixing the dough to prevent tough cookies, as gentle folding maintains the delicate texture and prevents gluten development.
- Customize Color Technique: When swirling pink and blue colors, use a light hand to create marble-like patterns without completely blending the colors, preserving distinct visual appeal.
- Temperature Precision Matters: Allow butter to soften naturally at room temperature for 30-45 minutes, ensuring even incorporation and preventing greasy cookie texture.
- Sprinkle Distribution Strategy: Fold cotton candy sprinkles gently into the dough’s final stages, ensuring even spread without breaking or crushing the delicate decorative elements.
- Prep Time: 10 minutes
- Cook Time: 15 minutes
- Category: Desserts, Snacks
- Method: Baking
- Cuisine: American
Nutrition
- Serving Size: 11
- Calories: 150
- Sugar: 12 g
- Sodium: 90 mg
- Fat: 7 g
- Saturated Fat: 4 g
- Unsaturated Fat: 3 g
- Trans Fat: 0 g
- Carbohydrates: 22 g
- Fiber: 0.5 g
- Protein: 1.5 g
- Cholesterol: 30 mg


Marcus Foley
Food Critic & Kitchen Coach
Expertise
Recipe Testing and Troubleshooting; Time-Saving Kitchen Hacks; Global Flavor Exploration; Engaging Food Writing and Honest Reviews.
Education
Institute of Culinary Education (ICE), New York, NY
Marcus Foley, based in Atlanta, GA, is a friendly food expert who makes cooking fun and simple.
With hands-on training from the Institute of Culinary Education and years of tasting everything from street food to fine dining, he shares easy kitchen hacks, global flavor ideas, and step-by-step recipes that turn kitchen mishaps into delicious surprises.