
Buzzing Joy: Adorable Bee Cake Pops Recipe for Sweet Smiles
Sweet treats that spark joy often begin with unexpected twists, and these bee cake pops recipe delights are no exception.
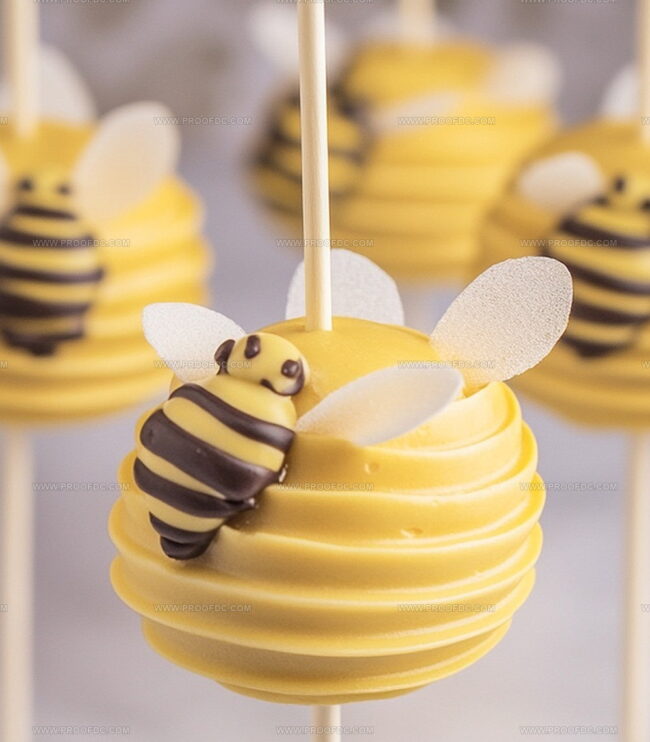
Buzzing with charm and playful design, these adorable desserts bring whimsy to any celebration.
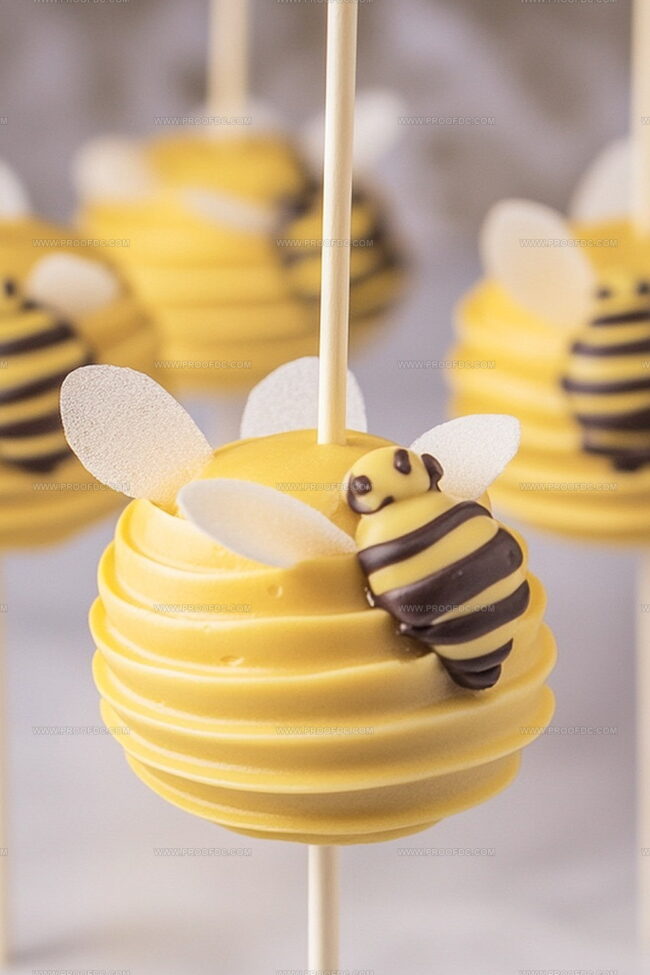
Soft cake centers dipped in golden yellow chocolate create the perfect canvas for adorable bee decorations.
Crafted with simple ingredients and a dash of creativity, these cake pops will steal the show at parties and gatherings.
Kids and adults alike will marvel at the cute bee-inspired treats that look almost too precious to eat.
Each bite promises a delightful blend of moist cake and sweet chocolate coating.
Quick Recipe Overview
What You’ll Need For Bee Cake Pops
For Base Ingredients:For Coating and Decoration:For Assembly Tools:Tools You Should Have For Bee Cake Pops
Quick Steps To Put Together Bee Cake Pops
Crumble a freshly baked cake into delicate, fine pieces creating a soft, fluffy base for your sweet adventure.
Blend cake crumbs with creamy frosting, mixing until the mixture becomes a perfectly moldable consistency that holds its shape beautifully.
Gently roll the mixture into cute, round balls about the size of a golf ball. Place them on a chilled surface to help them firm up.
Melt sunny yellow candy coating in short bursts, stirring carefully until it becomes a smooth, glossy liquid that will transform your cake balls.
Dip each lollipop stick’s tip into the melted candy, then carefully anchor it into the center of each cake ball, creating a perfect handle.
Dunk each cake ball into the vibrant yellow coating, allowing excess to drip off. Stand them upright to create their signature bee-like appearance.
Add playful black stripes using melted dark candy. Attach tiny edible eyes and delicate white wings to bring your bee cake pops to life with whimsical charm.
Display your adorable bee cake pops on a beautiful stand, ready to delight friends and family with their cute and delicious design.
Tips To Make Bee Cake Pops Your Own
Creative Ways To Serve Bee Cake Pops
How To Store Leftover Bee Cake Pops
Print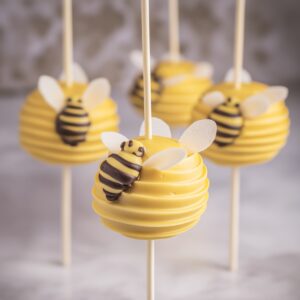
Sweet Bee Cake Pops Recipe
- Total Time: 1 hour 50 minutes
- Yield: 11 1x
Description
Delightful bee cake pops showcase adorable honey-inspired treats perfect for parties. Sweet miniature desserts combine playful creativity with classic confectionery techniques, offering guests a charming culinary experience you will savor.
Ingredients
- 1 box cake mix (any flavor, baked according to package instructions)
- ⅓ cup (79 milliliters) frosting (vanilla or cream cheese)
- 2 cups (340 grams) yellow candy melts
- ¼ cup (43 grams) white candy melts (for wings)
- ¼ cup (43 grams) black candy melts or black icing
- Edible candy eyes
- Lollipop sticks
Instructions
- Crumb Preparation: Demolish the baked cake into fine, uniform crumbs within a spacious mixing bowl, ensuring a consistent texture.
- Binding Process: Blend frosting into cake crumbs meticulously, creating a cohesive mixture that maintains structural integrity without excessive moisture.
- Shaping and Chilling: Form precise one-inch spheres and position on a parchment-lined tray. Refrigerate for 15-20 minutes to solidify the cake balls.
- Stick Insertion: Dip lollipop stick tips into warm candy coating, then carefully embed midway through the chilled cake spheres for secure anchoring.
- Coating Technique: Immerse each cake pop completely in golden-yellow candy coating, allowing excess to cascade off smoothly. Position vertically to set.
- Decorative Detailing: Pipe precision black stripes across the yellow surface to create distinctive bee-like markings. Attach miniature candy eyes using a minimal amount of melted coating.
- Final Embellishment: Craft delicate white candy melt wings on parchment paper, then carefully affix to the cake pop’s upper section. Arrange on an elegant display stand to showcase the whimsical bee-inspired creations.
Notes
- Master Cake Crumb Technique: Crumble cake gently with fingertips for ultra-fine, consistent texture that ensures smooth cake pop formation.
- Control Moisture Precision: Add frosting incrementally, testing mixture’s binding ability – ideal consistency holds shape without crumbling or becoming too wet.
- Chill for Structural Perfection: Refrigerate cake balls minimum 20 minutes before coating to prevent potential structural collapse during dipping process.
- Candy Coating Pro Tip: Melt coating in short 15-second intervals, stirring between each session to maintain silky smooth texture and prevent burning or separation.
- Prep Time: 20 minutes
- Cook Time: 30 minutes
- Category: Desserts, Snacks
- Method: Mixing
- Cuisine: American
Nutrition
- Serving Size: 11
- Calories: 200
- Sugar: 25 g
- Sodium: 150 mg
- Fat: 8 g
- Saturated Fat: 4 g
- Unsaturated Fat: 2 g
- Trans Fat: 0 g
- Carbohydrates: 30 g
- Fiber: 1 g
- Protein: 2 g
- Cholesterol: 15 mg
Marcus Foley
Food Critic & Kitchen Coach
Expertise
Recipe Testing and Troubleshooting; Time-Saving Kitchen Hacks; Global Flavor Exploration; Engaging Food Writing and Honest Reviews.
Education
Institute of Culinary Education (ICE), New York, NY
Marcus Foley, based in Atlanta, GA, is a friendly food expert who makes cooking fun and simple.
With hands-on training from the Institute of Culinary Education and years of tasting everything from street food to fine dining, he shares easy kitchen hacks, global flavor ideas, and step-by-step recipes that turn kitchen mishaps into delicious surprises.