
Festive Sugar Cookie Mitten Cookies Recipe for Holiday Joy
Biting into a soft, delightful sugar cookie mitten that melts right on your tongue!
Winter’s coziest treat comes alive with these charming seasonal delights.
Festive bakers adore creating these whimsical shapes that spark joy at every gathering.
Decorating becomes an art form when you transform simple dough into adorable mittens.
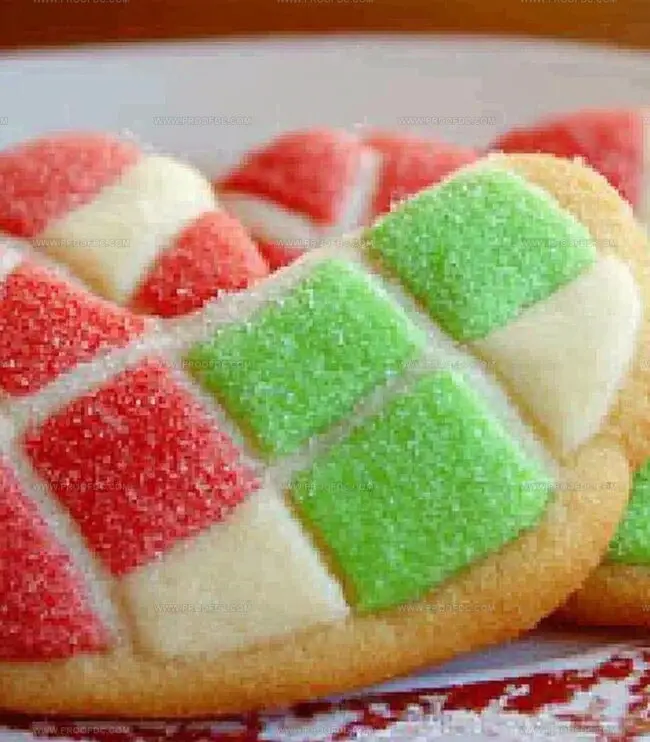
Delicate icing and sprinkles turn ordinary cookies into magical winter memories.
Colorful and playful, these sweet treats invite everyone to embrace the season’s warmth.
You’ll fall in love with how easily these cookies come together in your kitchen.
Grab your apron and let the cookie adventure begin!
Why Sugar Cookie Mitten Cookies Are Too Cute To Skip

What You’ll Use To Make Sugar Cookie Mitten Cookies
Cookie Base Ingredients:Decoration Ingredients:Preparation Ingredients:Steps To Bake Sugar Cookie Mitten Cookies
Step 1: Mix Dry Ingredients
Grab a medium bowl and whisk together:Step 2: Cream Butter and Sugar
In a large bowl, beat softened butter and sugar until they become light and fluffy. The mixture should look creamy and pale.
Step 3: Add Wet Ingredients
Blend in:Mix until everything is well combined and smooth.
Step 4: Create Cookie Dough
Gradually add the dry ingredient mixture to the wet ingredients. Stir until the dough comes together and forms a cohesive ball.
Step 5: Chill the Dough
Divide the dough into two disks. Wrap each disk in plastic wrap and refrigerate for at least one hour. This helps the cookies hold their shape.
Step 6: Prepare for Baking
Preheat the oven to 350 Fahrenheit (175 Celsius). Line baking sheets with parchment paper.
Step 7: Roll and Cut Cookies
On a lightly floured surface, roll out the chilled dough to about 1/4-inch thickness. Use a mitten-shaped cookie cutter to create festive shapes.
Step 8: Bake Mittens
Place cookie shapes on prepared baking sheets. Bake for 10-12 minutes until edges turn light golden brown.
Step 9: Cool Cookies
Let cookies rest on baking sheets for 5 minutes. Transfer to a wire rack to cool completely.
Step 10: Prepare Royal Icing
In a large bowl, beat together:Mix until the icing becomes thick and glossy.
Step 11: Adjust Icing Consistency
Add water one teaspoon at a time to reach the perfect piping or flooding consistency.
Step 12: Decorate Mittens
Divide icing into separate bowls. Add food coloring as desired. Use a piping bag with a fine tip to:Enjoy your delightful mitten cookies!
Tips To Shape Sugar Cookie Mitten Cookies Just Right
How To Store Sugar Cookie Mitten Cookies For Later
What Matches Sugar Cookie Mitten Cookies Perfectly
Ways To Personalize Sugar Cookie Mitten Cookies
Sugar Cookie Mitten Cookies FAQs
Chilling helps the dough firm up, preventing spreading during baking and making it easier to roll out without sticking. It also helps the cookies maintain their crisp mitten shape.
Absolutely! You can prepare the dough and refrigerate it for up to 3 days before baking. This makes it perfect for advance party or holiday prep.
Add powdered sugar gradually to thicken the icing or use less water. For flooding consistency, the icing should flow smoothly but not be too thin. Start with small amounts of liquid and adjust slowly.
Use a steady hand and a piping bag with a small round tip. Outline the mitten shape first, then flood the inside with slightly thinned icing. Let each layer dry before adding additional decorative details.
Print
Sugar Cookie Mitten Cookies Recipe
- Total Time: 2 hours 42 minutes
- Yield: 24 1x
Description
Festive Sugar Cookie Mitten delights bring winter warmth to holiday tables with charming shapes and sweet memories. Cookie crafters can easily create these playful treats that connect generations through simple baking joy.
Ingredients
Main Ingredients:
- 2 ¾ cups (350 g) all-purpose flour
- 1 cup (225 g) unsalted butter, softened
- 1 cup (200 g) granulated sugar
Binding Ingredients:
- 1 large egg
- 1 teaspoon vanilla extract
- ½ teaspoon almond extract (optional)
- 1 teaspoon baking powder
- ½ teaspoon salt
Decorating Ingredients:
- 3 cups (375 g) powdered sugar
- 2 large egg whites or 4 tablespoons meringue powder + 4 tablespoons water
- ½ teaspoon vanilla or almond extract
- Food coloring (red, white, and festive colors)
Instructions
- Create a smooth, uniform dough by whisking flour, baking powder, and salt in a medium mixing vessel. In a separate large bowl, cream butter and sugar until airy and pale, incorporating egg and vanilla extracts thoroughly.
- Gradually fold dry ingredients into the wet mixture, blending until a cohesive dough forms. Separate the dough into two compact disks, encase in plastic wrap, and refrigerate for minimum one hour to firm up.
- Heat oven to 350F and prepare baking sheets with parchment paper. On a lightly dusted surface, roll out chilled dough to a uniform 1/4-inch thickness.
- Carefully cut mitten shapes using a specialized cookie cutter, transferring delicate cutouts onto prepared baking sheets with gentle precision.
- Bake mittens for 10-12 minutes, watching for subtle golden edges. Allow cookies to rest on baking sheets for five minutes before transferring to a cooling rack.
- Prepare royal icing by whipping powdered sugar with egg whites and vanilla until achieving a glossy, smooth texture. Adjust consistency by incrementally adding water.
- Separate icing into multiple bowls and introduce food coloring for vibrant designs. Use fine-tipped piping tools to outline mitten borders with precision.
- Flood inner cookie surface with thinned icing, creating smooth base layers. Embellish with intricate snowflake motifs, playful polka dots, or elegant striped patterns.
- Allow decorated cookies to dry completely, ensuring intricate designs set firmly before serving or packaging.
Notes
- Chill dough thoroughly to prevent spreading and maintain crisp mitten shapes during baking.
- Use room temperature ingredients for smoother, more consistent cookie dough that blends easily.
- Dust work surface lightly with flour to prevent sticky dough from clinging and tearing when rolling out.
- Opt for gel food coloring when decorating to achieve vibrant icing colors without altering icing consistency.
- Swap almond extract with vanilla if nut allergies are a concern or prefer pure vanilla flavor.
- Allow cookies to cool completely before icing to prevent melting and ensure clean, precise decorations.
- Store decorated cookies in single layers between parchment paper to preserve intricate icing designs.
- Experiment with different extract flavors like peppermint or orange to create unique seasonal variations.
- Prep Time: 30 minutes
- Cook Time: 12 minutes
- Category: Desserts, Snacks
- Method: Baking
- Cuisine: American
Nutrition
- Serving Size: 24
- Calories: 202
- Sugar: 12 g
- Sodium: 60 mg
- Fat: 9 g
- Saturated Fat: 5 g
- Unsaturated Fat: 3 g
- Trans Fat: 0 g
- Carbohydrates: 29 g
- Fiber: 0 g
- Protein: 2 g
- Cholesterol: 30 mg
Jenna Stewart
Head Chef & Recipe Innovator
Expertise
Farm-to-Table Cooking; Seasonal Menu Development; Visual Plating Techniques; Flavor Layering and Simple Prep Hacks.
Education
The Culinary Institute of America, Hyde Park, NY
Jenna Stewart is the inventive spirit behind many of our standout dishes at Pro of Delicious Creations. A proud graduate of The Culinary Institute of America, she built her skills mastering both classic recipes and fresh, modern twists.
Now, Jenna celebrates the beauty of seasonal, local ingredients, often sourced from her garden and nearby markets, to create recipes that are bursting with flavor yet easy to follow. When she’s not experimenting in the kitchen, Jenna loves exploring nature on hikes and discovering new treasures at local co-ops.