Quick Red Velvet Cake In A Jar Recipe: Sweet Joy In Layers!
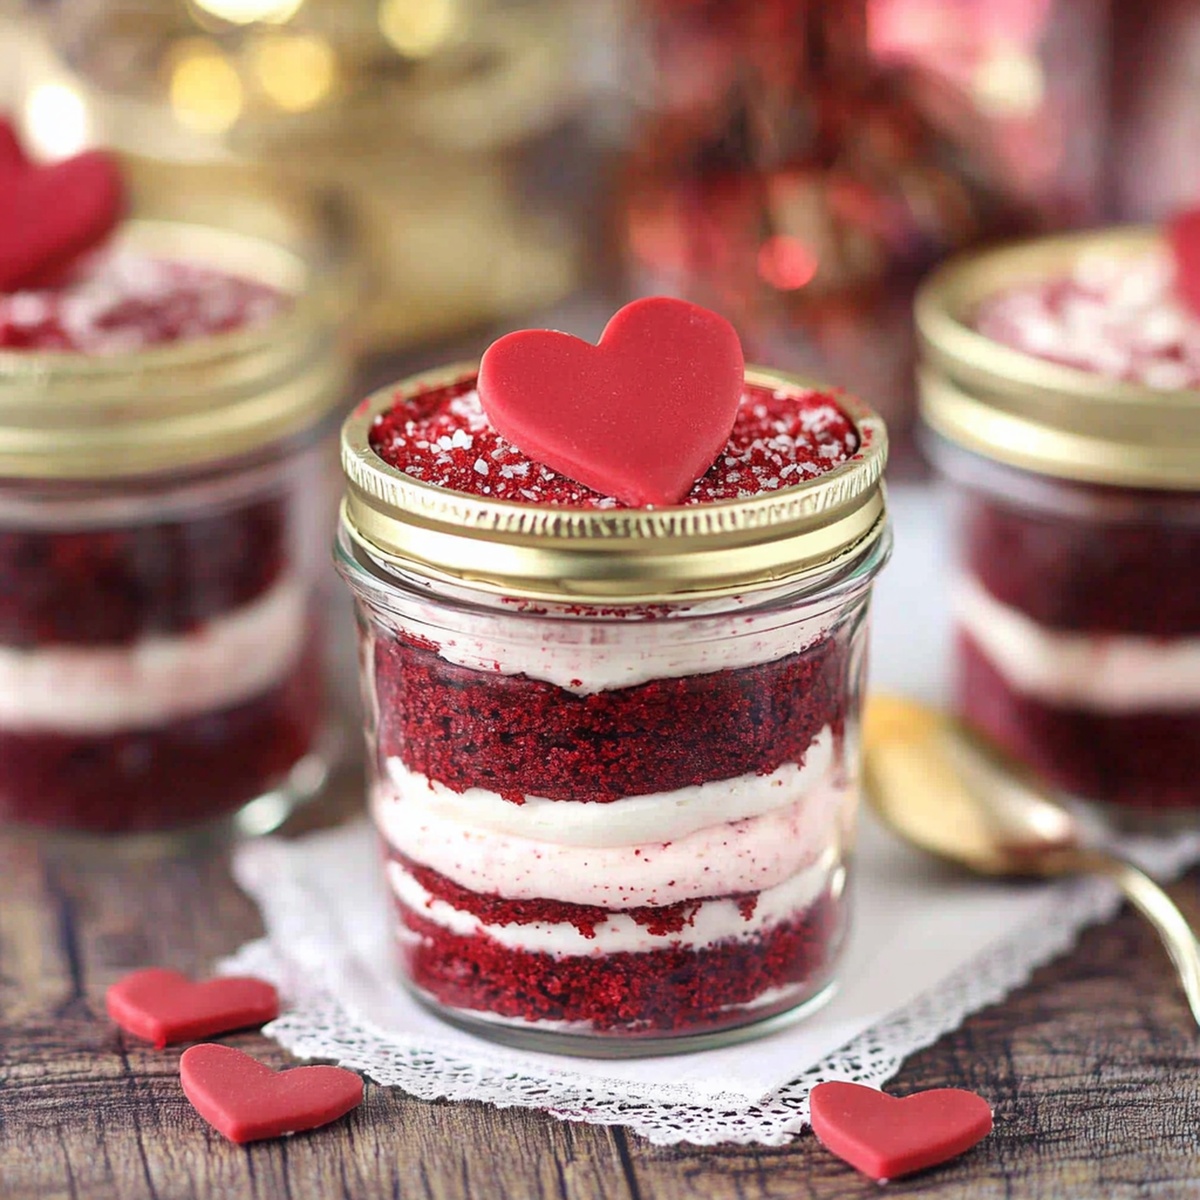
Layers of crimson delight and red velvet cake in a jar create a dessert that’s both visually stunning and irresistibly delicious.
Rich, velvety crumbs mingle with smooth cream cheese frosting in this adorable portable treat.
Compact and charming, these individual desserts pack all the classic cake flavors into a convenient glass vessel.
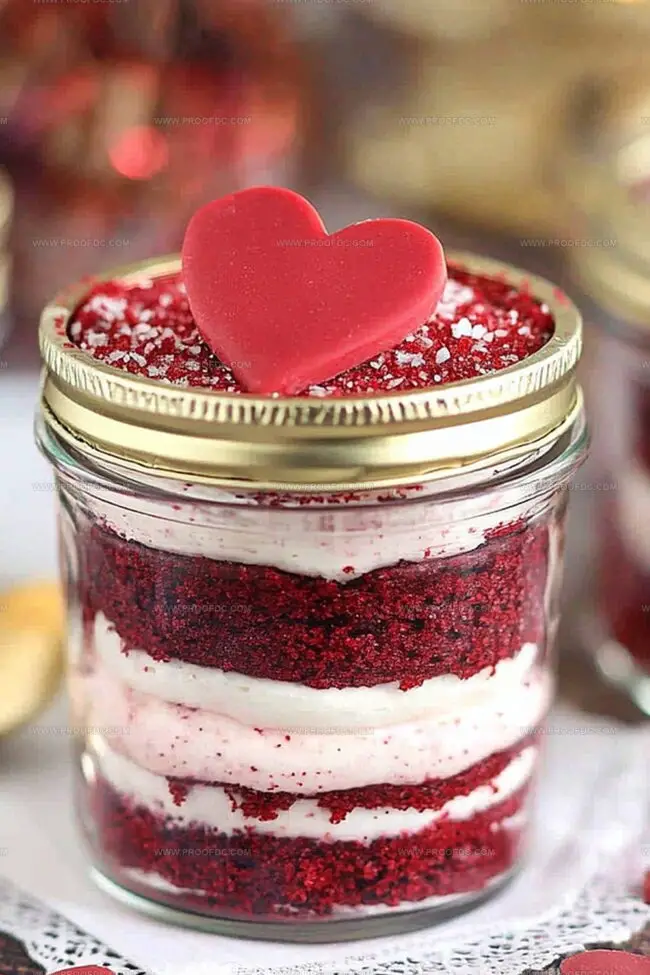
Each jar tells a story of decadent texture and deep, luxurious color.
Guests will be captivated by the vibrant red hues and elegant presentation.
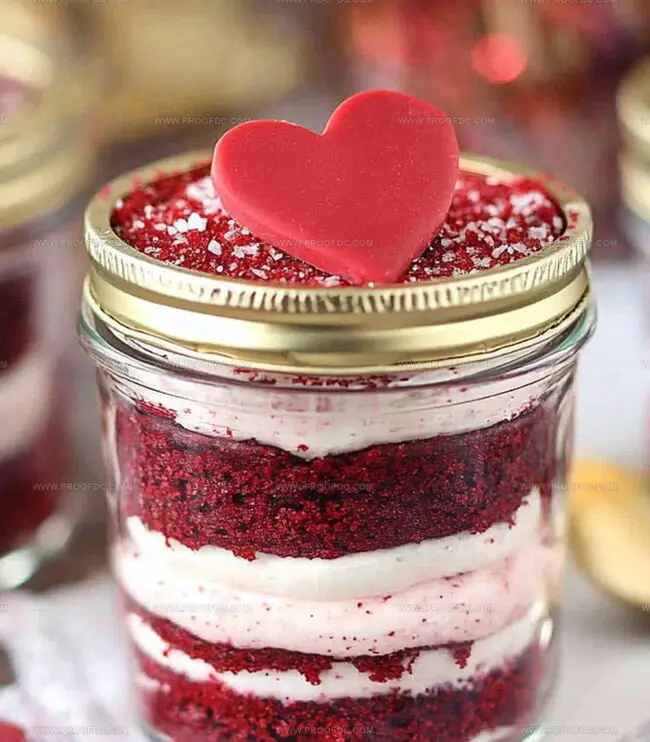
The recipe transforms a traditional cake into a modern, eye-catching sweet that’s perfect for parties or intimate gatherings.
Prepare to fall in love with this delightful dessert that promises pure indulgence in every delectable spoonful.
Quick Recipe Overview
What You’ll Need For Red Velvet Cake In A Jar
For The Base:For The Wet Ingredients:For The Frosting:Tools To Prep Red Velvet Cake In A Jar
How To Layer Red Velvet Cake In A Jar
Whip up a dreamy red velvet cake mixture by blending dry ingredients like flour, cocoa, and sugar in one bowl. In another container, combine wet ingredients including buttermilk, eggs, and vibrant red food coloring. Gently marry these mixtures until smooth and luxurious.
Pour batter into a prepared pan and slide into a toasty 350F oven. Bake until a toothpick emerges clean, typically around 25-30 minutes. Allow cake to cool completely, releasing irresistible aromas throughout your kitchen.
Beat cream cheese and butter until silky and light. Gradually incorporate powdered sugar and vanilla, whipping until the frosting reaches cloud-like consistency. The result should be smooth and decadent.
Cut cake into perfect circular pieces that nestle beautifully inside mason jars. Alternate cake and frosting layers, building a stunning dessert. Start with cake, add frosting, repeat until jar is deliciously full. Top with playful cake crumbs or sprinkles for extra charm.
Refrigerate your jar masterpieces for at least 30 minutes to let flavors meld. Grab a spoon and dive into your portable sweet treat, ready to delight taste buds anywhere!
Tips For Red Velvet Cake In A Jar Flavor
Serving Suggestions For Red Velvet Cake In A Jar
How To Store Red Velvet Cake In A Jar
Print
Stunning Red Velvet Cake In A Jar Recipe
- Total Time: 1 hour 30 minutes
- Yield: 69 1x
Description
Red velvet cake in a jar delights dessert enthusiasts with its charming layered presentation. Compact glass containers showcase rich chocolate notes and creamy frosting, creating a portable sweet treat perfect for casual gatherings or personal indulgence.
Ingredients
- 2 large eggs, room temperature
- 1 ½ cups (300g) granulated sugar
- 1 cup (240ml) buttermilk
- 1 cup (240ml) vegetable oil
- 2 ½ cups (300g) all-purpose flour
- 2 tbsps (30ml) red food coloring
- 1 tsp baking soda
- 1 tsp cocoa powder
- 1 tsp salt
- 1 tsp white vinegar
- 1 tsp vanilla extract
- 8 oz (226g) cream cheese, softened
- ½ cup (1 stick or 113g) unsalted butter, softened
- 3 cups (360g) powdered sugar
- 1 tsp vanilla extract
- 6–8 small mason jars (8 oz each)
- crushed red velvet cake crumbs for garnish (optional)
Instructions
- Dry Ingredient Fusion: Thoroughly blend flour, cocoa powder, sugar, baking soda, and salt in a mixing bowl, ensuring uniform distribution and eliminating potential clumping.
- Liquid Component Integration: Whisk buttermilk, vegetable oil, eggs, vanilla extract, white vinegar, and red food coloring together until a smooth, vibrant mixture emerges, eliminating any visible streaks.
- Batter Formation: Delicately fold dry ingredients into liquid mixture with minimal stirring, preserving the cake’s potential for a tender, delicate crumb structure.
- Baking Preparation: Pour batter into a parchment-lined, greased rectangular pan, smoothing the surface for even baking and consistent texture.
- Oven Transformation: Position pan in a preheated 350°F oven, baking 25-30 minutes until a test skewer cleanly emerges from the cake’s center, indicating perfect doneness.
- Cooling and Frosting Preparation: Allow cake to cool completely while simultaneously crafting cream cheese frosting by whipping room-temperature cream cheese and butter until silky, gradually incorporating powdered sugar and vanilla extract.
- Jar Assembly: Cut precise cake rounds matching jar diameter, creating artistic layers by alternating cake and frosting, starting with cake and concluding with an elegant frosting peak.
- Finishing Touches: Embellish with delicate cake crumbs or festive sprinkles, then refrigerate for 30 minutes to enhance flavor cohesion and structural integrity.
- Serving Finale: Present chilled dessert jars, inviting direct consumption with a dessert spoon and celebrating the visual and gustatory harmony of the red velvet creation.
Notes
- Manage Color Intensity: Use gel food coloring for vibrant red hue without altering batter consistency, ensuring rich color without excess liquid.
- Prevent Overmixing: Stir cake batter gently and minimally to maintain soft, tender crumb texture, stopping once ingredients are just combined to avoid tough cake.
- Control Moisture Balance: Let cake cool completely before layering to prevent frosting from melting and maintain structural integrity of jar dessert.
- Optimize Cream Cheese Frosting: Ensure cream cheese and butter are precisely room temperature for smooth blending, preventing lumps and achieving silky, spreadable consistency.
- Prep Time: 30 minutes
- Cook Time: 30 minutes
- Category: Desserts, Snacks
- Method: Baking
- Cuisine: American
Nutrition
- Serving Size: 69
- Calories: 372
- Sugar: 36g
- Sodium: 245mg
- Fat: 21g
- Saturated Fat: 10g
- Unsaturated Fat: 11g
- Trans Fat: 0g
- Carbohydrates: 42g
- Fiber: 0.5g
- Protein: 3g
- Cholesterol: 56mg
Marcus Foley
Food Critic & Kitchen Coach
Expertise
Recipe Testing and Troubleshooting; Time-Saving Kitchen Hacks; Global Flavor Exploration; Engaging Food Writing and Honest Reviews.
Education
Institute of Culinary Education (ICE), New York, NY
Marcus Foley, based in Atlanta, GA, is a friendly food expert who makes cooking fun and simple.
With hands-on training from the Institute of Culinary Education and years of tasting everything from street food to fine dining, he shares easy kitchen hacks, global flavor ideas, and step-by-step recipes that turn kitchen mishaps into delicious surprises.