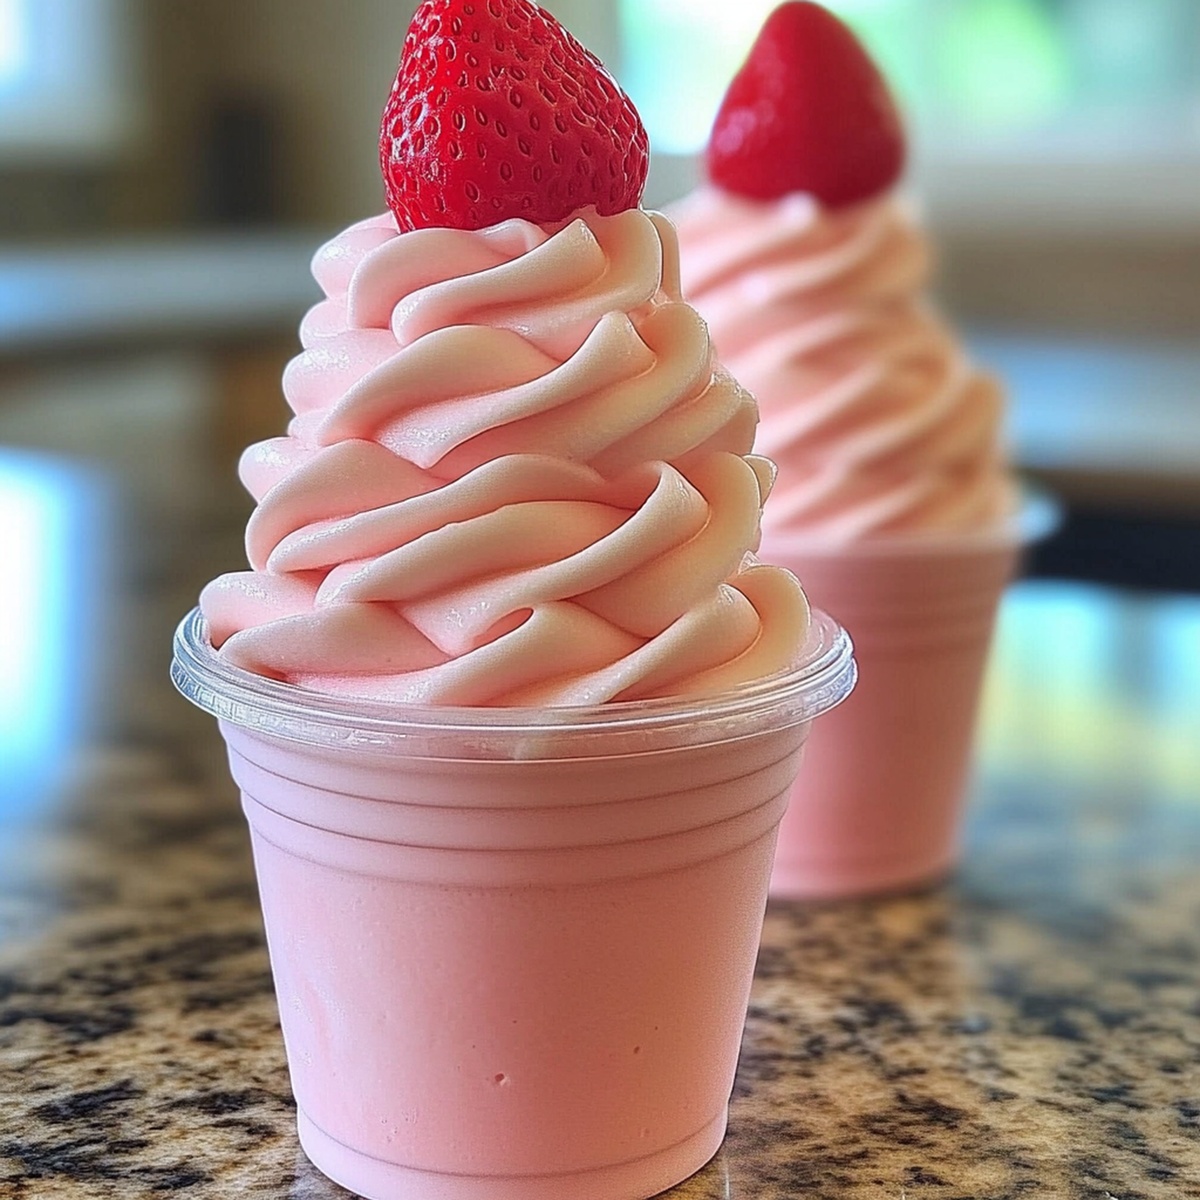
The Best Homemade Strawberry Dole Whip Recipe Ever
Summer’s sweetest whispers arrive with this magical strawberry dole whip that captures pure tropical delight.
Blending creamy textures with vibrant fruit essence in mere minutes.
Pineapple lovers and dessert enthusiasts will adore this refreshing treat that mimics theme park memories.
Disney fanatics know how special these frozen delicacies can be, but now you can craft them right in your kitchen.
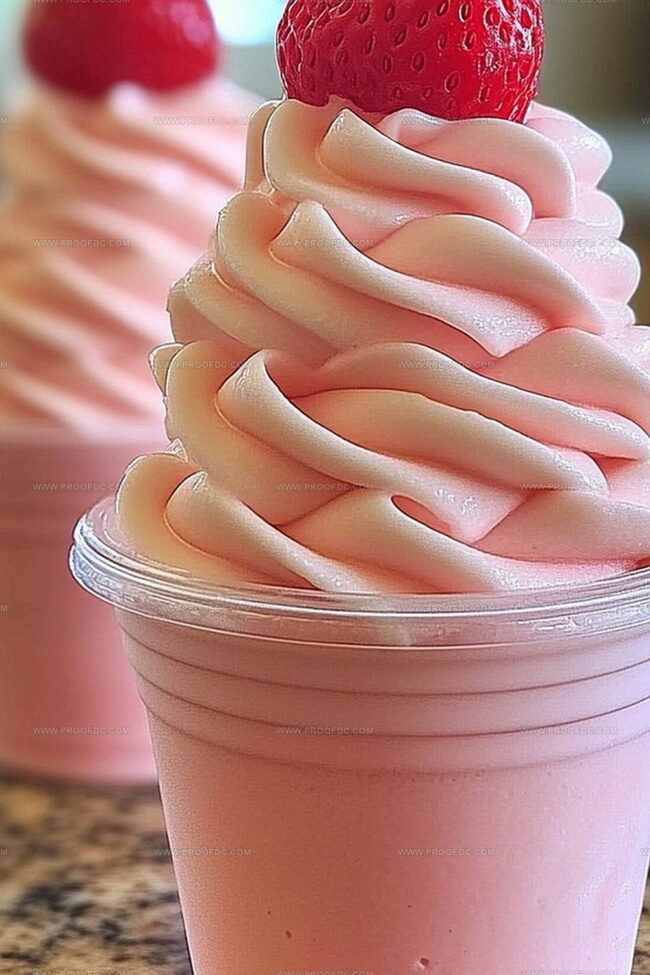
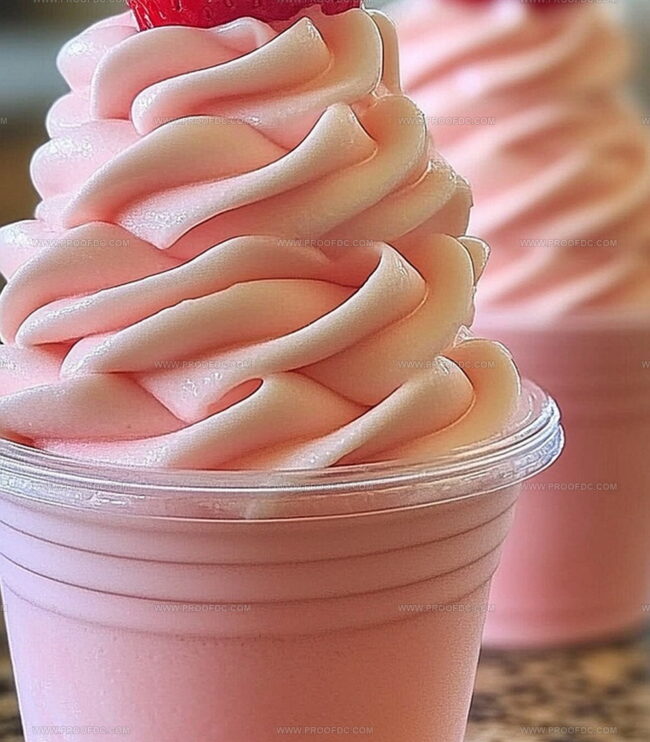
Soft, swirling peaks of strawberry goodness promise an instant cool-down on scorching afternoons.
Minimal ingredients and quick preparation mean spontaneous happiness is just a blender away.
Grab your ingredients and let’s transform simple strawberries into a dreamy, Instagram-worthy dessert that will make everyone swoon.
Why Strawberry Dole Whip Is A Sweet Favorite
Ingredients Needed For Strawberry Dole Whip
Main Ingredients:
Frozen Strawberries: Fresh red berries transformed into a frosty base, key to the dessert’s vibrant color and intense fruit flavor. Best when fully ripe and frozen solid for creamy texture.
Pineapple Juice: Tropical liquid that adds sweetness and helps create smooth blending consistency. Fresh or good quality store-bought juice works perfectly.
Coconut Milk: Creamy dairy-free liquid that provides rich, smooth texture and subtle tropical undertone. Full-fat version recommended for best results.
Sweetening and Flavor Enhancers:
Powdered Sugar: Soft sugar that dissolves easily and sweetens the dessert. Helps create smooth, consistent texture without graininess.
Lemon Juice: Bright citrus liquid that balances sweetness and adds a subtle tangy note. Freshly squeezed preferred for best flavor.
Optional Garnish:
Fresh Strawberry Slices: Colorful fruit topping that adds fresh texture and visual appeal. Ripe, in-season strawberries recommended.
Mint Sprig: Delicate herb garnish that provides a fresh, aromatic touch. Optional but adds elegant presentation.
Honey: Sweet natural syrup that can provide additional drizzle and depth of flavor. Choose pure, high-quality honey.
Step-By-Step Strawberry Dole Whip Directions
Step 1: Transform Frozen Fruits Into Dreamy Swirl
Grab your trusty blender or food processor and toss in these delightful ingredients:Blast everything on high until the mixture becomes silky smooth and creamy. If the blend seems too thick, splash in a bit more pineapple juice or coconut milk to reach that perfect, velvety texture.
Step 2: Fine-Tune The Sweetness
Take a quick taste test and adjust the sweetness by sprinkling in extra powdered sugar. Give it another quick whirl to mix everything beautifully.
Step 3: Create Your Swirly Masterpiece
For that classic soft-serve magic, immediately scoop the whip into serving bowls. Pro tip: Use a piping bag to create those Instagram-worthy swirls that’ll make everyone swoon.
Step 4: Chill And Firm
Want a firmer treat? Transfer your creation to a freezer-safe container and let it hang out for 20-30 minutes. Remember to stir halfway through to keep things even and smooth.
Step 5: Dress Up Your Dessert
Get creative with your garnishes! Try fresh strawberry slices, a delicate mint sprig, or a tempting drizzle of golden honey. Your strawberry Dole Whip is ready to steal the show!
Smart Strawberry Dole Whip Prep Tips
How To Store And Reheat Strawberry Dole Whip
Pairing Picks For Strawberry Dole Whip
Try These Versions Of Strawberry Dole Whip
Answers To Common Strawberry Dole Whip Questions
Unlike traditional ice cream, Dole Whip is dairy-free, lighter, and has a smoother soft-serve texture. It’s made with frozen fruit and plant-based milk, creating a refreshing and healthier dessert option.
Absolutely! This Strawberry Dole Whip is naturally dairy-free since it uses coconut milk instead of traditional dairy. It’s perfect for people with lactose intolerance or dairy allergies.
You’ll need a high-powered blender or food processor to create the smooth, creamy texture. A piping bag is optional but helps create that classic swirl if you want a more professional presentation.
Yes! The Strawberry Dole Whip is completely vegan as it uses plant-based ingredients like coconut milk and doesn’t contain any animal products. It’s a great dessert for those following a vegan diet.
Print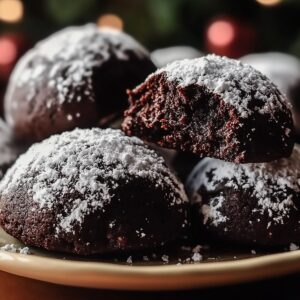
Double Chocolate Snowball Cookies Recipe
- Total Time: 40 minutes
- Yield: 24 1x
Description
Wintertime magic sparkles in these double chocolate snowball cookies, dusted with powdered sugar like freshly fallen snow. Melt-in-your-mouth chocolate goodness and delicate crumbly texture invite you to savor each delightful bite of pure seasonal comfort.
Ingredients
Main Ingredients:
- 2 cups (250 g) all-purpose flour
- 1 cup (225 g) unsalted butter, softened
- ¾ cup (120 g) mini chocolate chips or finely chopped chocolate
Sweeteners and Flavor Enhancers:
- ½ cup (100 g) granulated sugar
- 1 cup (120 g) powdered sugar, for coating
- 1 teaspoon vanilla extract
Dry Ingredients:
- ¼ cup (25 g) unsweetened cocoa powder
- ¼ teaspoon salt
Instructions
- Prepare the oven environment by heating to 350F (175C) and lining a baking sheet with parchment paper to ensure even baking and prevent sticking.
- Create a creamy butter base by thoroughly blending softened butter with granulated sugar until the mixture becomes light and airy. Infuse vanilla extract for depth of flavor.
- Combine dry ingredients separately, whisking flour, cocoa powder, and salt to eliminate potential lumps and ensure even distribution of chocolate undertones.
- Gradually incorporate dry ingredients into the butter mixture, gently folding until a cohesive dough forms. Delicately mix in mini chocolate chips, distributing them evenly throughout the dough.
- Carefully portion the dough into small, uniform spheres using a tablespoon, rolling each between your palms to create smooth, round cookies.
- Arrange cookie balls on the prepared baking sheet, positioning them with slight separation to allow for minimal spreading during baking.
- Transfer the baking sheet to the preheated oven and bake for 10-12 minutes, watching for subtle signs of doneness – the edges should appear set but not darkened.
- Remove cookies from the oven and allow them to rest on the baking sheet for approximately 5 minutes, enabling them to firm up slightly.
- While cookies are still warm, gently roll them in powdered sugar, creating an initial delicate coating that will adhere smoothly to the surface.
- Transfer coated cookies to a wire rack, allowing them to cool completely and develop a crisp exterior.
- Once cooled, perform a second powdered sugar coating to achieve a luxurious, snow-like finish that completely envelops each cookie.
- Store the finished double chocolate snowball cookies in an airtight container, maintaining their texture and flavor for up to 5 days at room temperature.
Notes
- Chill the dough for 30 minutes before shaping to prevent spreading and create more defined snowball shapes.
- Use Dutch-processed cocoa for a deeper, richer chocolate flavor that complements the sweet powdered sugar coating.
- For gluten-free options, swap regular flour with a high-quality gluten-free all-purpose flour blend to maintain the cookie’s tender texture.
- Avoid overworking the dough to keep the cookies tender and prevent them from becoming tough or dense during mixing.
- Prep Time: 15 minutes
- Cook Time: 15 minutes
- Category: Desserts, Snacks
- Method: Baking
- Cuisine: American
Nutrition
- Serving Size: 24
- Calories: 190
- Sugar: 9 g
- Sodium: 50 mg
- Fat: 11 g
- Saturated Fat: 7 g
- Unsaturated Fat: 4 g
- Trans Fat: 0 g
- Carbohydrates: 22 g
- Fiber: 1 g
- Protein: 2 g
- Cholesterol: 30 mg
Jenna Stewart
Head Chef & Recipe Innovator
Expertise
Farm-to-Table Cooking; Seasonal Menu Development; Visual Plating Techniques; Flavor Layering and Simple Prep Hacks.
Education
The Culinary Institute of America, Hyde Park, NY
Jenna Stewart is the inventive spirit behind many of our standout dishes at Pro of Delicious Creations. A proud graduate of The Culinary Institute of America, she built her skills mastering both classic recipes and fresh, modern twists.
Now, Jenna celebrates the beauty of seasonal, local ingredients, often sourced from her garden and nearby markets, to create recipes that are bursting with flavor yet easy to follow. When she’s not experimenting in the kitchen, Jenna loves exploring nature on hikes and discovering new treasures at local co-ops.