Homemade Starbucks Cake Pops Recipe: Sweet Treats Made Simple
Sweet memories of childhood collide with a delightful Starbucks cake pops delight that might just become your new favorite treat.
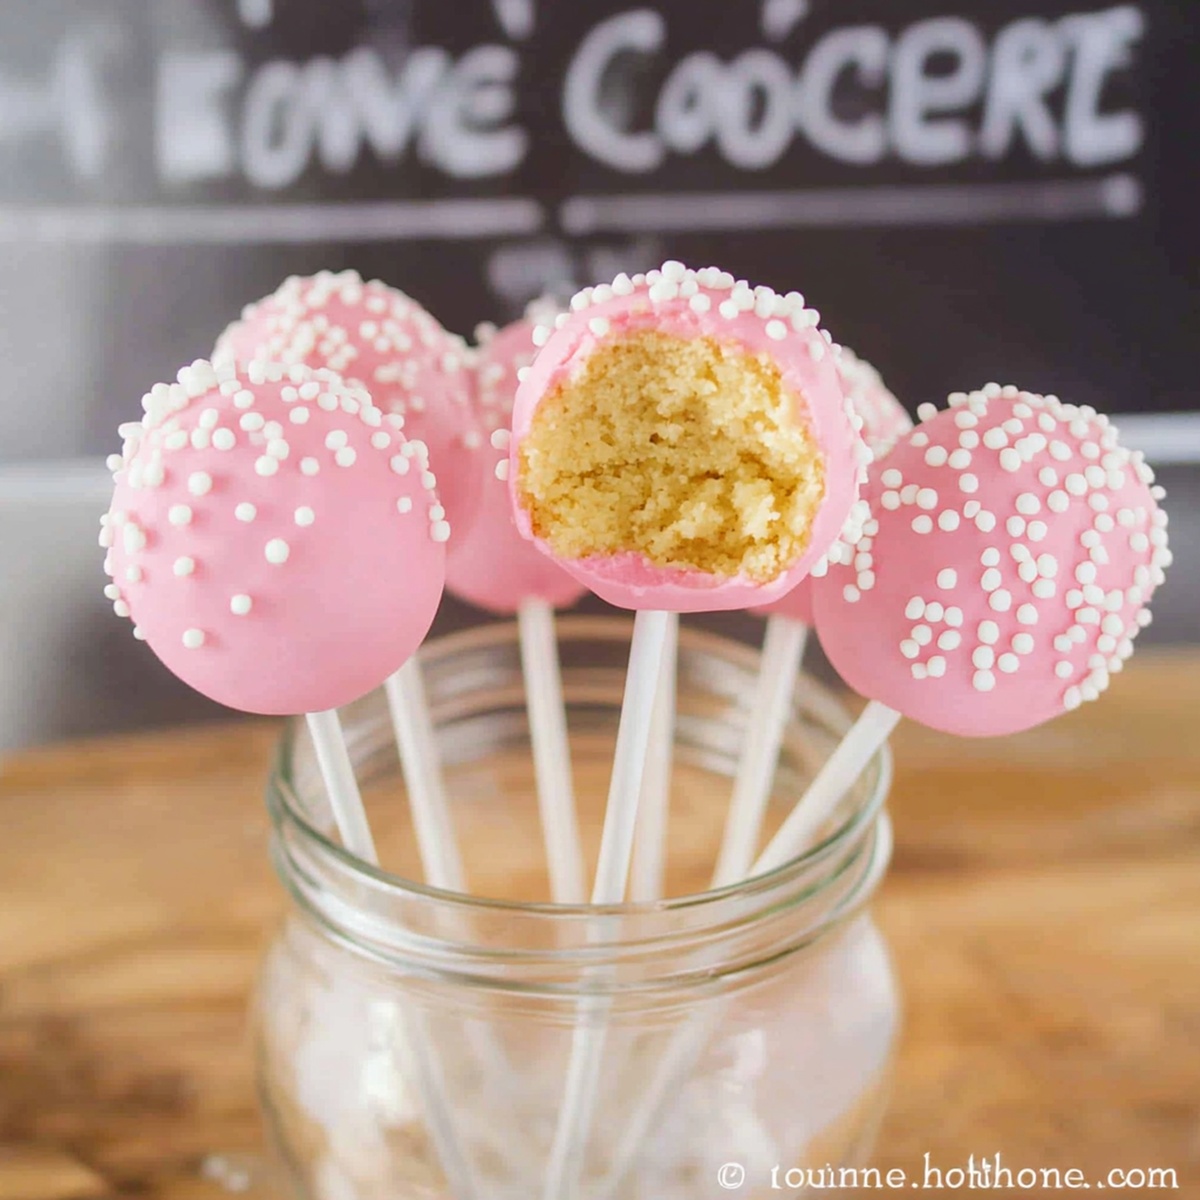
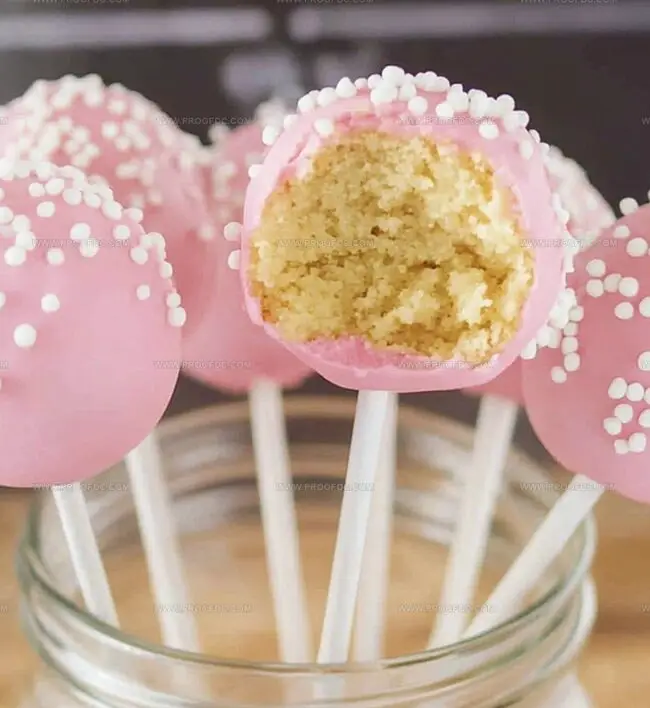
Biting into a perfectly round, chocolate-coated sphere of pure happiness.
Bakery-inspired magic happens right in your kitchen with these adorable little confections.
Kids and adults alike will go crazy for these cute, bite-sized desserts that burst with flavor.
Colorful sprinkles and rich chocolate coating make these cake pops look like edible works of art.
The secret to creating these irresistible treats lies in simple ingredients and a dash of creativity.
Ready to impress everyone at your next gathering with a dessert that looks professionally made?
Why People Love Starbucks Cake Pops Recipe So Much

Starbucks Cake Pops Recipe Ingredient Breakdown
Cake Base:Binding Ingredients:Coating and Decoration:Easy Steps For Starbucks Cake Pops Recipe
Step 1: Whip Up the Cake Base
Grab your favorite cake mix or dive into a homemade recipe. Pour the batter into a rectangular baking dish and bake according to the instructions. Let the cake cool down completely – patience is key here. The cake needs to be room temperature before you start transforming it into magical bite-sized treats.
Step 2: Demolish the Cake
Break down the cooled cake into tiny, delicate crumbs. Use your hands or a fork to create a sandy texture. Transfer these crumbs into a spacious mixing bowl, ready for the next adventure.
Step 3: Bind the Cake Crumbs
Add frosting to the crumbs:Mix gently until the crumbs start clinging together. The consistency should be just right – moist enough to hold shape but not soggy.
Step 4: Craft Adorable Cake Balls
Roll small portions of the mixture into perfect little spheres. Place these delightful balls on a parchment-lined tray. Pop them in the freezer for a quick 15-20 minute chill session to firm them up.
Step 5: Prepare Luscious Coating
Melt candy coating in a microwave-safe bowl. Stir frequently to avoid burning. Pro tip: Add a splash of vegetable or coconut oil to create a smoother, more manageable coating.
Step 6: Secure the Cake Pop Sticks
Dip each stick’s tip into melted coating, then carefully insert into the center of each cake ball. Return to the freezer for another quick 10-minute rest to set everything in place.
Step 7: Create Stunning Cake Pops
Dunk each cake ball into the melted coating, twirling to ensure complete coverage. Tap off excess coating carefully. While still wet, sprinkle with:Stand each pop upright in a foam block or special cake pop stand to dry perfectly.
Step 8: Serve and Celebrate
Once the coating hardens completely, your homemade Starbucks-style cake pops are ready to wow everyone! Perfect for parties, gifts, or a sweet personal treat.
Helpful Hints For Starbucks Cake Pops Recipe
Storage And Reheat Tips For Starbucks Cake Pops Recipe
Snacks That Go With Starbucks Cake Pops Recipe
Twists You Can Try On Starbucks Cake Pops Recipe
Everything You’re Wondering About Starbucks Cake Pops Recipe
These delightful treats combine moist cake crumbs with creamy frosting, then coated in smooth candy melts. The perfect blend of texture and sweetness creates an irresistible bite-sized dessert that’s both fun and delicious.
You’ll need basic baking tools like a mixing bowl, baking sheet, cake pop sticks, and optional foam block or cake pop stand. A microwave for melting candy coating and parchment paper are also helpful for easy preparation.
The key is adding just enough frosting to bind the cake crumbs. Mix gradually and press the mixture – it should hold together without being too wet. Freezing the cake balls before dipping helps them maintain their shape during coating.
Absolutely! You can experiment with various cake flavors like chocolate, vanilla, red velvet, or even funfetti. Match your frosting and candy coating to create unique combinations that suit your taste preferences.
Print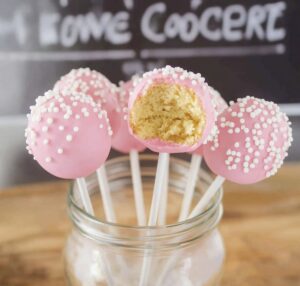
Starbucks Cake Pops Recipe
- Total Time: 1 hour 20 minutes
- Yield: 24 1x
Description
Sweet Starbucks cake pops bring bakery magic straight to home kitchens with minimal effort. Crumbly cake mixed with frosting, dipped in chocolate, and decorated, these bite-sized treats promise delightful indulgence you’ll adore crafting and sharing.
Ingredients
Main Cake Base:
- 1 box vanilla or chocolate cake mix
- Eggs (as per box instructions)
- Oil (as per box instructions)
- Water (as per box instructions)
Alternative Option:
- 1 homemade cake recipe
Frosting:
- ⅓ cup (75 g) frosting (vanilla or chocolate)
Coating and Decoration:
- 2 cups (340 g) candy melts (white, pink, or chocolate)
- 1 tablespoon (15 ml) vegetable oil or coconut oil (optional, for thinning)
- Sprinkles or nonpareils
- Cake pop sticks
Instructions
- Craft the cake foundation by meticulously preparing the batter according to package guidelines or a treasured homemade recipe. Carefully transfer the mixture into a rectangular baking dish, ensuring even distribution. Bake as instructed and allow the cake to cool completely to room temperature.
- Transform the cooled cake into delicate, fine crumbs using gentle hand movements or a fork. Collect these soft crumbs into a spacious mixing vessel.
- Gradually incorporate frosting into the cake crumbs, blending methodically until the mixture achieves a cohesive, moldable consistency. The texture should hold together when gently compressed without becoming excessively wet or sticky.
- Utilize precise scooping techniques to create uniform spherical shapes, rolling each portion between palms to achieve smooth, uniform cake balls. Position these delicate orbs onto a parchment-lined tray and briefly chill in the freezer to enhance structural integrity.
- Prepare the candy coating by carefully melting confectionery wafers in a microwave-safe container. Stir periodically to prevent scorching and consider adding a touch of vegetable or coconut oil to achieve optimal smooth consistency.
- Strategically attach cake pop sticks by first dipping stick ends into melted coating, then gently inserting them midway through each cake ball. Return the prepared pops to the freezer for brief stabilization.
- Execute the dipping process with fluid motions, fully submerging each pop into the glossy coating. Rotate carefully to ensure comprehensive coverage, delicately tapping to remove excess. Swiftly embellish with decorative sprinkles or preferred toppings before the coating solidifies.
- Allow the decorated cake pops to set completely by positioning them upright in a specialized stand or foam block. Once the exterior hardens, they are primed for delightful consumption and sharing.
Notes
- Cake Consistency Matters: Ensure the cake is completely cool and crumbled into fine, even pieces for the perfect texture and easy shaping.
- Moisture Balance is Key: Add frosting gradually to create a moldable mixture that holds together without being too wet or dry, which could affect the cake pop’s structure.
- Chilling Technique: Freezing the cake balls helps them maintain shape during dipping and prevents crumbling when coating with melted candy.
- Coating Smooth Hack: Use a gentle dipping and tapping motion to create a smooth, even candy coating, avoiding drips and ensuring a professional-looking finish.
- Prep Time: 30 minutes
- Cook Time: 20 minutes
- Category: Desserts, Snacks
- Method: Baking
- Cuisine: American
Nutrition
- Serving Size: 24
- Calories: 150
- Sugar: 15 g
- Sodium: 120 mg
- Fat: 7 g
- Saturated Fat: 3 g
- Unsaturated Fat: 4 g
- Trans Fat: 0 g
- Carbohydrates: 20 g
- Fiber: 1 g
- Protein: 2 g
- Cholesterol: 20 mg
Jenna Stewart
Head Chef & Recipe Innovator
Expertise
Farm-to-Table Cooking; Seasonal Menu Development; Visual Plating Techniques; Flavor Layering and Simple Prep Hacks.
Education
The Culinary Institute of America, Hyde Park, NY
Jenna Stewart is the inventive spirit behind many of our standout dishes at Pro of Delicious Creations. A proud graduate of The Culinary Institute of America, she built her skills mastering both classic recipes and fresh, modern twists.
Now, Jenna celebrates the beauty of seasonal, local ingredients, often sourced from her garden and nearby markets, to create recipes that are bursting with flavor yet easy to follow. When she’s not experimenting in the kitchen, Jenna loves exploring nature on hikes and discovering new treasures at local co-ops.