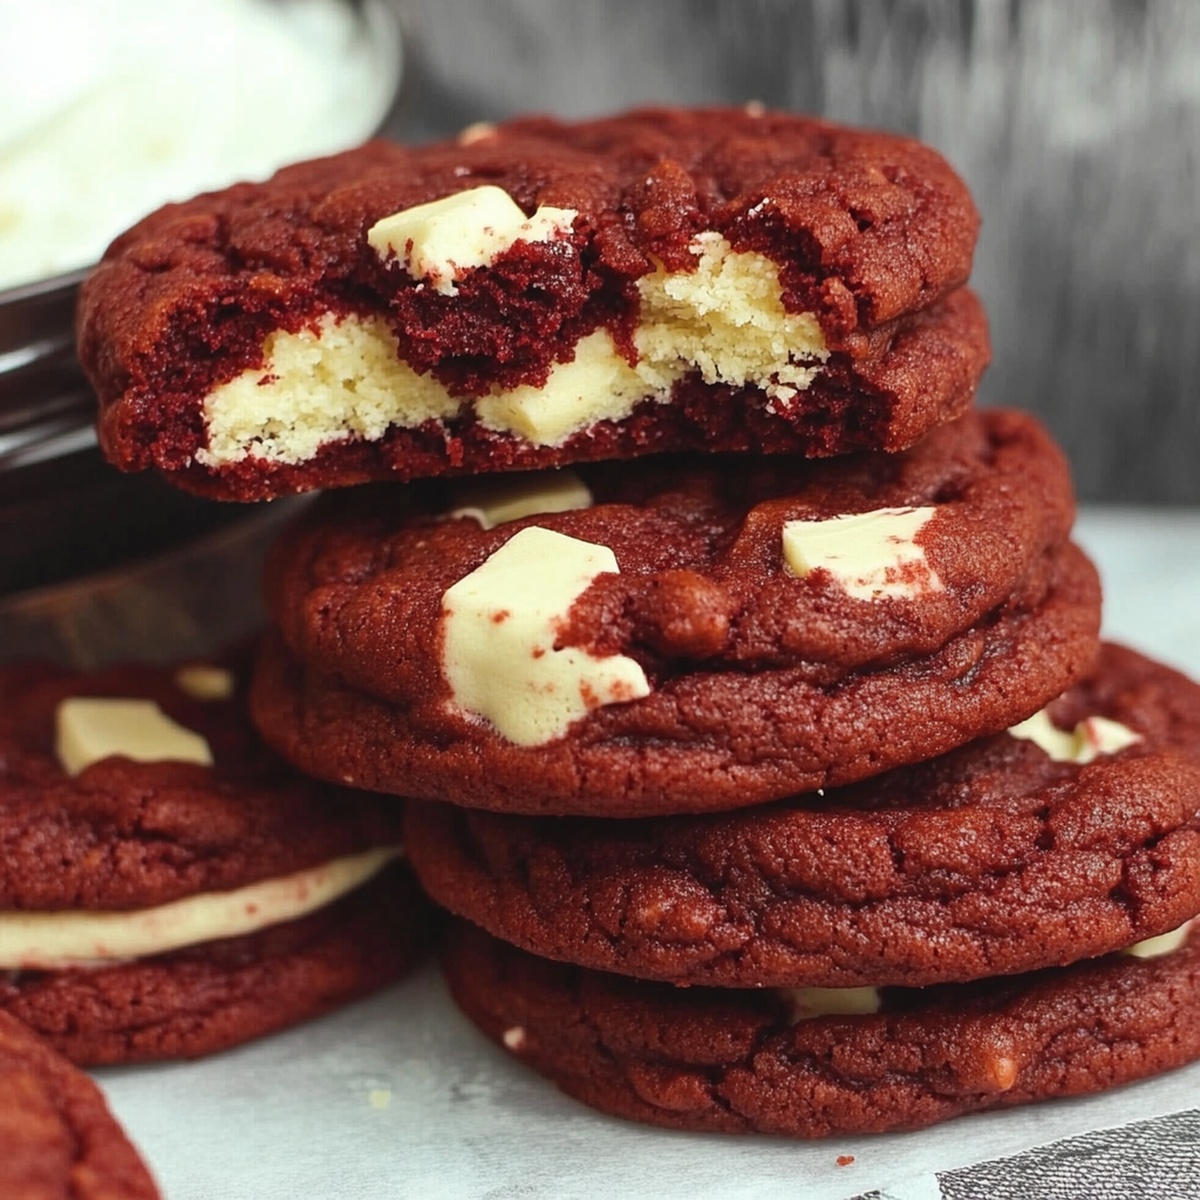
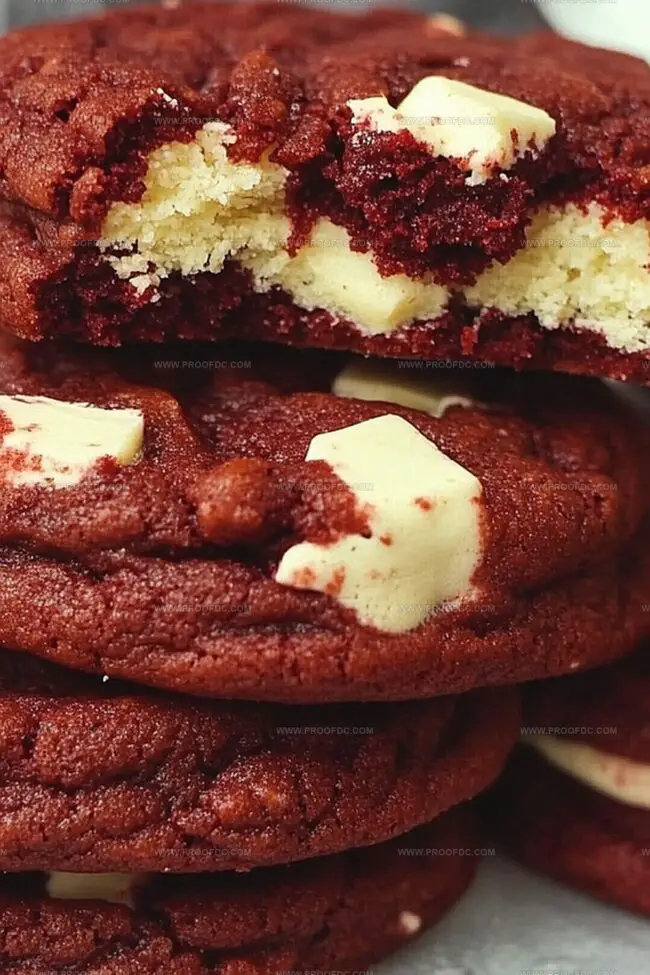
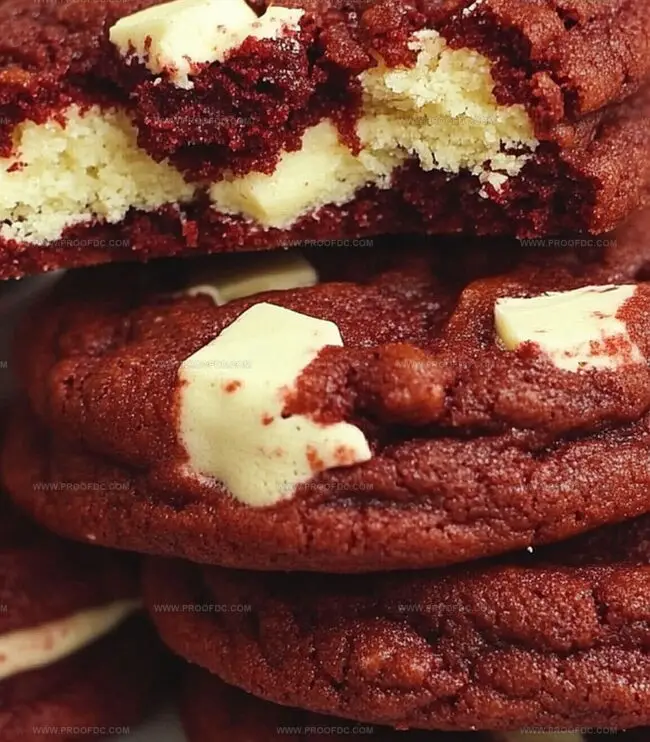
Irresistible NYC Red Velvet Cookies Recipe for Sweet Cravings
Decadent red velvet cookies bring a touch of Manhattan magic to your baking adventures.
These crimson delights offer a luxurious twist on classic cookie recipes that everyone adores.
Rich cocoa blends seamlessly with cream cheese frosting, creating an irresistible treat.
Each bite promises a velvety smooth texture that melts in your mouth.
The vibrant red hue catches eyes and sparks excitement at any gathering.
Simple ingredients and straightforward steps make these cookies a breeze to prepare.
You’ll fall in love with this bakery-worthy recipe that transforms an ordinary afternoon into a sweet celebration.
Quick Recipe Overview
Everything You Need For NYC Red Velvet Cookies
For Wet Ingredients:For Dry Ingredients:For Mix-In Ingredient:Tools You’ll Use For NYC Red Velvet Cookies
How To Make NYC Red Velvet Cookies
Get your kitchen ready by warming the oven to a toasty temperature. Cover baking sheets with smooth parchment paper for perfect cookie performance.
Whip butter and sugars together until they transform into a cloud-like, fluffy dream. This creates the secret foundation of cookie awesomeness.
Introduce egg, extra yolk, vanilla, and vibrant red coloring. Watch your mixture become a stunning crimson masterpiece that hints at deliciousness to come.
Gently combine flour, cocoa, cornstarch, baking soda, and salt in a separate bowl. Slowly marry these powdery friends with your wet mixture, creating a harmonious dough.
Sprinkle white chocolate chips throughout the dough, ensuring every bite will have a creamy surprise waiting to delight taste buds.
Roll the dough into generous, round balls. Place them on the baking sheet with enough breathing room between each cookie. Give them a gentle press to create a perfect shape.
Slide the cookies into the oven and bake until edges look crisp but centers remain soft and inviting. This magical transformation takes just minutes.
Let cookies rest briefly on the baking sheet, then transfer to a cooling rack. Enjoy them warm or at room temperature for maximum deliciousness.
NYC Red Velvet Cookies Tips To Know
Serving NYC Red Velvet Cookies The Fun Way
Storage Tips For NYC Red Velvet Cookies
Print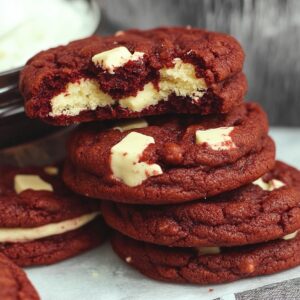
Soft Red Velvet Cookies Recipe
- Total Time: 27 minutes
- Yield: 23 1x
Description
Red velvet cookies bring New York City’s sweet charm to your kitchen. Crimson-hued treats deliver rich cocoa flavor with creamy cream cheese hints. Chocolate lovers will savor each delightful bite.
Ingredients
- ¾ cup (170 g) unsalted butter, softened
- 1 cup (200 g) granulated sugar
- ½ cup (100 g) brown sugar, packed
- 2 cups (250 g) all-purpose flour
- ¼ cup (20 g) unsweetened cocoa powder
- 1 ½ cups (225 g) white chocolate chips
- 1 large egg + 1 egg yolk, room temperature
- 1 tsp vanilla extract
- 1 tsp red food coloring (gel recommended)
- 1 tsp cornstarch
- ½ tsp baking soda
- ½ tsp salt
Instructions
- Preheat Preparation: Calibrate oven to 375F (190C) and line baking sheets with parchment paper, creating an optimal baking environment for consistent cookie development.
- Butter Fusion: Cream softened butter with granulated and brown sugars until the mixture transforms into a light, fluffy consistency with a pale golden hue.
- Liquid Integration: Blend egg, extra egg yolk, vanilla extract, and red food coloring into a vibrant crimson mixture, ensuring complete incorporation and uniform color distribution.
- Dry Ingredient Composition: Whisk flour, cocoa powder, cornstarch, baking soda, and salt into a fine, homogeneous powder that will provide structure and depth to the cookies.
- Dough Formation: Merge wet and dry ingredients with gentle strokes, carefully combining to maintain a delicate texture and prevent overmixing, then fold in white chocolate chips for bursts of creamy sweetness.
- Shaping and Positioning: Form 8 equal dough spheres, gently flatten each ball on the prepared baking sheets, spacing them to allow for even heat circulation and potential spreading.
- Baking Precision: Transfer cookies to the preheated oven, baking for 10-12 minutes until edges set and centers remain slightly soft – the residual heat will complete the cooking process during cooling.
- Cooling Protocol: Allow cookies to rest on the baking sheet for 5 minutes to stabilize their structure, then migrate to a wire rack for complete cooling and optimal texture development.
Notes
- Control Moisture Carefully: Avoid overmixing dough to prevent tough cookies; mix just until ingredients combine for a tender, soft texture.
- Enhance Color Precision: Use gel food coloring for more vibrant red hue without adding excess liquid that could alter cookie consistency.
- Temperature Matters: Ensure butter is softened but not melted for optimal creaming and cookie structure; room temperature ingredients blend more smoothly.
- Customize Texture Options: For crispier edges, flatten cookies more; for softer centers, reduce baking time by 1-2 minutes and watch closely.
- Prep Time: 15 minutes
- Cook Time: 12 minutes
- Category: Desserts, Snacks
- Method: Baking
- Cuisine: American
Nutrition
- Serving Size: 23
- Calories: 202
- Sugar: 13 g
- Sodium: 100 mg
- Fat: 10 g
- Saturated Fat: 6 g
- Unsaturated Fat: 4 g
- Trans Fat: 0 g
- Carbohydrates: 28 g
- Fiber: 1 g
- Protein: 2 g
- Cholesterol: 30 mg
Marcus Foley
Food Critic & Kitchen Coach
Expertise
Recipe Testing and Troubleshooting; Time-Saving Kitchen Hacks; Global Flavor Exploration; Engaging Food Writing and Honest Reviews.
Education
Institute of Culinary Education (ICE), New York, NY
Marcus Foley, based in Atlanta, GA, is a friendly food expert who makes cooking fun and simple.
With hands-on training from the Institute of Culinary Education and years of tasting everything from street food to fine dining, he shares easy kitchen hacks, global flavor ideas, and step-by-step recipes that turn kitchen mishaps into delicious surprises.