Jolly Snowman Oreo Balls Recipe for Winter Fun
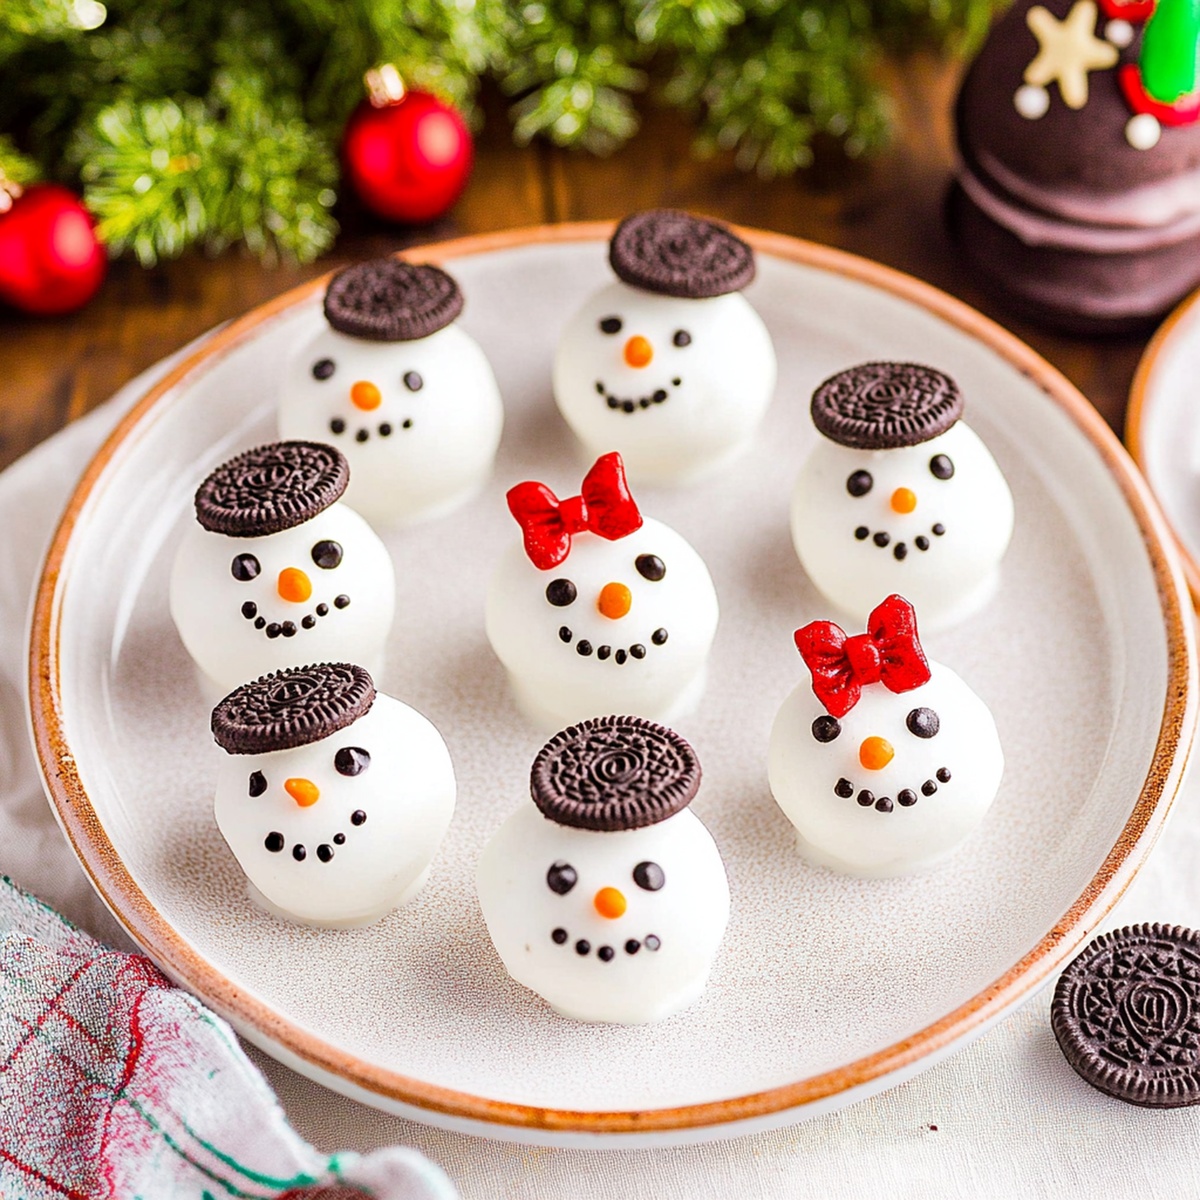
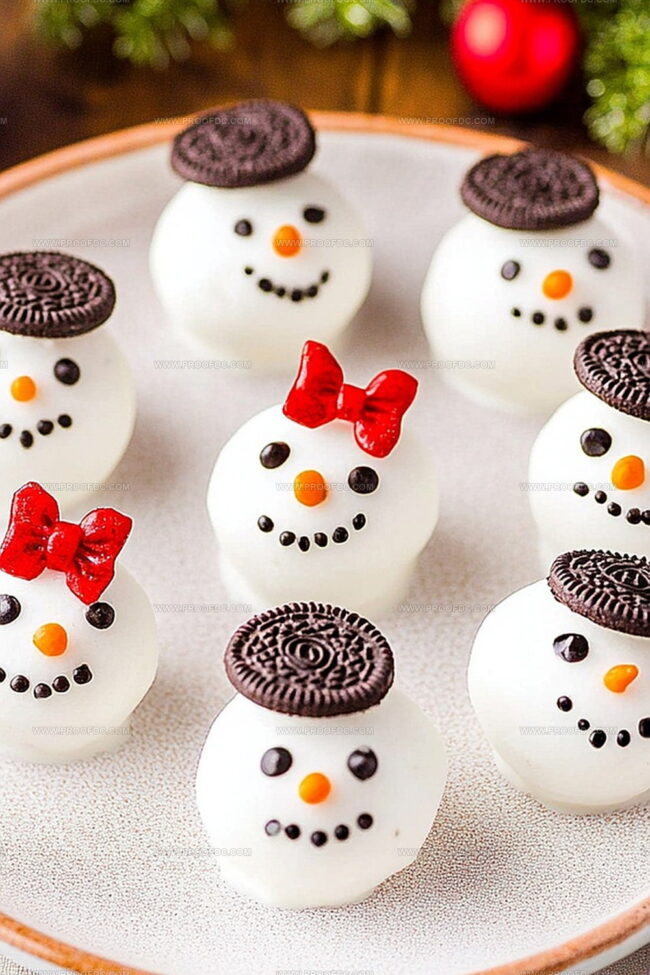
A whimsical snowman Oreo balls delight that captures winter’s playful spirit with each bite-sized treat!
Creamy, sweet, and impossibly cute, these little confections bring pure joy to any gathering.
Kitchen magic happens when simple ingredients combine in delightful ways.
Crushing oreos into smooth crumbs creates a canvas for delectable creativity.
Rolling the mixture into adorable snowman shapes lets you channel your inner pastry artist.
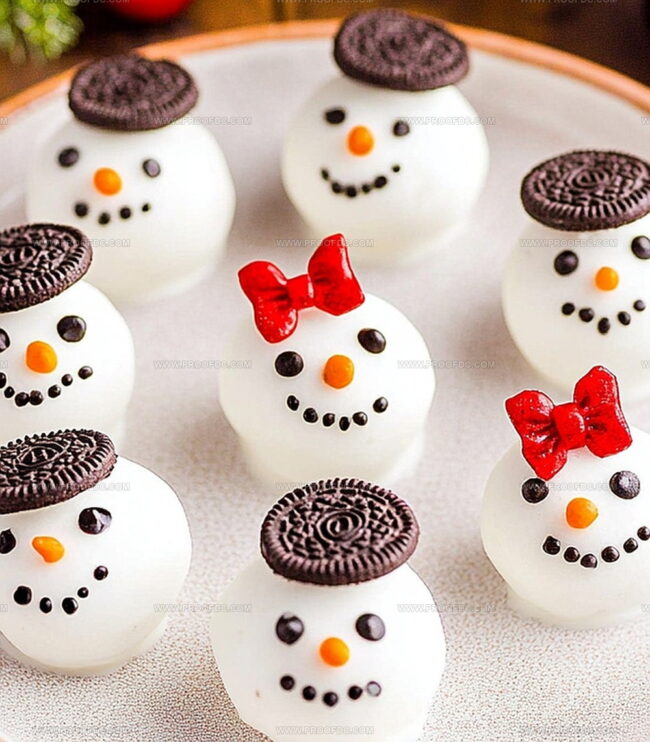
Decorating becomes a fun adventure with melted white chocolate and clever embellishments.
Each tiny snowman tells a story of deliciousness and winter wonder.
You’ll want to craft these charming treats and watch smiles bloom across every face.
Why Snowman Oreo Balls Are a Hit
What Goes into Snowman Oreo Balls
Cookie Base:Coating and Decoration:Decorative Accents:How to Make Snowman Oreo Balls
Step 1: Crush Oreo Cookies
Grab a food processor and toss in the Oreo cookies. Pulse the cookies until they transform into fine, sandy crumbs that look like freshly fallen snow.
Step 2: Blend Creamy Mixture
Drop the softened cream cheese into the food processor with the Oreo crumbs. Blend the ingredients until they become a smooth, uniform mixture that’s perfectly combined.
Step 3: Shape Snowman Bodies
Use your hands to roll the mixture into small balls:Gently press the balls together to create the classic snowman shape.
Step 4: Chill and Set
Place the shaped snowman balls on a baking sheet lined with parchment paper. Pop them into the refrigerator and let them chill for about 30 minutes to firm up.
Step 5: Decorate with Personality
Get creative with decorating your snowman Oreo balls:Step 6: Final Chill
Return the decorated snowmen to the refrigerator for another 15 minutes to set the decorations and chocolate coating.
Step 7: Serve and Enjoy
Arrange your adorable snowman Oreo balls on a festive platter. These cute treats are perfect for winter parties, holiday gatherings, or just a fun afternoon snack!
Tips for Making Snowman Oreo Balls Easier
Keeping and Warming Snowman Oreo Balls
What Matches Snowman Oreo Balls Best
Snowman Oreo Balls Recipe Twists
FAQ About Snowman Oreo Balls
Oreo balls are a crowd-pleasing dessert that’s super easy to make, requires minimal ingredients, and looks adorably festive. They’re perfect for Christmas gatherings and winter celebrations.
Yes, you can crush the Oreos by placing them in a sealed plastic bag and using a rolling pin to crush them into fine crumbs. Just make sure to crush them thoroughly for a smooth texture.
After mixing the Oreos and cream cheese, refrigerate the mixture for about 30 minutes before shaping. This helps the mixture firm up, making it easier to roll into perfect snowman shapes.
Absolutely! Children love helping roll the balls and decorate them. It’s a fun, simple kitchen activity that doesn’t require complex cooking skills and allows for creative decorating.
Print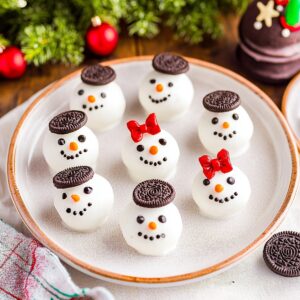
Snowman Oreo Balls Recipe
- Total Time: 1 hour 10 minutes
- Yield: 18 1x
Description
Snowman Oreo balls bring winter whimsy to holiday dessert tables, melting hearts with their adorable design. Creamy cream cheese and crushed Oreos create a playful treat perfect for celebrating seasonal cheer, promising delightful smiles at gatherings.
Ingredients
Main Ingredients:
- 36 Oreo cookies (about 1 standard package)
- 8 ounces (225 grams) cream cheese, softened
Coating Ingredients:
- 2 cups (350 grams) white chocolate or white candy melts
Decoration Ingredients:
- Mini chocolate chips (for eyes and buttons)
- Orange sprinkles or candy-coated sunflower seeds (for noses)
- Black decorating gel or edible marker (for mouths)
- Pretzel sticks, broken into small pieces (for arms, optional)
Instructions
- Crush the Oreo cookies into fine, uniform crumbs using a food processor, ensuring no large chunks remain.
- Transfer the processed cookie crumbs to a mixing bowl and incorporate softened cream cheese, stirring vigorously until a cohesive, velvety mixture develops.
- Refrigerate the blended mixture for approximately 15 minutes to firm up, making it easier to shape.
- Roll the chilled mixture into small, rounded spheres, creating uniform snowman-sized balls.
- Place the formed balls on a parchment-lined tray and freeze for 10-15 minutes to stabilize their shape.
- Melt white chocolate in a microwave-safe bowl, stirring at 30-second intervals to prevent burning.
- Carefully dip each chilled Oreo ball into the melted white chocolate, ensuring complete and even coverage.
- Gently tap off excess chocolate and return the coated balls to the parchment-lined tray.
- Allow the chocolate coating to set at room temperature or expedite the process by briefly chilling in the refrigerator.
- Decorate the snowman balls using dark chocolate or colored icing to create facial features and accessories, transforming them into charming winter-themed treats.
- Store the completed snowman Oreo balls in an airtight container in the refrigerator until ready to serve.
Notes
- Customize the consistency by adjusting the amount of cream cheese, ensuring the mixture holds together without being too wet or dry.
- For a smoother texture, use room temperature cream cheese and blend thoroughly to prevent any lumps in the mixture.
- Consider chilling the mixture for 15-20 minutes before rolling into balls, which helps maintain their shape and makes handling easier.
- Experiment with different coatings like white chocolate, milk chocolate, or colored candy melts to create unique snowman designs and add extra flavor complexity.
- Prep Time: 20 minutes
- Cook Time: 30 minutes
- Category: Desserts, Snacks
- Method: Blending
- Cuisine: American
Nutrition
- Serving Size: 18
- Calories: 170
- Sugar: 14 g
- Sodium: 90 mg
- Fat: 9 g
- Saturated Fat: 5 g
- Unsaturated Fat: 4 g
- Trans Fat: 0 g
- Carbohydrates: 21 g
- Fiber: 1 g
- Protein: 2 g
- Cholesterol: 15 mg
Jenna Stewart
Head Chef & Recipe Innovator
Expertise
Farm-to-Table Cooking; Seasonal Menu Development; Visual Plating Techniques; Flavor Layering and Simple Prep Hacks.
Education
The Culinary Institute of America, Hyde Park, NY
Jenna Stewart is the inventive spirit behind many of our standout dishes at Pro of Delicious Creations. A proud graduate of The Culinary Institute of America, she built her skills mastering both classic recipes and fresh, modern twists.
Now, Jenna celebrates the beauty of seasonal, local ingredients, often sourced from her garden and nearby markets, to create recipes that are bursting with flavor yet easy to follow. When she’s not experimenting in the kitchen, Jenna loves exploring nature on hikes and discovering new treasures at local co-ops.