
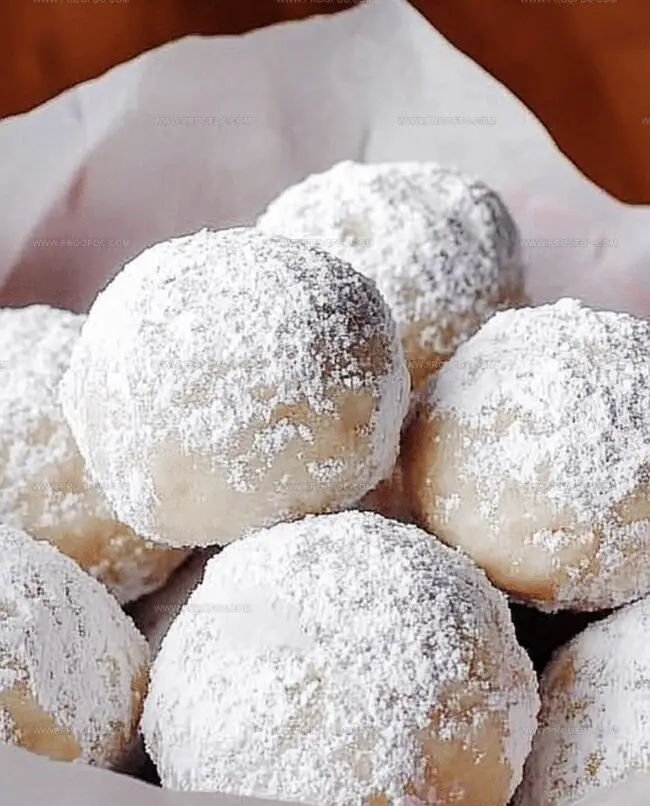
Fluffy Snowball Cookies Recipe: A Sweet Winter Treat
Memories of grandma’s kitchen swirl around these delightful snowball cookies that melt faster than winter’s first flurry.
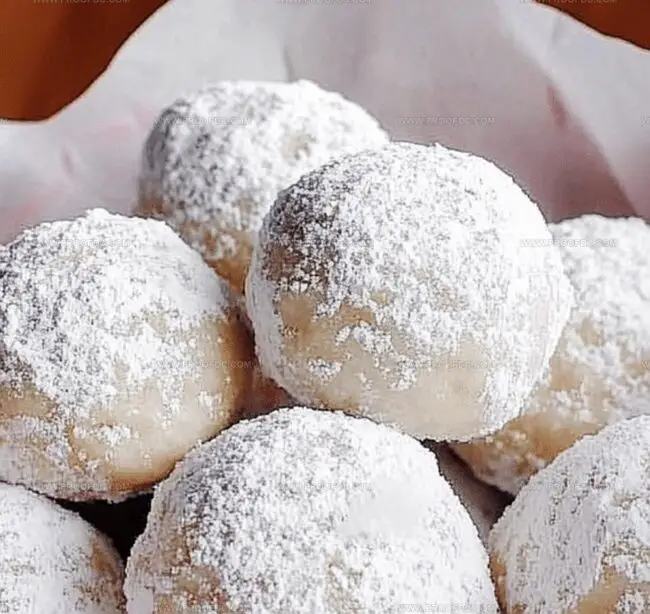
Sweet powdered sugar coats each morsel like a gentle blanket of freshness.
Holiday gatherings always sparkle when these delicate treats appear on the dessert table.
Biting into a cloud-soft cookie that crumbles gently and leaves a whisper of vanilla.
Nutty and rich, these little spheres connect generations through simple ingredients and shared moments.
Compact yet incredibly satisfying, they demand nothing more than a quiet corner and a warm mug.
You’ll want to savor every crumb of these magical winter-inspired delights.
Why Snowball Cookies Melt In Your Mouth
Everything You’ll Need For Snowball Cookies
Base Ingredients:Dry Ingredients:Flavor and Texture Enhancers:Simple Steps For Snowball Cookies
Step 1: Warm Up Your Oven
Fire up your oven to a cozy 350F (175C). Grab a baking sheet and line it with parchment paper to create a perfect landing spot for your soon-to-be delicious treats.
Step 2: Whip Up a Creamy Base
Grab your mixing bowl and transform softened butter and powdered sugar into a fluffy cloud of deliciousness. Use an electric mixer to beat them together until they’re light, airy, and looking absolutely dreamy.
Step 3: Blend in Flavor Boosters
Pour in the vanilla extract and watch it dance through your mixture. Gradually sprinkle in:Mix gently until everything comes together like a delightful winter symphony.
Step 4: Craft Your Cookie Treasures
Roll tiny portions of dough between your palms, creating perfect little spheres. Place these cookie balls on your prepared baking sheet, giving them just enough breathing room.
Step 5: Bake to Perfection
Slide the baking sheet into the oven and let magic happen. Bake for 10-12 minutes until the bottoms turn a gentle golden color while keeping the tops pale and delicate.
Step 6: Sugar-Coated Transformation
Allow cookies to rest on the baking sheet for 5 minutes. While still warm, lovingly roll each cookie in a snowfall of powdered sugar. Transfer to a wire rack and repeat the sugar coating once they’ve cooled completely.
Step 7: Enjoy and Share
Store these heavenly bites in an airtight container. They’ll stay fresh and delicious for up to a week – if they last that long! Perfect for holiday gatherings or a cozy afternoon treat.
Tips For The Best Snowball Cookies Texture
Store And Enjoy Snowball Cookies Later
Great Pairings With Snowball Cookies
New Twists On Classic Snowball Cookies
Common Questions About Snowball Cookies
These delightful cookies get their name from their white, powdery appearance after being rolled in powdered sugar, which resembles small snowballs covering the entire cookie.
Absolutely! While the recipe traditionally uses pecans or walnuts, you can experiment with almonds or hazelnuts to create your own unique flavor profile.
The first coating helps create a base layer, while the second coating ensures a thicker, more festive “snowy” look that makes these cookies extra special and visually appealing.
Not at all! These cookies are surprisingly simple, requiring basic ingredients and minimal baking skills. They’re perfect for bakers of all experience levels and make great holiday treats.
Print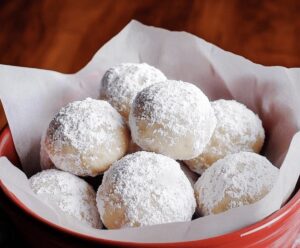
Snowball Cookies Recipe
- Total Time: 30 minutes
- Yield: 24 1x
Description
Delightful snowball cookies bring winter magic to sweet treats, melting hearts with powdery Mexican wedding cookie charm. Buttery pecan crumbles rolled in confectioners’ sugar promise a delectable moment you’ll savor with pure holiday joy.
Ingredients
Main Ingredients:
- 2 ¼ cups (280 g) all-purpose flour
- 1 cup (225 g) unsalted butter, softened
- 1 cup (120 g) finely chopped pecans or walnuts
Sweetening and Flavoring Ingredients:
- ½ cup (60 g) powdered sugar (plus extra for rolling)
- 1 teaspoon vanilla extract
Seasoning Ingredient:
- ¼ teaspoon salt
Instructions
- Prepare the kitchen workspace by positioning the oven rack in the middle position and heating to 350F (175C). Cover a baking sheet with parchment paper for even cookie distribution.
- Combine softened butter and powdered sugar in a spacious mixing bowl, whipping vigorously until the mixture becomes airy and pale, creating a smooth, creamy texture.
- Introduce vanilla extract to the butter mixture, blending thoroughly. Carefully fold in flour and salt, mixing gently to prevent overmixing. Incorporate finely chopped nuts, ensuring even distribution throughout the dough.
- Craft uniform cookies by portioning the dough into small, consistent spheres using a tablespoon. Arrange the delicate rounds on the prepared baking sheet, leaving modest spaces between each cookie.
- Transfer the baking sheet to the preheated oven, allowing the cookies to transform for 10-12 minutes. Watch for a subtle golden hue developing along the bottom edges while maintaining a pristine pale top.
- Remove the cookies and let them rest briefly on the baking sheet. While still warm, delicately enrobe each cookie in a generous layer of powdered sugar. After the initial coating, transfer to a cooling rack and repeat the powdered sugar dusting for a luxurious, snow-like finish.
- Once completely cooled, nestle the finished cookies in an airtight container, where they will remain fresh and delectable for up to one week at room temperature.
Notes
- Choose room temperature butter for easier creaming and smoother cookie texture, ensuring it’s soft but not melted.
- Chop nuts finely to distribute evenly throughout the dough and prevent large chunks that might disrupt the delicate cookie structure.
- Use a light touch when rolling cookies in powdered sugar to maintain their delicate shape and prevent crumbling.
- For gluten-free variation, substitute all-purpose flour with almond flour or a gluten-free flour blend to accommodate dietary restrictions.
- Prep Time: 15 minutes
- Cook Time: 15 minutes
- Category: Desserts, Snacks
- Method: Baking
- Cuisine: American
Nutrition
- Serving Size: 24
- Calories: 145
- Sugar: 1 g
- Sodium: 30 mg
- Fat: 12 g
- Saturated Fat: 7 g
- Unsaturated Fat: 4 g
- Trans Fat: 0 g
- Carbohydrates: 9 g
- Fiber: 1 g
- Protein: 2 g
- Cholesterol: 30 mg
Jenna Stewart
Head Chef & Recipe Innovator
Expertise
Farm-to-Table Cooking; Seasonal Menu Development; Visual Plating Techniques; Flavor Layering and Simple Prep Hacks.
Education
The Culinary Institute of America, Hyde Park, NY
Jenna Stewart is the inventive spirit behind many of our standout dishes at Pro of Delicious Creations. A proud graduate of The Culinary Institute of America, she built her skills mastering both classic recipes and fresh, modern twists.
Now, Jenna celebrates the beauty of seasonal, local ingredients, often sourced from her garden and nearby markets, to create recipes that are bursting with flavor yet easy to follow. When she’s not experimenting in the kitchen, Jenna loves exploring nature on hikes and discovering new treasures at local co-ops.