Irresistible Red Velvet Cake Balls Recipe: Bite-Sized Sweetness
Sweet, decadent red velvet cake balls dance with irresistible charm on every dessert lover’s radar.
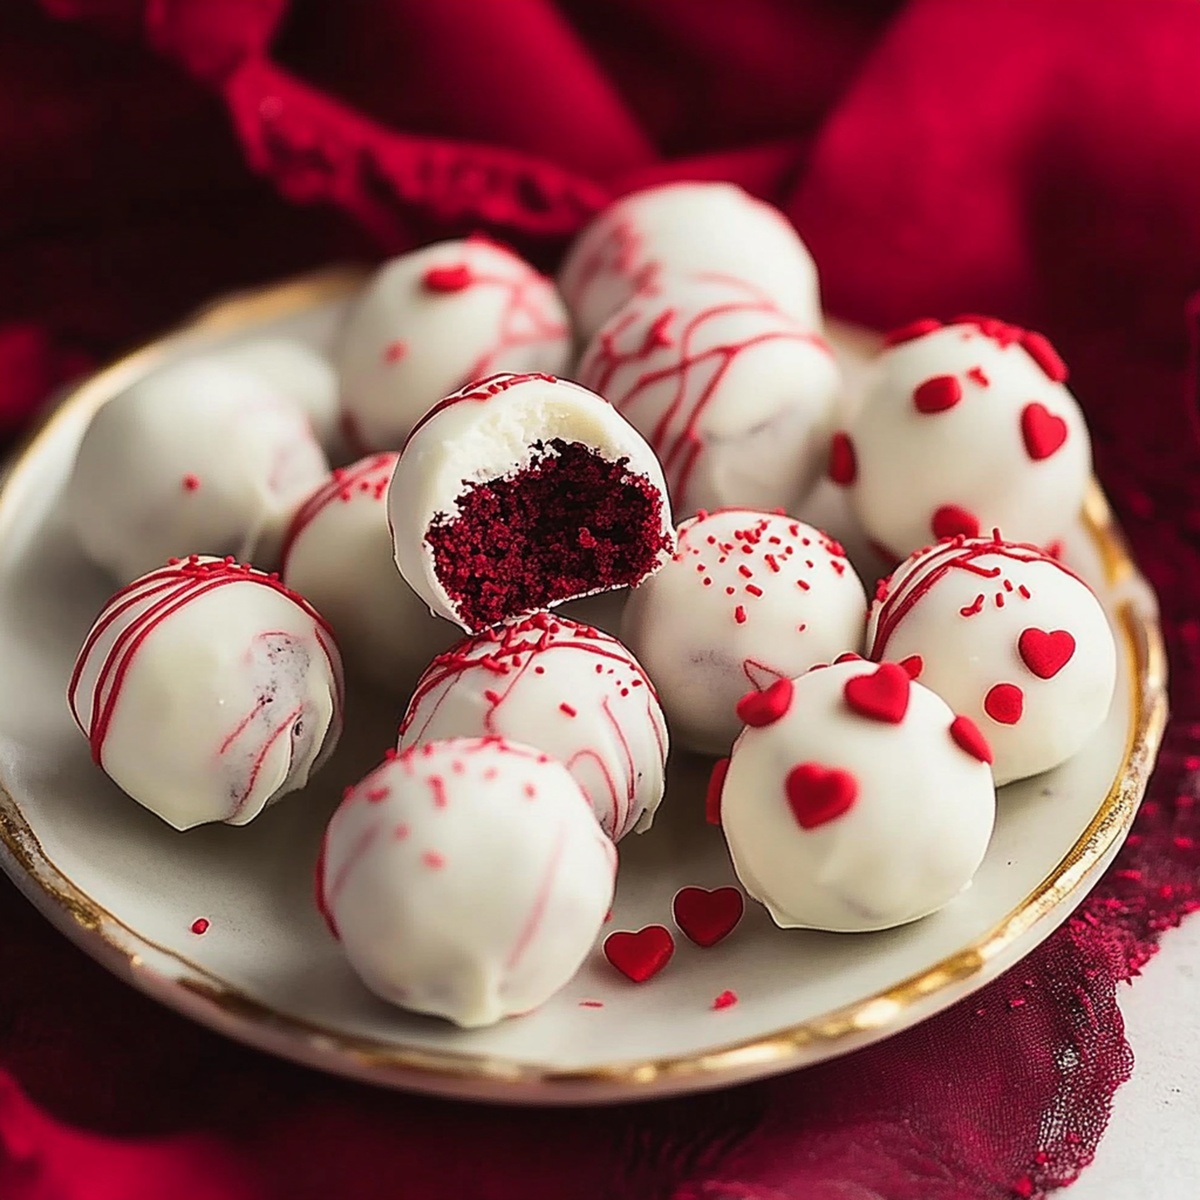
These bite-sized delights combine rich, velvety cake crumbs with creamy frosting in a perfectly balanced treat.
Crafting these delectable morsels requires minimal effort and maximum flavor impact.
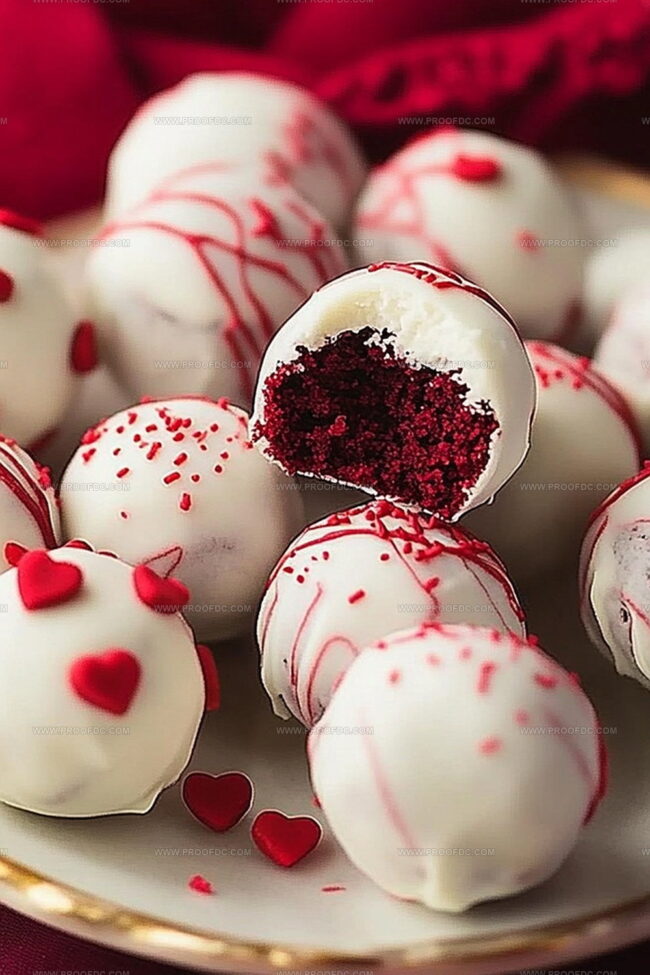
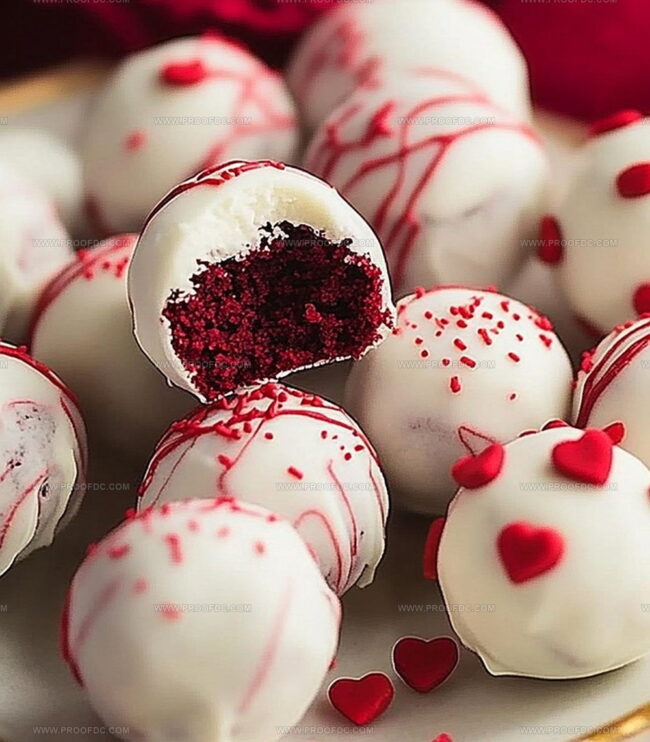
Each cake ball delivers a luxurious blend of crimson-hued cake and smooth cream cheese coating.
Rolling them by hand creates a personal touch that elevates the entire dessert experience.
The deep red color and smooth exterior make these cake balls a stunning addition to any gathering or sweet craving.
Prepare to impress with these elegant, melt-in-your-mouth confections that promise pure indulgence.
Quick Recipe Overview
All You Need For Red Velvet Cake Balls
For Cake Base:For Coating and Binding:For Decoration and Garnish:Tools For Red Velvet Cake Balls
How To Shape Red Velvet Cake Balls
Whip up a tasty red velvet cake using your favorite mix. Grease a pan and pop it in the oven at 350F. Bake until perfectly done, then let it cool completely on a wire rack.
Demolish the cooled cake into tiny crumbs using your hands. Mix in some creamy frosting until the mixture sticks together. Roll the mixture into bite-sized spheres, making them smooth and round.
Gently melt white chocolate in short bursts, stirring carefully to avoid burning. If the chocolate seems too thick, add a touch of oil to create a silky smooth coating.
Carefully dip each cake ball into the melted chocolate, using a fork to help drain excess. Place on a clean tray and sprinkle with fun toppings while the chocolate is still wet.
Slide the decorated cake balls into the refrigerator for a quick cool-down. Once set, these little treats are ready to wow your friends and family. Keep them chilled and enjoy within a few days for maximum deliciousness.
Flavor Ideas For Red Velvet Cake Balls
Ways To Serve Red Velvet Cake Balls
Storing Red Velvet Cake Balls Right
Print
Smooth Red Velvet Cake Balls Recipe
- Total Time: 1 hour
- Yield: 25 1x
Description
Red velvet cake balls combine classic Southern charm with bite-sized indulgence. Rich cocoa-infused cake crumbles blend seamlessly with cream cheese frosting, creating irresistible spheres of sweet delight you’ll savor.
Ingredients
- 1 box red velvet cake mix
- 3 eggs
- ⅓ cup (80 milliliters) vegetable oil
- 1 cup (240 milliliters) water
- 12 oz (340 g) white chocolate or candy melts
- ½ cup (120 ml) cream cheese frosting
- 1 tsp coconut oil
- red sprinkles
- white sprinkles
- crushed red velvet cake crumbs
- dark chocolate drizzle
Instructions
- Cake Foundation: Prepare red velvet cake following package instructions, baking in a rectangular pan until golden and fully cooked.
- Cake Deconstruction: Cool cake completely, then transform into fine, uniform crumbs within a large mixing bowl, ensuring consistent texture.
- Binding Mixture: Thoroughly blend cream cheese frosting with cake crumbs, creating a moldable consistency that holds shape when gently pressed.
- Sphere Formation: Meticulously craft uniform one-inch cake balls, arranging them precisely on a parchment-lined tray for initial chilling.
- Chocolate Preparation: Melt chocolate or candy melts in microwave-safe container, using short intervals and gentle stirring; incorporate coconut oil if needed to achieve optimal fluidity.
- Coating Process: Remove chilled cake balls, then systematically dip each into molten chocolate using a specialized tool, ensuring complete and even coverage while removing excess chocolate through gentle tapping.
- Decorative Finishing: Immediately adorn with sprinkles, cake crumb remnants, or chocolate drizzles while coating remains liquid, then position on parchment paper.
- Final Setting: Refrigerate cake balls for 15-20 minutes until chocolate hardens completely, then store in airtight container to maintain freshness.
Notes
- Cake Crumb Consistency: Ensure cake crumbs are finely and uniformly broken to prevent lumpy cake balls with uneven texture.
- Moisture Balance: Mix cream cheese frosting gradually to achieve perfect binding without making the mixture too wet or dry, which impacts structural integrity.
- Chocolate Coating Technique: Maintain chocolate temperature between 86-90°F for smooth, glossy coverage and prevent cracking or streaking during dipping process.
- Freezing Optimization: Chill cake balls precisely 30 minutes to create firm exterior that allows clean chocolate coating without falling apart.
- Prep Time: 30 minutes
- Cook Time: 30 minutes
- Category: Desserts, Snacks
- Method: Baking
- Cuisine: American
Nutrition
- Serving Size: 25
- Calories: 180
- Sugar: 14 g
- Sodium: 200 mg
- Fat: 9 g
- Saturated Fat: 4 g
- Unsaturated Fat: 5 g
- Trans Fat: 0 g
- Carbohydrates: 24 g
- Fiber: 1 g
- Protein: 2 g
- Cholesterol: 30 mg
Marcus Foley
Food Critic & Kitchen Coach
Expertise
Recipe Testing and Troubleshooting; Time-Saving Kitchen Hacks; Global Flavor Exploration; Engaging Food Writing and Honest Reviews.
Education
Institute of Culinary Education (ICE), New York, NY
Marcus Foley, based in Atlanta, GA, is a friendly food expert who makes cooking fun and simple.
With hands-on training from the Institute of Culinary Education and years of tasting everything from street food to fine dining, he shares easy kitchen hacks, global flavor ideas, and step-by-step recipes that turn kitchen mishaps into delicious surprises.