
Dreamy Chocolate No Bake Cheesecake Bars Recipe for Sweet Fans
Creamy desserts often spark joy in the most unexpected moments, and these chocolate no bake cheesecake bars will absolutely delight your taste buds.
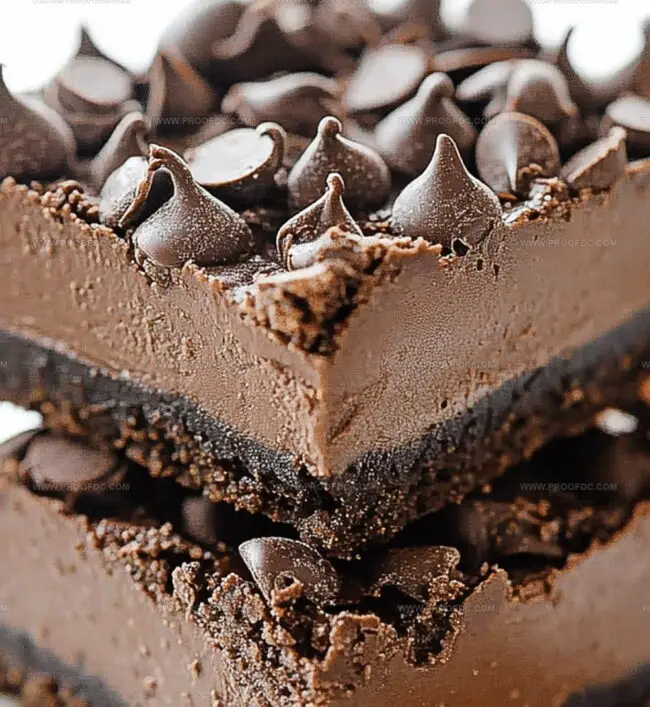
Smooth cream cheese blends perfectly with rich chocolate in a decadent treat that requires zero oven time.
No baking means less hassle and more immediate satisfaction for chocolate lovers.
The silky texture melts deliciously on your tongue, creating an indulgent experience with minimal effort.
Simple ingredients come together quickly to craft these elegant bars that look like they took hours to prepare.
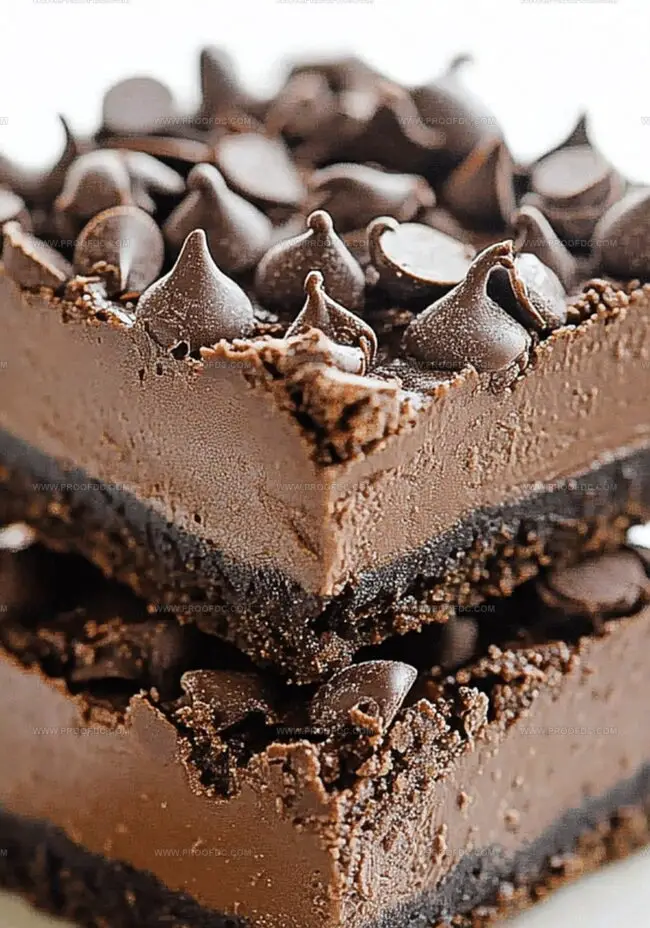
Chilled and set with a chocolate graham cracker crust, these bars promise a cool, sweet escape from traditional baked desserts.
Dive into this effortless recipe and treat yourself to a slice of pure chocolate bliss.
Quick Recipe Overview
What You Need For Chocolate No Bake Cheesecake Bars
For the Crust:For the Cheesecake Filling:For the Ganache and Topping:Tools For Chocolate No Bake Cheesecake Bars
How To Make Chocolate No Bake Cheesecake Bars
Crush some chocolate cookies and blend them with melted butter. Press this delicious mixture into a pan, creating a sturdy base that will hold your creamy chocolate surprise. Slide the pan into the refrigerator to chill while you prepare the next layer.
Whip softened cream cheese with cocoa powder until it’s silky smooth. Gently fold in some whipped cream to create a light, airy texture that melts in your mouth. The mixture should look like a cloud of chocolate decadence.
Warm some cream and pour it over chocolate chips. Watch the magic happen as they transform into a glossy, rich ganache. Pour this luxurious topping over your cheesecake layer, creating beautiful swirls and waves.
Tuck the pan into the refrigerator and let it rest for a few hours. The bars will set into a perfect, cool treat that’s ready to be sliced and devoured. When you’re ready, lift the bars out, cut into squares, and prepare for pure chocolate bliss.
Helpful Tips For Chocolate No Bake Cheesecake Bars
Serving Chocolate No Bake Cheesecake Bars With Ease
Storage Advice For Chocolate No Bake Cheesecake Bars
Print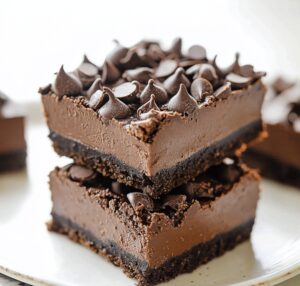
Smooth Chocolate No Bake Cheesecake Bars Recipe
- Total Time: 4 hours 20 minutes
- Yield: 11 1x
Description
Creamy chocolate no bake cheesecake bars combine rich chocolate with silky cream cheese for an effortless dessert. Cool graham cracker crusts and smooth chocolate layers provide delightful indulgence you cannot resist.
Ingredients
- 1 ½ cups (180 grams) chocolate cookie crumbs (e.g., Oreo crumbs)
- ¼ cup (60 milliliters/ml) unsalted butter, melted
- ½ cup (85 grams) semi-sweet chocolate chips
- 8 oz (226 grams) cream cheese, softened
- 1 cup (240 ml) heavy whipping cream
- ¼ cup (60 ml) heavy cream
- ½ cup (60 grams) powdered sugar
- ¼ cup (25 grams) unsweetened cocoa powder
- 1 tsp vanilla extract
- Whipped cream
- Shaved chocolate
- Fresh berries
Instructions
- Crust Preparation: Line a square baking pan with parchment paper, allowing excess to hang over edges. Blend cookie crumbs with melted butter until the mixture resembles compact, moist terrain.
- Filling Creation: Whip cream cheese until silky, then gradually fold in powdered sugar, cocoa powder, and vanilla extract. Incorporate whipped cream gently, maintaining a light, airy consistency while ensuring thorough mixing.
- Assembly: Remove chilled crust from refrigerator and spread chocolate cheesecake filling evenly across the surface, smoothing with a spatula to create a perfect, level landscape.
- Ganache Finishing: Heat heavy cream until steaming, then pour over chocolate chips. Allow brief resting before stirring to develop a glossy, seamless coating. Drizzle ganache across the cheesecake, ensuring complete and uniform coverage.
- Chilling and Serving: Refrigerate the dessert for a minimum of 4 hours to set completely and intensify flavors. Once fully chilled, extract from pan using parchment paper overhang. Slice into precise squares and optionally garnish with whipped cream, chocolate shavings, or fresh berries for an elegant presentation.
Notes
- Prevent Crumbly Crust: Press cookie crumbs firmly and evenly to create a compact base that holds together when sliced, avoiding a loose or falling-apart foundation.
- Achieve Smooth Filling: Ensure cream cheese is at room temperature and whip thoroughly to eliminate lumps, creating a silky-smooth chocolate cheesecake texture without grainy inconsistencies.
- Control Ganache Consistency: Allow hot cream to sit with chocolate chips for exactly 2-3 minutes before stirring, preventing separation and guaranteeing a glossy, perfectly blended ganache topping.
- Optimize Chilling Time: Refrigerate for minimum 4-6 hours or overnight to develop deep flavors and allow complete setting, which helps bars maintain perfect slice-able consistency and intense chocolate profile.
- Prep Time: 20 minutes
- Cook Time: 4 hours
- Category: Desserts, Snacks
- Method: Mixing
- Cuisine: American
Nutrition
- Serving Size: 11
- Calories: 320
- Sugar: 18 g
- Sodium: 150 mg
- Fat: 22 g
- Saturated Fat: 12 g
- Unsaturated Fat: 8 g
- Trans Fat: 0 g
- Carbohydrates: 30 g
- Fiber: 1 g
- Protein: 4 g
- Cholesterol: 60 mg
Marcus Foley
Food Critic & Kitchen Coach
Expertise
Recipe Testing and Troubleshooting; Time-Saving Kitchen Hacks; Global Flavor Exploration; Engaging Food Writing and Honest Reviews.
Education
Institute of Culinary Education (ICE), New York, NY
Marcus Foley, based in Atlanta, GA, is a friendly food expert who makes cooking fun and simple.
With hands-on training from the Institute of Culinary Education and years of tasting everything from street food to fine dining, he shares easy kitchen hacks, global flavor ideas, and step-by-step recipes that turn kitchen mishaps into delicious surprises.