Dreamy Red Velvet Strawberry Cheesecake Recipe For Dessert Lovers
Decadent desserts often spark joy at the table, and this luxurious red velvet strawberry cheesecake will absolutely steal the show.
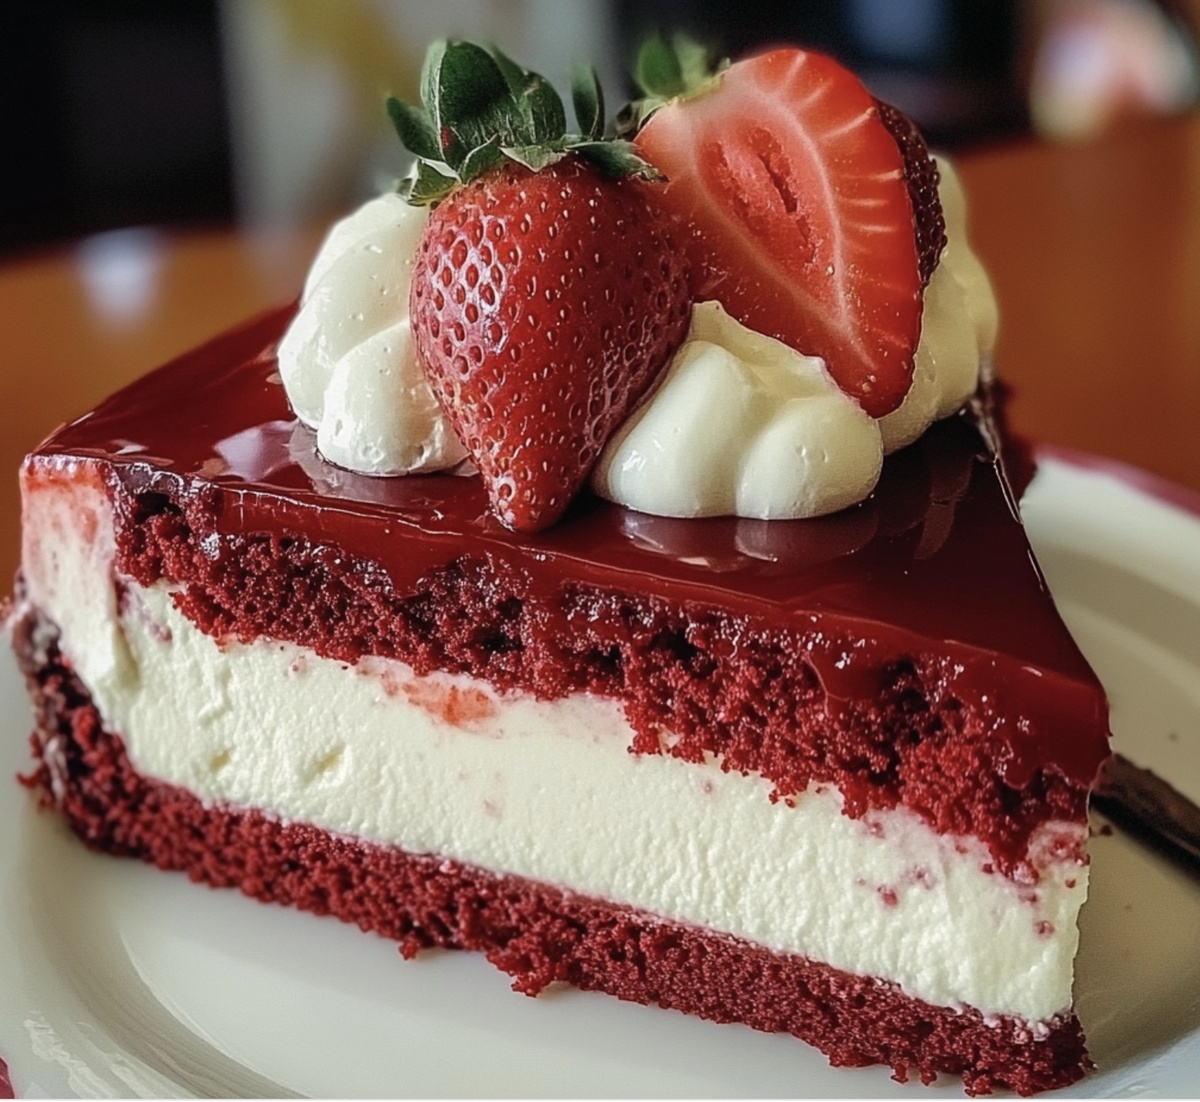
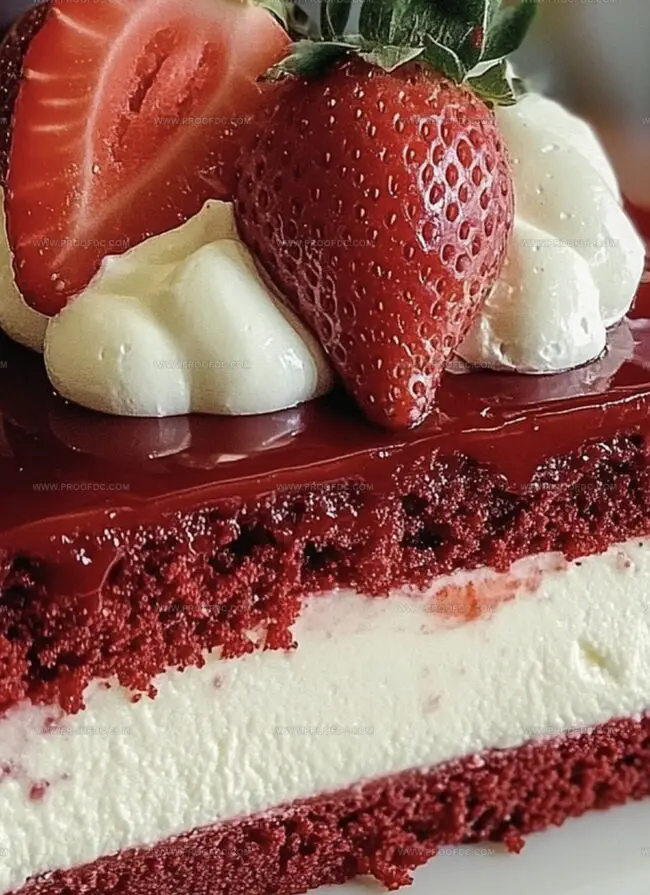
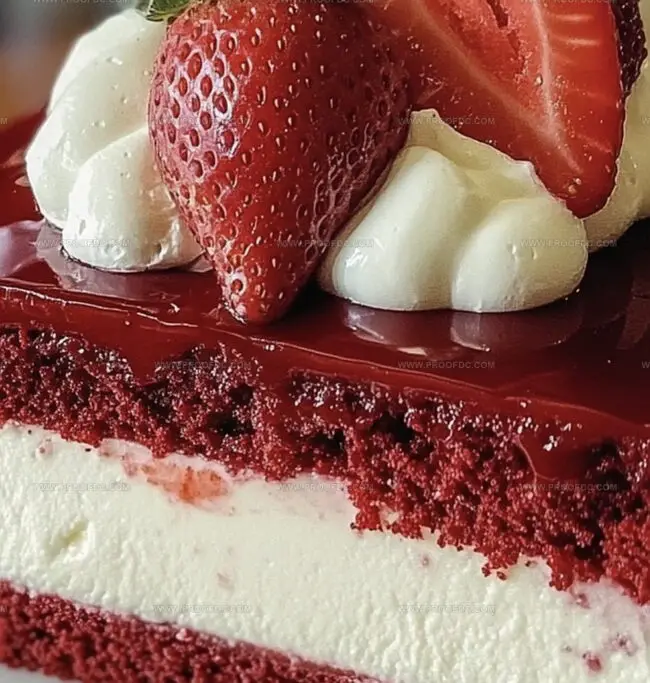
Rich layers of crimson cake blend seamlessly with a velvety smooth cream cheese filling.
Fresh, ripe strawberries add a burst of vibrant color and tangy sweetness to every delightful slice.
The contrast between the deep red cake and creamy white cheesecake creates a stunning visual that promises pure indulgence.
Subtle chocolate undertones dance alongside the fruity notes, making each bite a complex sensory experience.
Elegant yet approachable, this dessert transforms an ordinary gathering into a memorable celebration.
You won’t be able to resist cutting into this gorgeous masterpiece that combines classic flavors with modern flair.
Quick Recipe Overview
Ingredients List For Heavenly Red Velvet Strawberry Cheesecake
For Cake Base:For Wet Ingredients:For Color and Flavor:Kitchen Items For Heavenly Red Velvet Strawberry Cheesecake
Steps To Prepare Heavenly Red Velvet Strawberry Cheesecake
Craft a vibrant red velvet foundation by blending rich cocoa with smooth wet ingredients. Mix until silky and perfectly combined, creating a deep crimson batter that will become your delectable cake layer.
Whip cream cheese until smooth and luxurious. Fold in eggs and sugar, creating a velvety filling that will transform your dessert into a dreamy masterpiece. Ensure the mixture is free of lumps for a perfectly creamy texture.
Carefully pour the cheesecake mixture over the partially baked red velvet base. The layers will meld together, creating a stunning contrast of colors and flavors that will make your dessert irresistible.
Slide the pan into a preheated oven, allowing gentle heat to transform your creation. Bake until the cheesecake is just set but still slightly wobbly in the center, promising a creamy, melt-in-your-mouth experience.
Let the cheesecake cool completely, then refrigerate for several hours. Before serving, top with fresh strawberries and a dusting of powdered sugar to add a final touch of elegance and freshness.
Useful Tips For Heavenly Red Velvet Strawberry Cheesecake
Serving Ideas For Heavenly Red Velvet Strawberry Cheesecake
Keep Heavenly Red Velvet Strawberry Cheesecake Fresh
Print
Silky Red Velvet Strawberry Cheesecake Recipe
- Total Time: 5 hours 30 minutes
- Yield: 13 1x
Description
Red velvet strawberry cheesecake melds rich cocoa layers with creamy strawberry-infused filling. Luxurious dessert promises indulgence with delicate balance of classic flavors that will delight you.
Ingredients
- 1 lb (16 oz) cream cheese, softened
- ¾ cup granulated sugar
- 2 large eggs
- 1 ½ cups fresh strawberries, sliced
- 1 cup all-purpose flour
- ½ cup vegetable oil
- ½ cup buttermilk (or ½ cup milk + 1 tsp vinegar)
- ½ cup granulated sugar
- ½ cup sour cream
- ⅓ cup strawberry jam or preserves
- 1 large egg
- 1 tbsp cornstarch
- 1 tbsp cocoa powder
- 1 tbsp red food coloring
- 1 tbsp lemon juice
- 1 tbsp white vinegar
- 1 tbsp water
- 1 tsp vanilla extract
- ½ tsp baking soda
- ¼ tsp salt
Instructions
- Pan Preparation: Grease the springform pan with a light coating and line with parchment paper, then center the oven rack and preheat to 350F (175C).
- Cake Base Creation: Blend dry ingredients – flour, sugar, baking soda, salt, and cocoa powder – in a mixing bowl until thoroughly combined.
- Wet Ingredient Integration: Whisk oil, buttermilk, egg, vanilla extract, white vinegar, and red food coloring in a separate bowl until achieving a smooth, vibrant mixture.
- Batter Assembly: Gently fold dry ingredients into wet components, maintaining a light texture and avoiding overmixing to preserve the cake’s delicate structure.
- Baking Process: Pour crimson batter into the prepared pan, distributing evenly, and bake for 12-15 minutes until the surface sets but remains slightly underbaked, allowing for continued cooking during the cheesecake layer.
- Cooling Phase: Remove the red velvet layer from the oven and let it cool completely, establishing a robust foundation for the subsequent cheesecake layer.
Notes
- Prevent Overmixing: Gently fold dry and wet ingredients to maintain a light, airy texture, avoiding tough or dense cake consistency.
- Color Calibration: Use gel food coloring for more vibrant red hue without altering batter liquid balance, ensuring rich color without compromising texture.
- Baking Precision: Watch cake closely during 12-15 minute baking window, removing when surface is slightly set but still tender to prevent overbaking and dryness.
- Temperature Management: Center oven rack ensures even heat distribution, critical for uniform red velvet base that serves as stable cheesecake foundation.
- Prep Time: 20 minutes
- Cook Time: 1 hour 10 minutes
- Category: Desserts
- Method: Baking
- Cuisine: American
Nutrition
- Serving Size: 13
- Calories: 335
- Sugar: 26 g
- Sodium: 250 mg
- Fat: 20 g
- Saturated Fat: 7 g
- Unsaturated Fat: 13 g
- Trans Fat: 0 g
- Carbohydrates: 35 g
- Fiber: 1 g
- Protein: 5 g
- Cholesterol: 65 mg
Marcus Foley
Food Critic & Kitchen Coach
Expertise
Recipe Testing and Troubleshooting; Time-Saving Kitchen Hacks; Global Flavor Exploration; Engaging Food Writing and Honest Reviews.
Education
Institute of Culinary Education (ICE), New York, NY
Marcus Foley, based in Atlanta, GA, is a friendly food expert who makes cooking fun and simple.
With hands-on training from the Institute of Culinary Education and years of tasting everything from street food to fine dining, he shares easy kitchen hacks, global flavor ideas, and step-by-step recipes that turn kitchen mishaps into delicious surprises.