
Dreamy Mocha Cream Pie Recipe: A Silky Coffee Delight
Rich chocolate and velvety coffee notes dance together in this irresistible mocha cream pie that promises pure indulgence.
Smooth coffee-infused custard nestles into a buttery graham cracker crust, creating layers of decadent flavor.
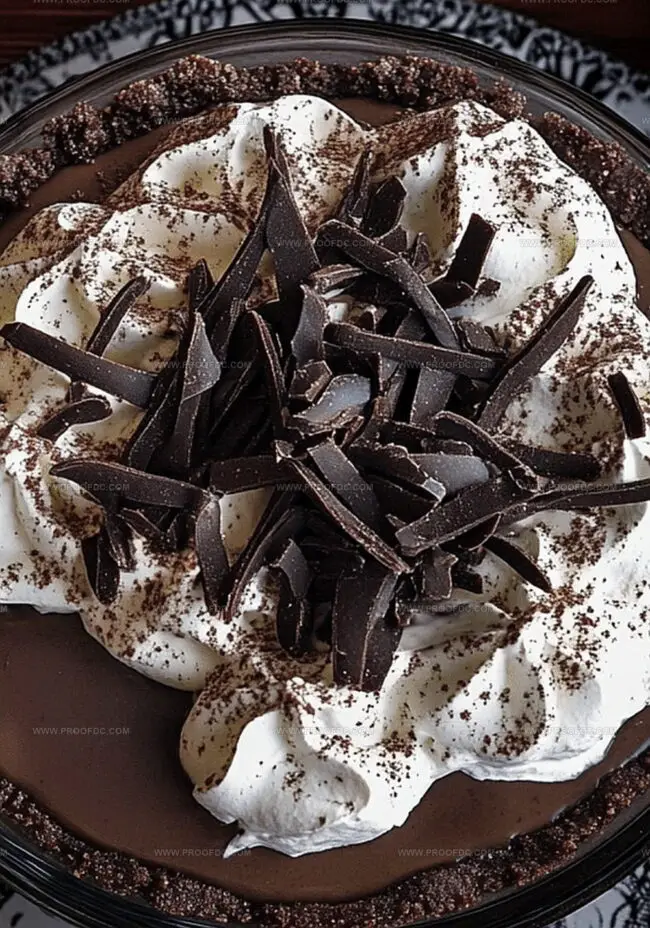
Chocolate shavings and a cloud of whipped cream crown this spectacular dessert with elegant sophistication.
Each forkful delivers a luxurious blend of intense coffee and chocolate nuances that will delight your senses.
Creamy textures and deep, robust flavors make this pie a showstopper for any gathering or special occasion.
Prepare to experience a dessert that transforms ordinary moments into extraordinary culinary memories.
Chocolate and coffee lovers won’t be able to resist this dreamy, silky mocha cream pie.
Quick Recipe Overview
Everything You Need For Mocha Cream Pie
For The Crust:For The Mocha Filling:For The Whipped Cream Topping:Garnish:Tools To Create Mocha Cream Pie
Steps To Put Together Mocha Cream Pie

Grab your favorite pie crust and bake it perfectly. Let it cool completely before adding the creamy filling.
Blend sugar, cornstarch, cocoa, and salt in a saucepan. Slowly mix in milk and coffee until silky smooth. Heat the mixture, stirring constantly until it bubbles and thickens. Gently temper egg yolks by slowly adding hot liquid while whisking. Return to heat and cook for a few more minutes. Remove from stove and stir in chocolate, butter, and vanilla until everything melts into a luxurious mixture.
Pour the rich mocha filling into the cooled crust. Smooth the top carefully. Cover with plastic wrap and chill in the refrigerator for several hours until firm.
Grab heavy cream, powdered sugar, and vanilla. Whip until peaks stand tall and proud.
Top the chilled pie with fluffy cream. Sprinkle chocolate shavings or dust with cocoa powder. Slice and enjoy your incredible creation!
Tips To Upgrade Mocha Cream Pie
Serving Mocha Cream Pie The Simple Way
Storage And Leftovers For Mocha Cream Pie
Print
Silky Mocha Cream Pie Recipe
- Total Time: 4 hours 30 minutes
- Yield: 9 1x
Description
Irresistible mocha cream pie delivers rich chocolate and coffee flavors in a silky smooth dessert. Creamy layers promise indulgence, inviting dessert enthusiasts to savor each decadent bite.
Ingredients
- 1 ½ cups whole milk
- 3 large egg yolks
- ½ cup brewed strong coffee (cooled)
- 3 oz semi-sweet chocolate, chopped
- ½ cup granulated sugar
- 3 tbsps cornstarch
- 2 tbsps powdered sugar
- 2 tbsps unsalted butter
- 1 tbsp cocoa powder (unsweetened)
- 1 ½ tsp vanilla extract
- ¼ tsp salt
- 1 pre-baked 9-inch pie crust (graham cracker, Oreo, or traditional pastry)
- 1 cup heavy cream, cold
- Chocolate shavings or cocoa powder (for garnish)
Instructions
- Pie Crust Preparation: Meticulously craft a golden, flaky crust using traditional techniques, ensuring complete cooling to establish a robust base for the decadent mocha filling.
- Mocha Filling Base: In a saucepan, expertly blend dry ingredients, then gradually introduce milk and coffee. Whisk continuously, transforming the mixture into a velvety smooth consistency while heating until it reaches a dramatic bubble point and thickens substantially.
- Egg Incorporation: Delicately temper egg yolks by slowly introducing the hot liquid, preventing curdling. Return the combined mixture to heat, briefly cooking to develop depth of flavor and eliminate any raw egg undertones.
- Chocolate Infusion: Melt chocolate, butter, and vanilla into the warm filling, stirring until a glossy, uniform texture emerges. This process creates an intensely rich and silky mocha essence that elevates the entire dessert.
- Pie Assembly: Carefully transfer the mocha filling into the prepared pie shell, using a spatula to ensure even distribution and eliminate potential air pockets. Shield the surface with plastic wrap to prevent moisture accumulation.
- Chilling and Setting: Refrigerate the pie for a minimum of four hours, allowing the filling to completely set and develop complex flavor nuances.
- Whipped Cream Topping: Whip cream with powdered sugar and vanilla, creating a cloud-like topping that perfectly balances the rich mocha base. Beat until stiff peaks form, indicating optimal texture.
- Final Presentation: Artfully spread or pipe the whipped cream across the chilled pie, creating elegant peaks and swirls. Garnish with delicate chocolate shavings or a light cocoa powder dusting to enhance visual appeal and flavor complexity.
Notes
- Prevent Crust Sogginess: Cool the pie crust completely before adding filling to maintain a crisp, flaky texture and prevent moisture absorption.
- Master Smooth Filling: Whisk continuously while heating the mocha mixture to avoid lumps and achieve a silky, uniform consistency without burning.
- Temper Eggs Carefully: Add hot liquid to egg yolks gradually and slowly to prevent scrambling, ensuring a creamy, smooth filling texture.
- Maximize Flavor Intensity: Chill the pie for at least four hours to allow flavors to meld and filling to set completely, creating a rich, decadent dessert experience.
- Prep Time: 10 minutes
- Cook Time: 20 minutes
- Category: Desserts
- Method: Simmering
- Cuisine: American
Nutrition
- Serving Size: 9
- Calories: 300
- Sugar: 22 g
- Sodium: 150 mg
- Fat: 18 g
- Saturated Fat: 11 g
- Unsaturated Fat: 7 g
- Trans Fat: 0 g
- Carbohydrates: 30 g
- Fiber: 1 g
- Protein: 4 g
- Cholesterol: 100 mg
Marcus Foley
Food Critic & Kitchen Coach
Expertise
Recipe Testing and Troubleshooting; Time-Saving Kitchen Hacks; Global Flavor Exploration; Engaging Food Writing and Honest Reviews.
Education
Institute of Culinary Education (ICE), New York, NY
Marcus Foley, based in Atlanta, GA, is a friendly food expert who makes cooking fun and simple.
With hands-on training from the Institute of Culinary Education and years of tasting everything from street food to fine dining, he shares easy kitchen hacks, global flavor ideas, and step-by-step recipes that turn kitchen mishaps into delicious surprises.