Lovingly Baked Cupids Trash Can Cookies Recipe for Sweet Treats
Sweet chocolate chips melt into delightful trash can cookies that promise pure indulgence.
These playful treats blend unexpected ingredients with classic cookie charm.
Crumbled cookies and creamy chocolate create a wild dessert adventure.
Each bite delivers a surprising mix of textures and flavors that dance across your palate.
No ordinary cookie could match the whimsical spirit of this dessert.
The recipe brings a touch of culinary mischief to your kitchen.
You’ll fall in love with these deliciously messy, utterly irresistible cookies that break all the traditional baking rules.
Quick Recipe Overview
What You’ll Need For Cupids Trash Can Cookies
For Sweet Base:For Dry Ingredients:For Festive Mix-Ins:Tools To Make Cupids Trash Can Cookies Easily
How To Make Cupids Trash Can Cookies Fun And Fast
Get your oven cozy at 350F and prepare baking sheets with protective liners so nothing sticks.
Blend butter and sugars until they transform into a fluffy cloud. Introduce eggs one at a time, dancing in vanilla for extra magic. Gently combine dry ingredients, letting them whisper into the wet mixture without overmixing.
Sprinkle in a wild mix of crunchy pretzels, chocolate chips, colorful candies, and playful sprinkles. This is where the cookie gets its personality – no two will be exactly alike!
Drop generous spoonfuls onto prepared sheets, giving each cookie space to spread its wings. Watch them turn golden at the edges while keeping a soft, dreamy center – about 10-12 minutes of pure anticipation.
Let cookies rest briefly on the baking sheet, allowing them to gather themselves. Transfer to a cooling rack where they’ll become irresistibly crisp around the edges and tender in the middle. Share with someone who makes your heart sparkle.
Flavors You Can Mix Into Cupids Trash Can Cookies
Serve Cupids Trash Can Cookies At Parties Or Gifts
How To Store Cupids Trash Can Cookies Properly
Print
Romantic Cupids Trash Can Cookies Recipe
- Total Time: 30 minutes
- Yield: 23 1x
Description
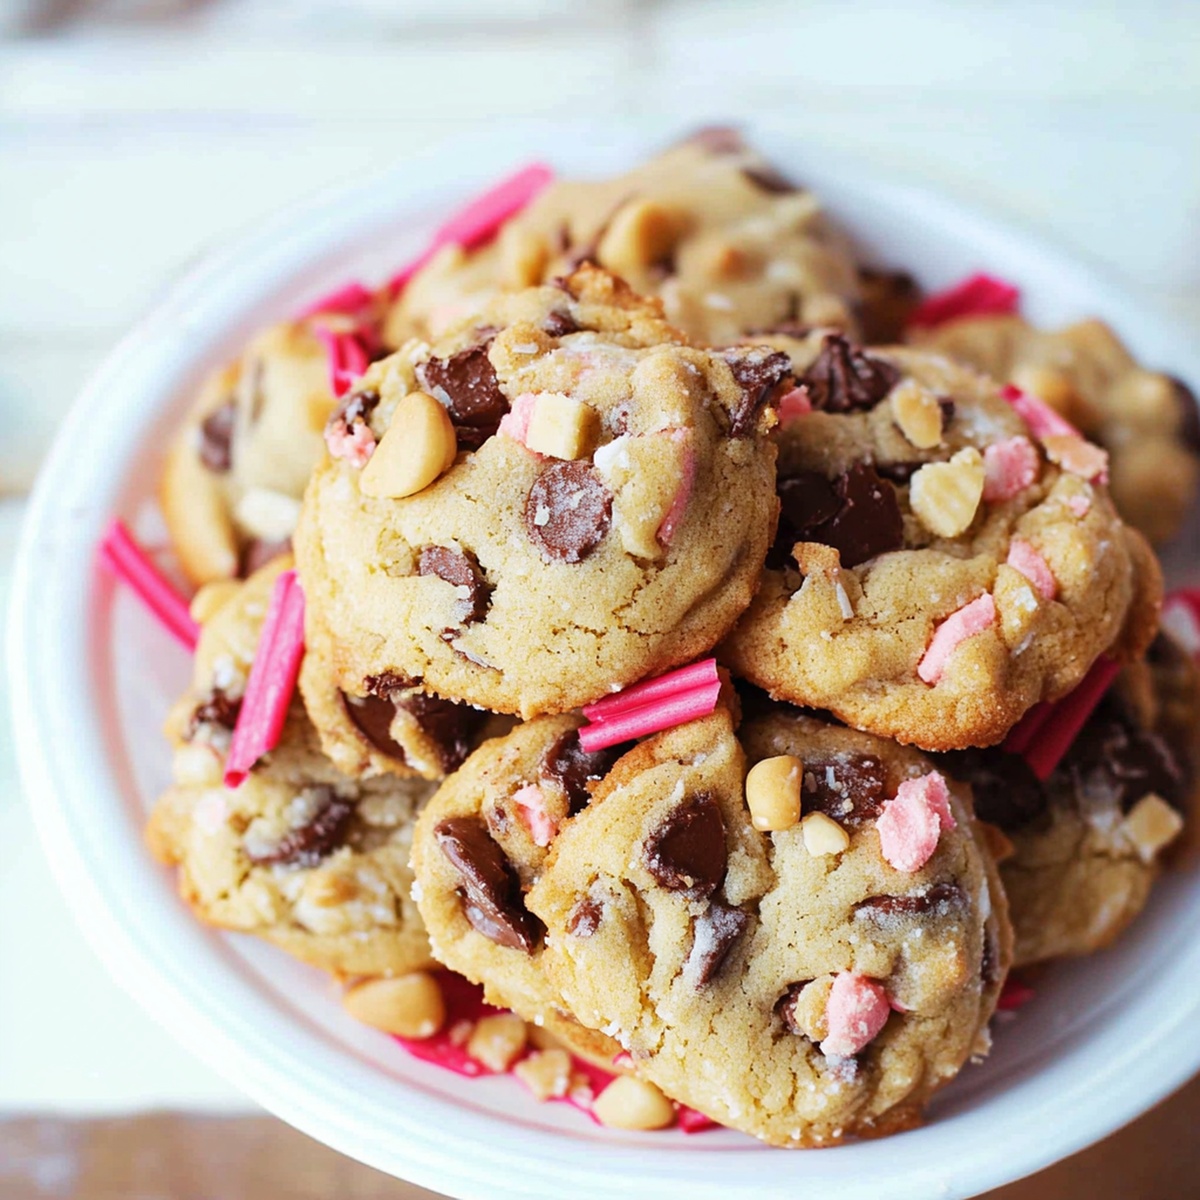
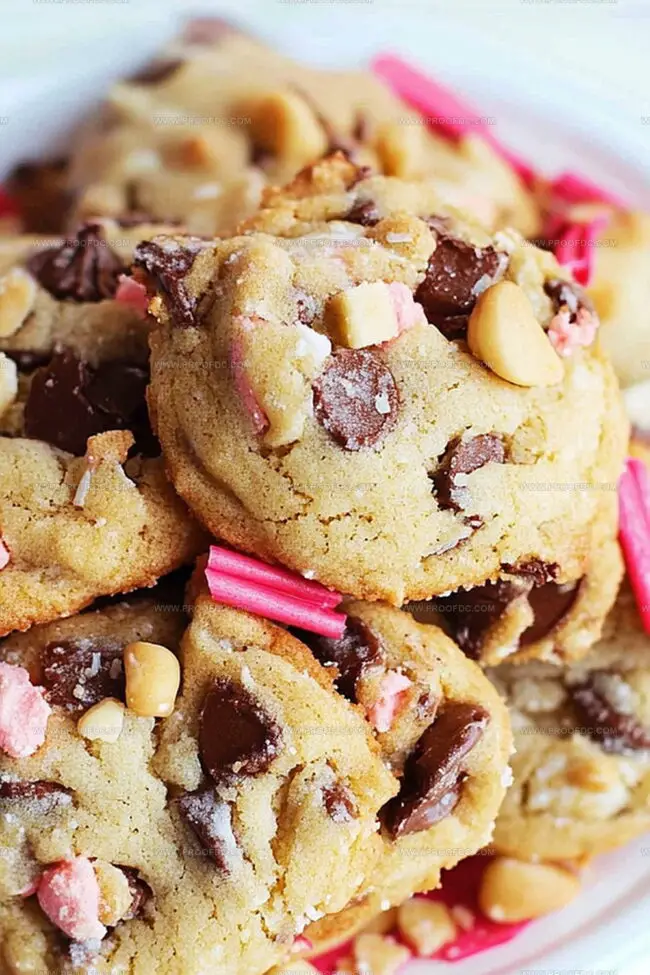
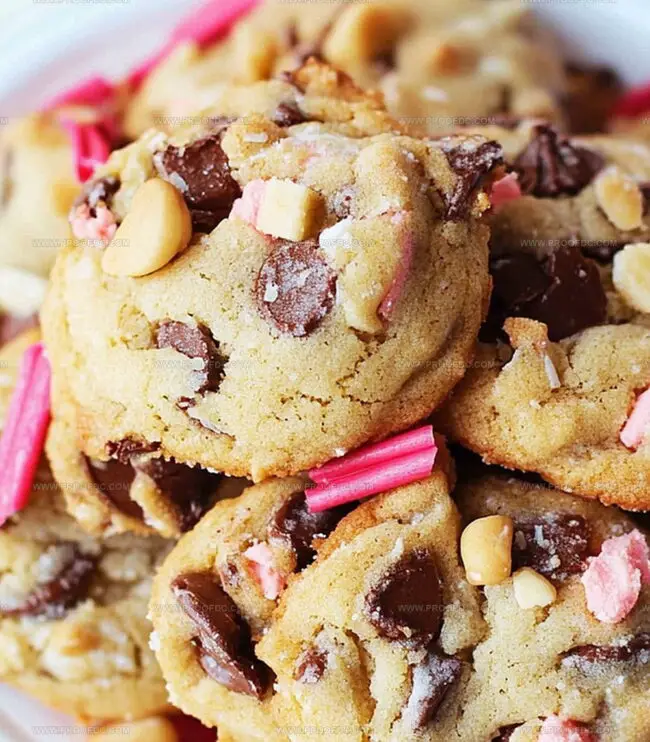
Cupids trash can cookies deliver a whimsical valentine’s treat packed with unexpected charm. Sweet chocolate chunks and colorful sprinkles create irresistible cookie magic you’ll crave again and again.
Ingredients
- 1 cup (227 grams / 8 oz) unsalted butter, softened
- 1 cup (200 grams) granulated sugar
- ½ cup (110 grams / 4 oz) brown sugar, packed
- 2 large eggs
- 2 ½ cups (296 grams / 10.5 oz) all-purpose flour
- 2 tsps vanilla extract
- 1 tsp baking soda
- ½ tsp baking powder
- ½ tsp salt
- ½ cup (60 grams / 2 oz) crushed pretzels
- ½ cup (85 grams / 3 oz) mini chocolate chips
- ½ cup (85 grams / 3 oz) candy-coated chocolates (e.g., M&Ms or Valentines candy)
- ¼ cup (40 grams / 1.4 oz) sprinkles (preferably pink, red, and white for Valentines Day)
- ¼ cup (30 grams / 1 oz) chopped nuts (optional)
Instructions
- Preheat Preparation: Heat the oven to 350F (175C) and line baking sheets with parchment paper or silicone mats for optimal cookie release.
- Creaming Stage: Whip softened butter with granulated and brown sugars until light and fluffy, creating a smooth base for the cookie dough.
- Wet Ingredient Fusion: Blend in eggs individually, then incorporate vanilla extract to enhance the aromatic profile of the mixture.
- Dry Ingredient Combination: Thoroughly mix flour, baking soda, baking powder, and salt in a separate bowl to ensure even distribution of leavening agents.
- Dough Assembly: Gently fold dry ingredients into the wet mixture, being careful not to overmix, then delicately incorporate pretzels, mini chocolate chips, candy-coated chocolates, sprinkles, and optional nuts.
- Portioning and Baking: Drop rounded tablespoons of dough onto prepared sheets, spacing them 2 inches apart, and bake for 10-12 minutes until edges turn golden brown and centers remain slightly soft.
- Cooling and Serving: Allow cookies to rest on baking sheets for 5 minutes to set, then transfer to a wire rack to cool completely. Serve with milk or package as a festive Valentine’s Day treat.
Notes
- Butter Temperature Matters: Use room temperature butter for optimal creaming, ensuring a light, fluffy cookie texture that blends smoothly with sugars.
- Gentle Mixing Technique: Avoid overmixing the dough after adding dry ingredients to prevent tough, dense cookies – stir just until ingredients combine.
- Consistent Cookie Size: Use a cookie scoop or tablespoon for uniform cookies that bake evenly and look professionally prepared.
- Customize Mix-Ins: Swap or adjust candy and pretzel quantities to suit dietary preferences or create seasonal variations without compromising the cookie’s foundational structure.
- Prep Time: 15 minutes
- Cook Time: 15 minutes
- Category: Desserts, Snacks
- Method: Baking
- Cuisine: American
Nutrition
- Serving Size: 23
- Calories: 210
- Sugar: 13 g
- Sodium: 120 mg
- Fat: 10 g
- Saturated Fat: 6 g
- Unsaturated Fat: 4 g
- Trans Fat: 0 g
- Carbohydrates: 28 g
- Fiber: 1 g
- Protein: 2 g
- Cholesterol: 30 mg
Marcus Foley
Food Critic & Kitchen Coach
Expertise
Recipe Testing and Troubleshooting; Time-Saving Kitchen Hacks; Global Flavor Exploration; Engaging Food Writing and Honest Reviews.
Education
Institute of Culinary Education (ICE), New York, NY
Marcus Foley, based in Atlanta, GA, is a friendly food expert who makes cooking fun and simple.
With hands-on training from the Institute of Culinary Education and years of tasting everything from street food to fine dining, he shares easy kitchen hacks, global flavor ideas, and step-by-step recipes that turn kitchen mishaps into delicious surprises.