Warm Up The Oven Prepare your baking space by heating the oven to a toasty 350F and getting two cake pans ready with a light grease and flour coating.
Mix Chocolate Magic Combine all dry ingredients in a big bowl, creating a chocolatey base. Pour in wet ingredients and stir until everything blends into a smooth, rich batter. The secret weapon? A splash of boiling water that makes the mixture extra silky.
Bake To Perfection Pour the batter into prepared pans and slide into the oven. Bake until a toothpick comes out clean, about 30-35 minutes. Let the cakes cool completely before the next exciting stage.
Create Raspberry Sauce Simmer fresh raspberries with a touch of sugar and lemon juice. Thicken the sauce with a cornstarch mixture, stirring until it becomes a luscious, glossy filling.
Whip Up Chocolate Frosting Beat butter until it’s cloud-like and fluffy. Gradually add cocoa, sugar, cream, and a hint of vanilla. Whip until the frosting becomes smooth and irresistible.
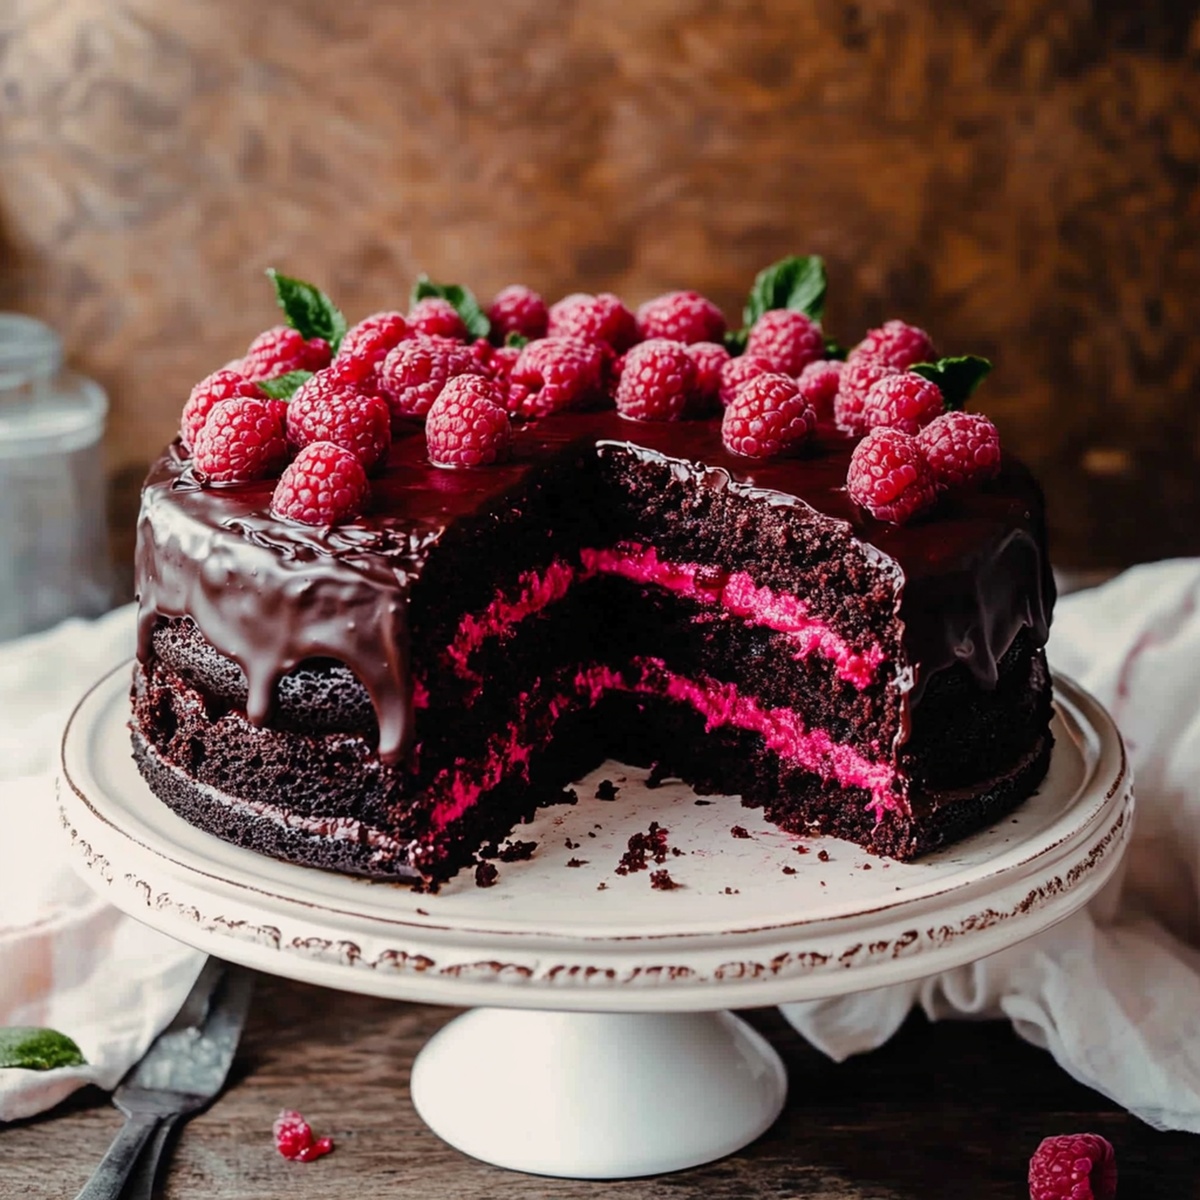
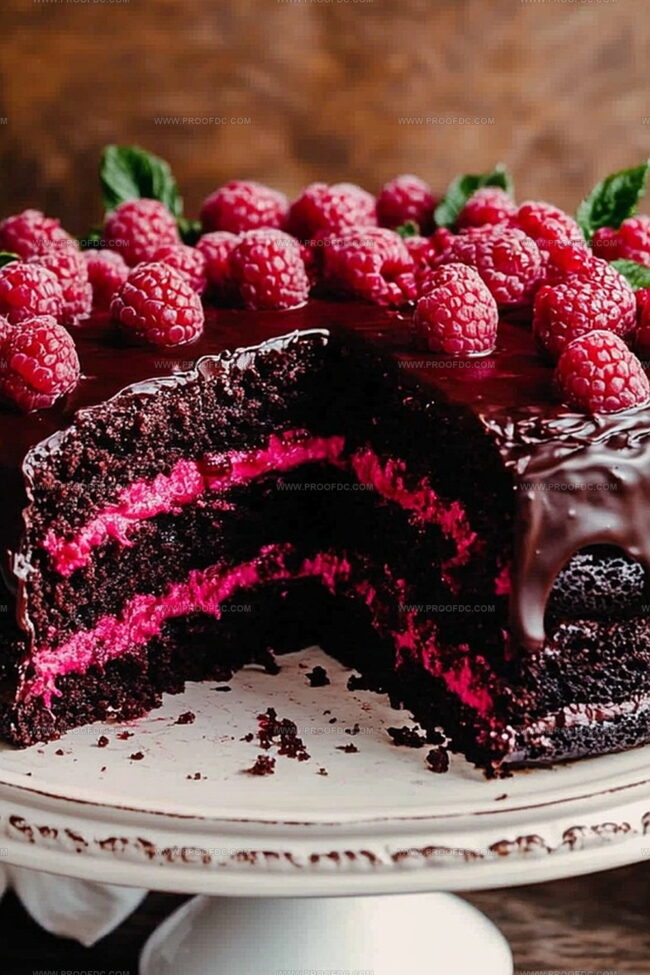
Build Your Masterpiece Place the first cake layer down, spread raspberry filling generously. Top with the second layer and cover everything in decadent chocolate frosting. For an extra wow factor, sprinkle fresh raspberries on top and drizzle with a chocolate glaze.
Tricks To Perfect Chocolate Raspberry Cake
Raspberry Rescue Tip: If your raspberry filling seems too runny, sprinkle in an extra teaspoon of cornstarch to thicken it quickly without compromising flavor.
Gluten-Free Makeover: Swap regular flour with a gluten-free all-purpose blend to create a celiac-friendly version that doesn’t sacrifice texture or taste.
Dairy-Free Delight: Replace buttermilk with almond milk and use coconut cream instead of heavy cream to transform this cake into a delicious dairy-free treat that everyone can enjoy.
Make-Ahead Magic: Both cake layers and raspberry filling can be prepared a day in advance and stored separately in the refrigerator, making assembly faster and reducing day-of stress.
Flavor Fusion Bonus: Experiment by adding a hint of orange zest to the raspberry filling or mixing dark chocolate shavings into the buttercream for an unexpected flavor twist that elevates the entire dessert.
Serving Chocolate Raspberry Cake The Sweet Way
Romantic Date Night Delight: Serve this decadent chocolate raspberry cake as the perfect finale to an intimate dinner, creating a sweet and memorable moment for you and your partner.
Berry Elegant Dessert Platter: Arrange cake slices on a beautiful platter with scattered fresh raspberries, mint leaves, and a light dusting of powdered sugar for an Instagram-worthy presentation.
Celebration Showstopper: Make this cake the centerpiece of birthday parties or anniversary celebrations, impressing guests with its rich chocolate flavor and vibrant raspberry filling that looks as amazing as it tastes.
Coffee Companion Treat: Pair a slice with a rich espresso or cappuccino, letting the cake’s deep chocolate and tangy raspberry flavors complement the robust coffee notes for a delightful afternoon indulgence.
Storage Tips For Chocolate Raspberry Cake
Cake Care & Storage Magic
Refrigeration Strategy: Store the fully assembled cake in an airtight container inside the refrigerator for up to 4 days. Cover loosely with plastic wrap to prevent moisture loss and keep the cake’s texture perfect.
Room Temperature Timing: Keep the cake at room temperature for 1-2 hours before serving to allow buttercream to soften and flavors to enhance. This trick helps restore the cake’s original delightful texture.
Slice Separation Technique: Place wax paper between individual cake slices when storing in the refrigerator. This prevents sticking and maintains each slice’s pristine appearance and taste.
Freezing Method: Wrap unfrosted cake layers tightly in plastic wrap and aluminum foil. Freeze for up to 3 months. Thaw overnight in the refrigerator before assembling and decorating to maintain maximum moisture and flavor intensity.
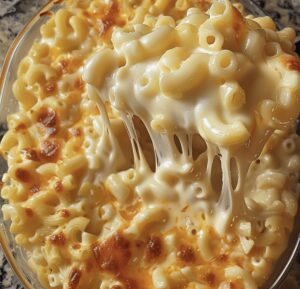
Creamy mac & cheese crockpot magic brings comfort straight from grandma’s kitchen to modern dinner tables. Cheese-laden pasta melts into a blissful symphony, inviting you to savor each spoonful of pure, nostalgic deliciousness.
Ingredients
Scale
Main Cheeses:
3 cups (300g) shredded sharp cheddar cheese
1 cup (100g) shredded mozzarella cheese
1 cup (100g) shredded Gruyere or Parmesan cheese
Pasta and Dairy:
16 ounces (450g) elbow macaroni, uncooked
4 cups (960 milliliters) whole milk
1 can (12 ounces) evaporated milk
½ cup (115g) unsalted butter, melted
Seasonings and Garnish:
½ teaspoon garlic powder
½ teaspoon onion powder
½ teaspoon ground mustard (optional, for extra flavor)
Salt, to taste
Black pepper, to taste
Fresh parsley or chives for garnish (optional)
Instructions
Prepare the cooking vessel by thoroughly coating the interior with a thin layer of cooking spray or butter to ensure easy release and prevent unwanted sticking.
Gather all ingredients into the crockpot, creating a harmonious mixture by combining uncooked macaroni, dairy components, melted butter, and an ensemble of cheeses including cheddar, mozzarella, and Gruyere. Integrate the seasonings – garlic powder, onion powder, ground mustard, salt, and black pepper – using a comprehensive stirring technique to distribute flavors evenly throughout the mixture.
Position the crockpot lid securely and set the temperature to low, allowing the ingredients to slowly transform and meld together. Periodically interrupt the cooking process every half-hour to gently fold the contents, preventing pasta from clustering and ensuring uniform heat distribution.
After approximately 2-2.5 hours, assess the dish’s consistency. The pasta should exhibit a tender texture, with cheese thoroughly melted into a luxurious, creamy landscape. The final product should appear glossy and inviting, with no distinct liquid separation.
Once cooking completes, transition the crockpot to its warming setting. Optionally embellish the mac and cheese with fresh herb garnishes like delicate parsley or snipped chives, adding a vibrant visual and flavor dimension before serving piping hot.
Notes
Use full-fat milk for ultimate creaminess, as lower-fat versions might separate during slow cooking.
Grate cheese fresh for better melting and smoother texture compared to pre-shredded options.
Stir periodically to distribute heat evenly and prevent pasta from sticking to crockpot bottom.
Experiment with cheese combinations like sharp cheddar, smoked gouda, or fontina for deeper flavor profiles.
For gluten-free version, substitute regular macaroni with gluten-free pasta varieties.
Add crispy bacon bits or breadcrumbs on top for extra crunch and textural contrast.
Keep extra milk nearby to adjust consistency if mac and cheese becomes too thick during cooking.
Avoid lifting crockpot lid frequently, as this releases heat and increases cooking time.
Recipe Testing and Troubleshooting; Time-Saving Kitchen Hacks; Global Flavor Exploration; Engaging Food Writing and Honest Reviews.
Education
Institute of Culinary Education (ICE), New York, NY
Program: Diploma in Culinary Arts
Focus: Hands-on training in foundational techniques, flavor development, recipe creation, and kitchen efficiency, with an emphasis on real-world application and storytelling through food.
Marcus Foley, based in Atlanta, GA, is a friendly food expert who makes cooking fun and simple.
With hands-on training from the Institute of Culinary Education and years of tasting everything from street food to fine dining, he shares easy kitchen hacks, global flavor ideas, and step-by-step recipes that turn kitchen mishaps into delicious surprises.

Marcus Foley
Food Critic & Kitchen Coach
Expertise
Recipe Testing and Troubleshooting; Time-Saving Kitchen Hacks; Global Flavor Exploration; Engaging Food Writing and Honest Reviews.
Education
Institute of Culinary Education (ICE), New York, NY
Marcus Foley, based in Atlanta, GA, is a friendly food expert who makes cooking fun and simple.
With hands-on training from the Institute of Culinary Education and years of tasting everything from street food to fine dining, he shares easy kitchen hacks, global flavor ideas, and step-by-step recipes that turn kitchen mishaps into delicious surprises.