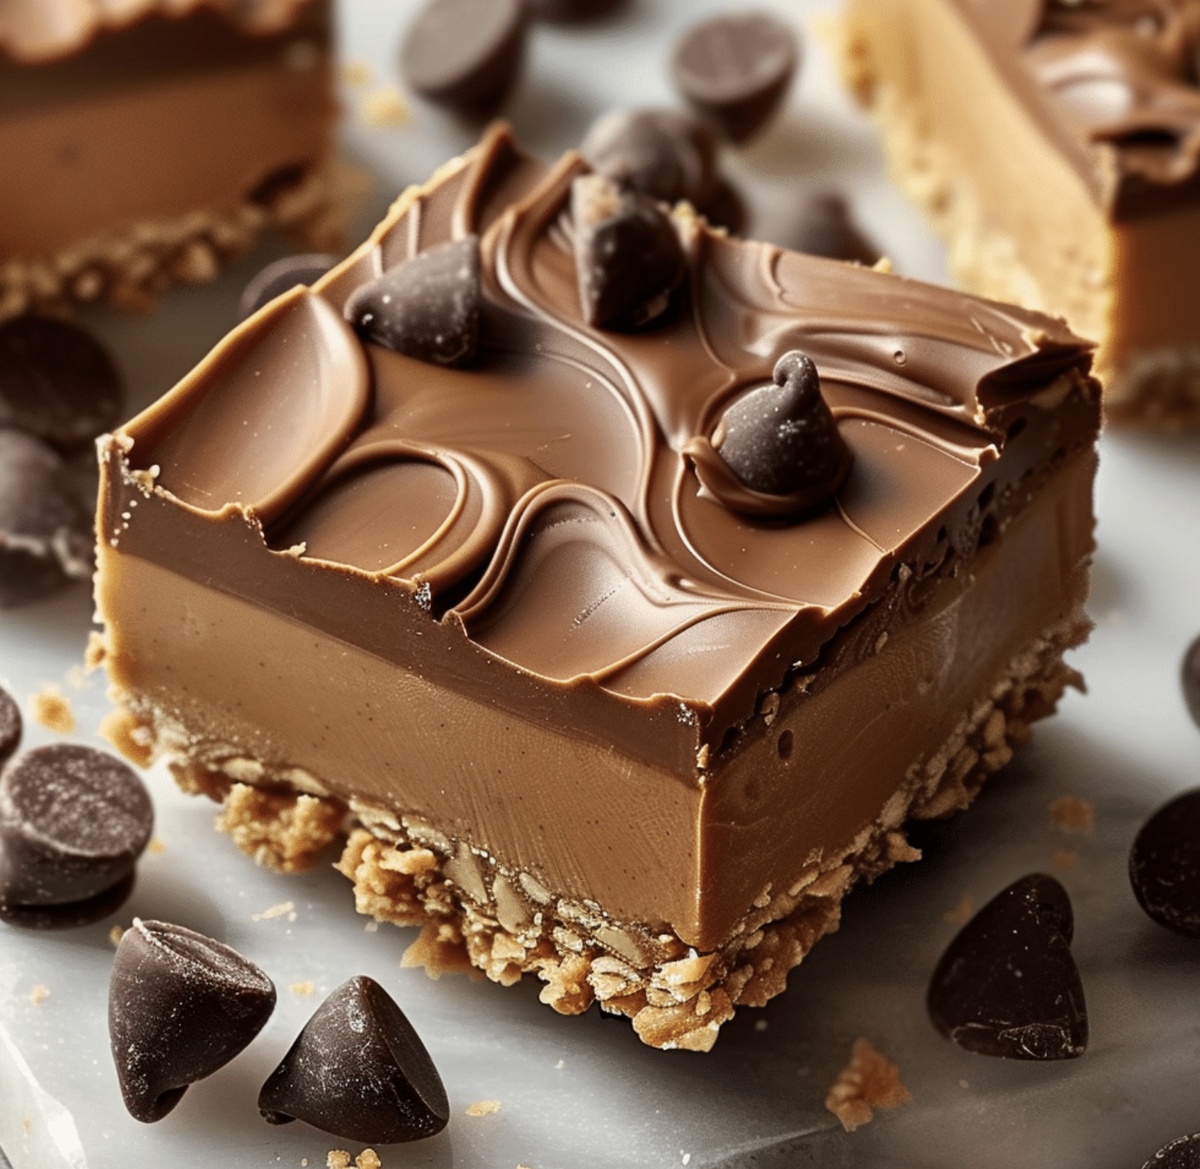
Irresistible Reeses Peanut Butter No-Bake Bars Recipe
Creamy peanut butter no-bake bars bring pure indulgence to your dessert table in minutes.
Sweet chocolate and rich nutty layers combine effortlessly without touching an oven.
Crafting a decadent treat that requires zero baking skills and minimal effort.
Minimal ingredients and quick assembly mean you can whip up these delightful bars faster than brewing coffee.
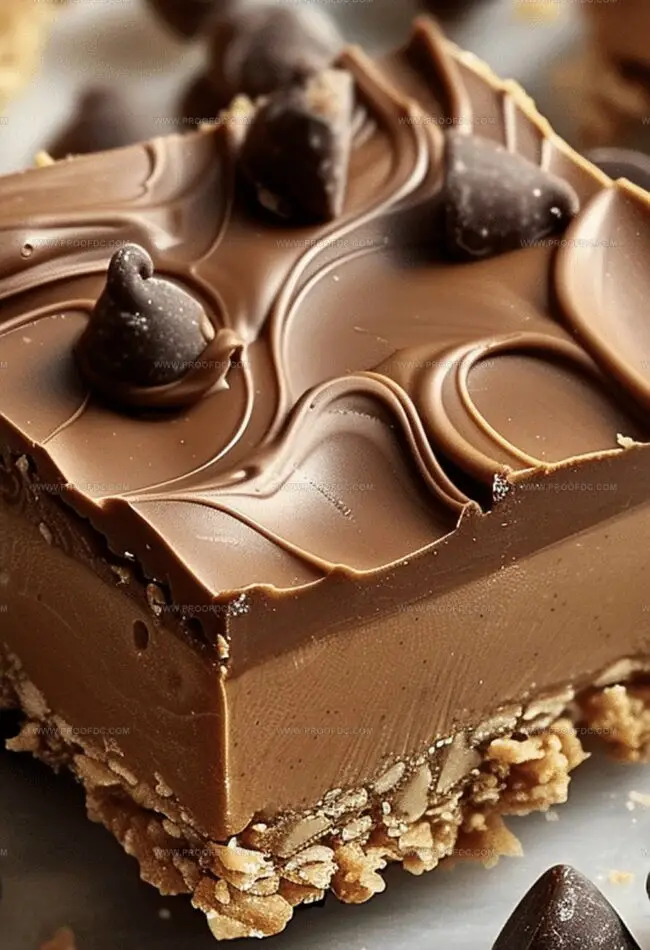
Every bite promises a perfect balance between smooth chocolate and intense peanut butter flavor.
Each square delivers a mouthwatering experience that feels like a luxurious shortcut to dessert bliss.
Grab your mixing bowl and let’s create something seriously irresistible that will have everyone asking for seconds.
Why Reeses Peanut Butter No-Bake Bars Are So Quick And Rich
Ingredients Needed For Reeses Peanut Butter No-Bake Bars
Base Layer Ingredients:Chocolate Topping Ingredients:Preparation Ingredient:How To Make Reeses Peanut Butter No-Bake Bars In Minutes
Step 1: Craft Peanut Butter Base
Mix the following ingredients in a medium bowl:Blend everything until the mixture looks smooth and consistent. Transfer the mixture into a lined 8×8-inch baking pan. Press down firmly to create an even, compact layer that covers the entire bottom of the pan.
Step 2: Create Chocolate Topping
Grab a microwave-safe bowl and combine:Melt the ingredients in short bursts, stirring between each 20-second interval. Continue heating until the mixture transforms into a silky, glossy chocolate sauce with no lumps.
Step 3: Layer Chocolate Goodness
Gently pour the melted chocolate over the peanut butter foundation. Use a spatula to spread the chocolate evenly, ensuring complete coverage of the first layer.
Step 4: Chill and Solidify
Place the pan in the refrigerator. Let the bars cool and set for approximately one hour. The bars should become firm and hold their shape when touched.
Step 5: Slice and Indulge
Remove the pan from the refrigerator. Lift the bars out using the parchment paper edges. Slice into perfect squares using a sharp knife. Serve immediately and enjoy the decadent treat!
Tips For Firm And Tasty Reeses Peanut Butter No-Bake Bars
How To Store Reeses Peanut Butter No-Bake Bars With Ease
What Goes Well With Reeses Peanut Butter No-Bake Bars
Tasty Variations Of Reeses Peanut Butter No-Bake Bars
FAQs For Reeses Peanut Butter No-Bake Bars
Graham crackers add a delightful crunch and subtle sweetness that perfectly complements the creamy peanut butter layer, creating a more complex texture and flavor profile.
Natural peanut butter might make the mixture too runny. Stick with traditional creamy peanut butter for the best consistency and stable no-bake bars.
Let the bars sit at room temperature for 5-10 minutes before cutting. Use a sharp knife and clean it between cuts to ensure smooth, clean edges without chocolate cracking.
Absolutely! This no-bake recipe is super easy and safe for kids to help with. They can mix ingredients and spread layers with minimal adult supervision, making it a fun family cooking activity.
Print
Reeses Peanut Butter No-Bake Bars Recipe
- Total Time: 1 hour 10 minutes
- Yield: 12 1x
Description
Indulgent Reeses peanut butter no-bake bars promise chocolate-peanut butter magic in minutes. Creamy layers of sweet simplicity deliver pure dessert bliss without heating up your kitchen.
Ingredients
Main Ingredients:
- 1 ½ cups (270 grams / 9.5 ounces) semi-sweet or milk chocolate chips
- 1 cup (240 grams / 8.5 ounces) creamy peanut butter
- 1 ½ cups (180 grams / 6.3 ounces) crushed graham crackers
Supporting Ingredients:
- ½ cup (115 grams / 4 ounces) unsalted butter, melted
- 1 ¼ cups (150 grams / 5.3 ounces) powdered sugar
Topping:
- 2 tablespoons creamy peanut butter
Instructions
- Craft a creamy foundation by whisking together peanut butter, softened butter, powdered sugar, and finely crushed graham crackers until the mixture develops a uniform, velvety consistency.
- Transfer the luxurious blend into a parchment-lined baking dish, carefully pressing and smoothing the layer to create an even, compact base that will serve as the robust foundation for the dessert.
- Melt chocolate chips with a dollop of peanut butter in short microwave intervals, stirring between each session to ensure a glossy, silky chocolate coating without scorching.
- Gently cascade the molten chocolate over the peanut butter layer, using a spatula to distribute the rich topping uniformly, creating a seamless, tempting surface.
- Carefully place the pan into the refrigerator, allowing the bars to firm and solidify for approximately one hour, ensuring the layers meld and set perfectly.
- Once chilled and stabilized, extract the dessert from the refrigerator and utilize the parchment paper edges to lift the entire creation from the pan.
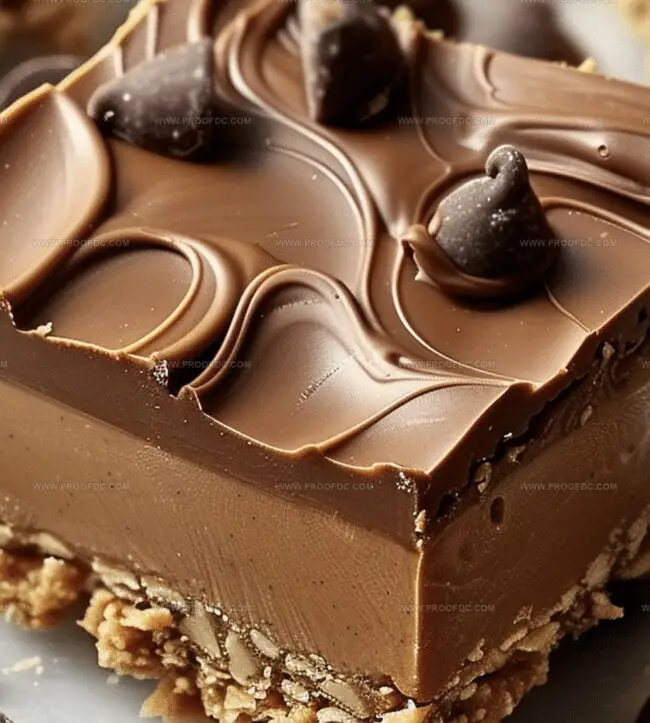
- With precision, slice the bars into symmetrical squares, revealing the beautiful layered texture and presenting a decadent treat ready for immediate indulgence.
Notes
- Select creamy, smooth peanut butter for a silky, luxurious texture that blends perfectly with other ingredients.
- Use unsalted butter to control the overall saltiness and prevent the bars from becoming too salty.
- Crush graham crackers finely to ensure a uniform, smooth base that holds together well without crumbling.
- Melt chocolate slowly and carefully to prevent burning, stirring between short microwave intervals for a glossy, perfect finish.
- For gluten-free version, swap graham crackers with gluten-free alternatives like almond flour or gluten-free cookie crumbs.
- Store bars in an airtight container in the refrigerator for up to one week, maintaining their delightful texture and preventing flavor absorption.
- Want a lower-sugar option? Reduce powdered sugar and use dark chocolate with higher cocoa content for a less sweet treat.
- Prep Time: 10 minutes
- Cook Time: 1 hour
- Category: Desserts, Snacks
- Method: Mixing
- Cuisine: American
Nutrition
- Serving Size: 12
- Calories: 310
- Sugar: 25g
- Sodium: 150mg
- Fat: 20g
- Saturated Fat: 9g
- Unsaturated Fat: 10g
- Trans Fat: 0g
- Carbohydrates: 33g
- Fiber: 2g
- Protein: 6g
- Cholesterol: 15mg
Jenna Stewart
Head Chef & Recipe Innovator
Expertise
Farm-to-Table Cooking; Seasonal Menu Development; Visual Plating Techniques; Flavor Layering and Simple Prep Hacks.
Education
The Culinary Institute of America, Hyde Park, NY
Jenna Stewart is the inventive spirit behind many of our standout dishes at Pro of Delicious Creations. A proud graduate of The Culinary Institute of America, she built her skills mastering both classic recipes and fresh, modern twists.
Now, Jenna celebrates the beauty of seasonal, local ingredients, often sourced from her garden and nearby markets, to create recipes that are bursting with flavor yet easy to follow. When she’s not experimenting in the kitchen, Jenna loves exploring nature on hikes and discovering new treasures at local co-ops.