
Irresistible Red Velvet Cheesecake Bites Recipe for Sweet Lovers
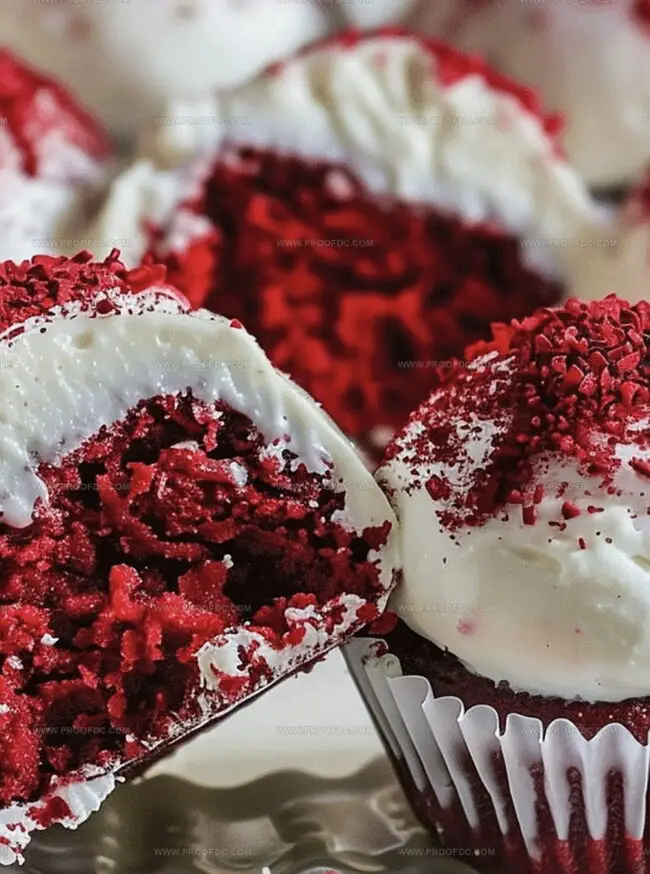
Sinking your teeth into a decadent red velvet cheesecake bite that melts effortlessly on your tongue.
These miniature delights combine the rich, velvety texture of classic red velvet with creamy cheesecake magic.
Small yet stunning, each morsel promises an explosion of luxurious flavors that dance across your palate.
Chocolate lovers and dessert enthusiasts will adore how these compact treats deliver maximum satisfaction in just one bite.
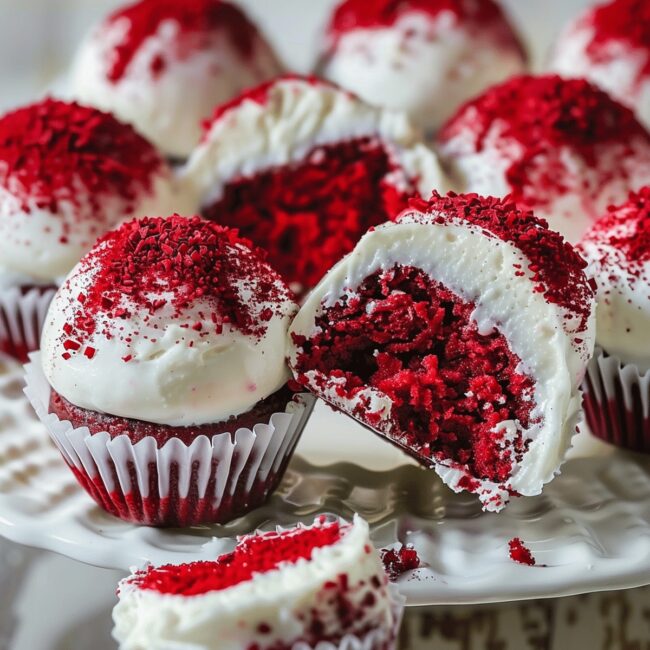
Surprisingly simple to create, these elegant morsels look like they emerged from a professional bakery.
Guests will marvel at your culinary skills when you serve these gorgeous little desserts at your next gathering.
Ready to impress everyone with a dessert that’s both gorgeous and irresistibly delicious?
Why Red Velvet Cheesecake Bites Taste So Rich
Everything You Need For Red Velvet Cheesecake Bites
Crust Ingredients:Cheesecake Filling Ingredients:Garnish Ingredients:How To Whip Up Red Velvet Cheesecake Bites
Step 1: Create Crumbly Crust
Warm up the oven to 325°F. Grab a muffin tin and line it with paper cups. Crush red velvet cake into fine crumbs. Mix crumbs with:Press a spoonful of the buttery crumb mixture into each muffin liner, creating a compact base.
Step 2: Whip Creamy Filling
In a large mixing bowl, beat cream cheese until silky smooth. Blend in:Crack eggs one at a time, mixing gently after each addition. In a separate small bowl, dissolve cocoa powder with milk until completely smooth. Fold cocoa mixture into cream cheese blend. Add red food coloring to achieve vibrant red velvet color.
Step 3: Bake Delicate Cheesecakes
Carefully spoon cheesecake mixture over each crumb crust, filling almost to the top. Slide muffin tin into preheated oven. Bake for 20-25 minutes until edges look set but centers remain slightly wobbly. Remove from oven and let cool in tin for 10 minutes. Transfer to wire rack and allow complete cooling.
Step 4: Chill and Decorate
Refrigerate cheesecake bites for minimum 2 hours to firm up. Before serving, top each mini cheesecake with:Serve chilled and enjoy these delectable treats!
Smart Tips For Red Velvet Cheesecake Bites
How To Keep Red Velvet Cheesecake Bites Fresh
Drinks And Bites To Serve With Red Velvet Cheesecake Bites
Red Velvet Cheesecake Bites Variations To Try
Common Questions On Red Velvet Cheesecake Bites
The red food coloring is added to create the classic vibrant red hue, which is a hallmark of red velvet desserts. A small amount of cocoa powder also helps enhance the rich, subtle chocolate undertone.
Absolutely! These bite-sized treats are perfect for preparing in advance. You can make them up to 3 days before serving and store them in the refrigerator. They actually taste better after the flavors have had time to meld together.
The combination of cream cheese and sour cream creates a perfectly smooth, creamy texture with a slight tanginess. The sour cream adds moisture and helps prevent the cheesecake from cracking, ensuring a silky-smooth filling every time.
Yes! Adding eggs one at a time and beating just until incorporated helps prevent overmixing, which can lead to a tough, dense cheesecake. This technique ensures a light, creamy texture in your final dessert.
Print
Red Velvet Cheesecake Bites Recipe
- Total Time: 2 hours 45 minutes
- Yield: 12 1x
Description
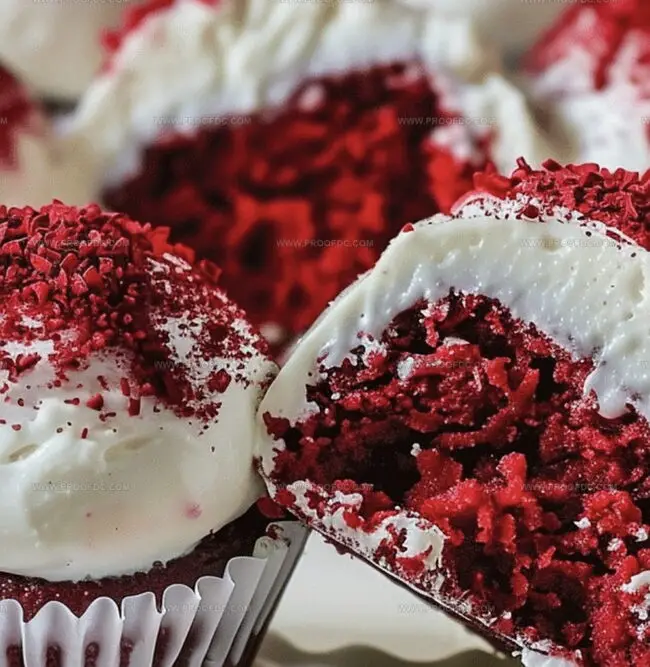
Indulgent red velvet cheesecake bites blend creamy richness with classic Southern charm, offering a miniature dessert that melts smoothly on your palate. Chocolate lovers and sweet enthusiasts will savor these elegant, bite-sized treats perfect for any celebration or quiet moment of pure bliss.
Ingredients
Cake Base:
- 1 ½ cups (360 milliliters/12.5 ounces) red velvet cake crumbs
- ¼ cup (60 milliliters/2 ounces) unsalted butter, melted
- ¼ cup (30 grams) cocoa powder
Filling Ingredients:
- 8 ounces (226 grams) cream cheese, softened
- ½ cup (100 grams) granulated sugar
- 2 large eggs
- ½ cup (120 milliliters/4 ounces) sour cream
- ¼ cup (60 milliliters/2 ounces) milk
- 1 teaspoon vanilla extract
- Red food coloring (as needed)
Garnish:
- Whipped cream
- Extra red velvet cake crumbs
Instructions
- Prepare a muffin tin by lining with 12 paper cups and heating the oven to 325F (160C). Crush red velvet cake into fine crumbs and blend thoroughly with melted butter until mixture holds together when pressed.
- Gently cream the cream cheese until silky and uniform. Gradually incorporate sugar and vanilla, mixing until completely smooth. Fold in sour cream, ensuring no lumps remain.
- Introduce eggs one at a time, stirring minimally to maintain a delicate texture. Whisk cocoa powder with milk until completely integrated, then gently fold into the cream cheese mixture.
- Add red food coloring to achieve the classic vibrant red velvet hue, stirring carefully to distribute color evenly.
- Distribute the crumb mixture across muffin liners, pressing firmly to create a compact base. Carefully spoon cheesecake filling over each crust, filling almost to the top.
- Bake for 20-25 minutes, watching for slightly set edges with a subtle center jiggle. Remove from oven and allow to rest in the pan for 10 minutes.
- Transfer mini cheesecakes to a wire cooling rack, then refrigerate for at least 2 hours to fully set and develop flavor.
- Before serving, crown each cheesecake bite with a delicate swirl of whipped cream and a sprinkle of reserved red velvet crumbs for elegant presentation.
Notes
- Ensure cream cheese is at room temperature for smooth, lump-free mixing to achieve a silky cheesecake texture.
- Use high-quality cocoa powder for a rich, deep chocolate flavor that complements the red velvet profile.
- Control the intensity of red food coloring to get the perfect vibrant red without an artificial taste.
- Avoid overmixing eggs to prevent air bubbles that can cause cracking during baking.
- Experiment with alternative crusts like crushed Oreos or graham crackers for different flavor variations.
- Create a gluten-free version by using gluten-free cake crumbs or almond flour as the base.
- Freeze these bites for up to a month, making them perfect for make-ahead dessert preparations.
- Reduce sugar content by using a sugar substitute or cutting the amount by one-third without compromising taste.
- Prep Time: 25 minutes
- Cook Time: 20 minutes
- Category: Desserts, Snacks
- Method: Baking
- Cuisine: American
Nutrition
- Serving Size: 12
- Calories: 150
- Sugar: 10 g
- Sodium: 120 mg
- Fat: 8 g
- Saturated Fat: 5 g
- Unsaturated Fat: 3 g
- Trans Fat: 0 g
- Carbohydrates: 18 g
- Fiber: 0 g
- Protein: 3 g
- Cholesterol: 35 mg
Jenna Stewart
Head Chef & Recipe Innovator
Expertise
Farm-to-Table Cooking; Seasonal Menu Development; Visual Plating Techniques; Flavor Layering and Simple Prep Hacks.
Education
The Culinary Institute of America, Hyde Park, NY
Jenna Stewart is the inventive spirit behind many of our standout dishes at Pro of Delicious Creations. A proud graduate of The Culinary Institute of America, she built her skills mastering both classic recipes and fresh, modern twists.
Now, Jenna celebrates the beauty of seasonal, local ingredients, often sourced from her garden and nearby markets, to create recipes that are bursting with flavor yet easy to follow. When she’s not experimenting in the kitchen, Jenna loves exploring nature on hikes and discovering new treasures at local co-ops.