Irresistible Raspberry Cheesecake Thumbprint Cookies Recipe
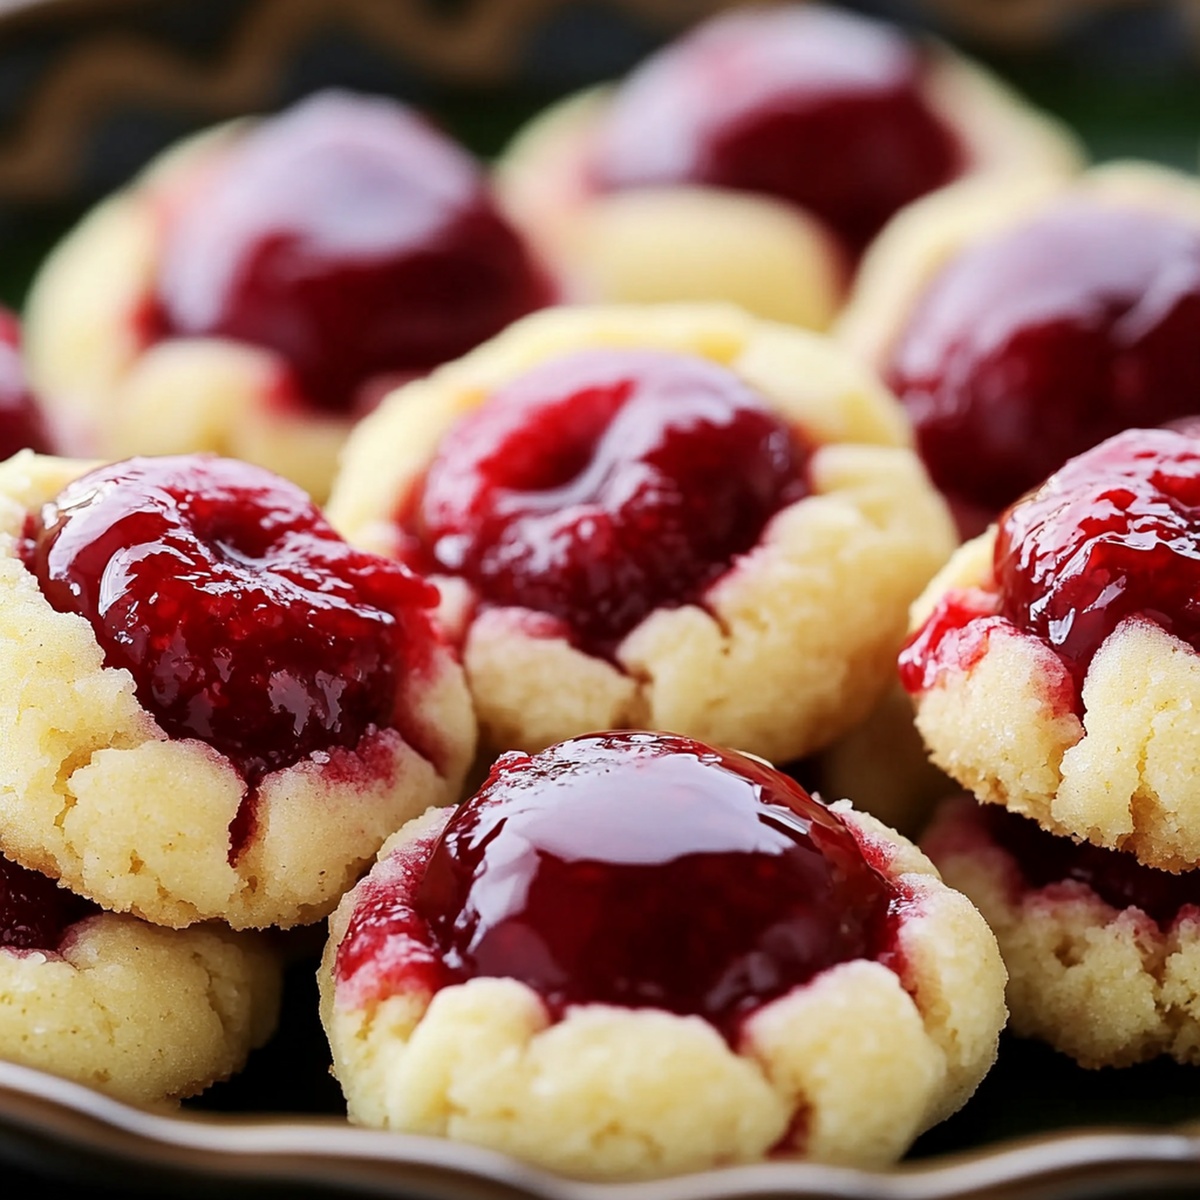
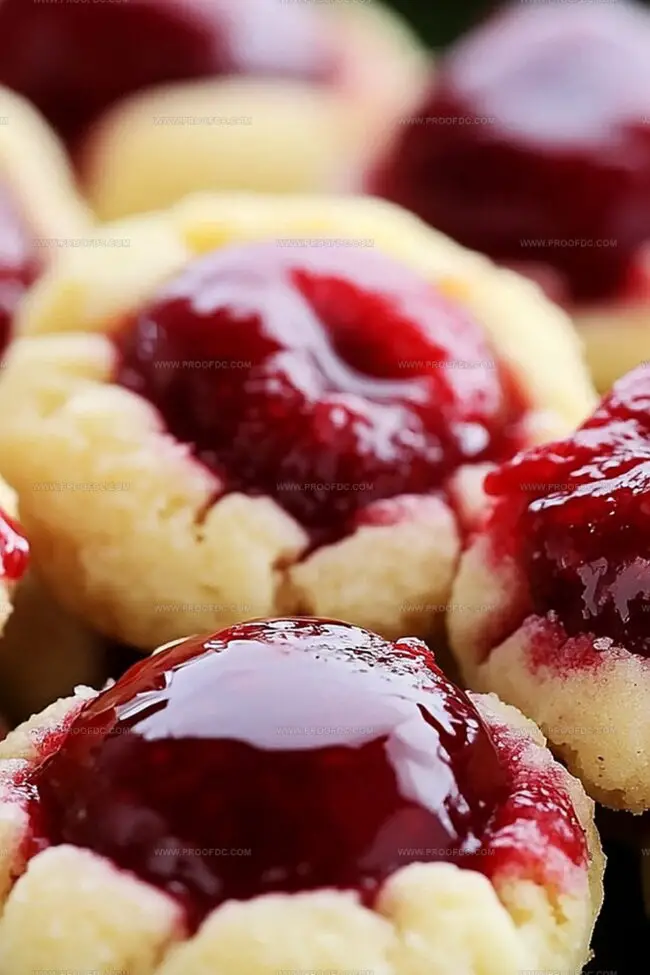
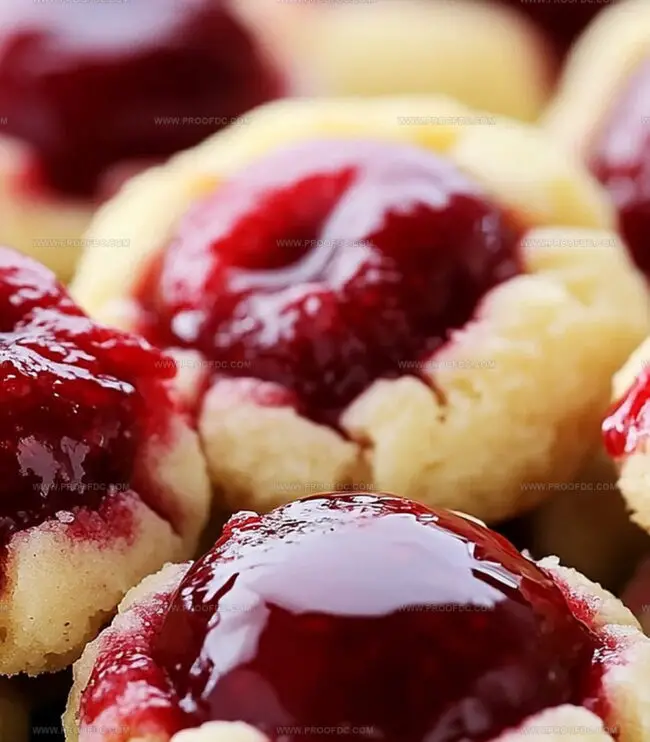
These buttery raspberry cheesecake thumbprint cookies blend creamy texture with burst of fruity charm.
A delicate cookie that cradles sweet-tangy raspberry filling like a perfect edible gem.
Soft cream cheese mingles with delicate shortbread in each delightful bite.
Crisp edges give way to a luscious center that melts on your tongue.
Small enough to enjoy without guilt yet rich enough to satisfy serious dessert cravings.
Cookie lovers will adore how simple ingredients transform into something spectacular.
I promise these little treats will become your new favorite afternoon companion.
Why Raspberry Cheesecake Thumbprint Cookies Steal the Show
What’s Inside Raspberry Cheesecake Thumbprint Cookies
Cookie Base:Filling and Topping:Finishing Touch:Steps for Raspberry Cheesecake Thumbprint Cookies Success
Step 1: Whip Up the Cookie Dough
Grab a spacious mixing bowl and cream together softened butter and granulated sugar until they transform into a light, fluffy cloud. Gently fold in egg yolks and vanilla extract, blending until perfectly combined. Gradually introduce flour and salt, stirring until the dough comes together like a magical cookie embrace. Wrap the dough in plastic wrap and let it chill in the refrigerator for a cozy 30-60 minutes.
Step 2: Create Creamy Cheesecake Filling
In a small bowl, whisk cream cheese, powdered sugar, and vanilla extract until silky smooth. The filling should look like a dreamy, velvety cloud ready to nestle into your cookies.
Step 3: Prepare the Baking Station
Fire up your oven to 350F (175C). Line two baking sheets with parchment paper, creating a perfect landing spot for your soon-to-be delicious cookies.
Step 4: Shape Adorable Cookie Balls
Retrieve your chilled dough and roll it into cute little 1-inch balls. Place them on the prepared baking sheets, giving each cookie enough space to spread its wings. Using your thumb or the back of a teaspoon, create a cozy indentation in the center of each cookie.
Step 5: Fill with Delicious Goodness
Carefully spoon cheesecake filling into each cookie’s center, smoothing it gently. Top each filled cookie with a tiny dollop of raspberry jam, creating a burst of fruity excitement.
Step 6: Bake to Golden Perfection
Slide the baking sheets into the oven and bake for 12-15 minutes. Look for edges that turn a beautiful golden hue – that’s your signal of cookie magic happening! Allow the cookies to rest on the baking sheet for 5 minutes, then transfer them to a wire rack to cool completely.
Step 7: Finishing Touches
For an extra sprinkle of joy, dust the cookies with a light shower of powdered sugar. Serve these delightful treats immediately or store them for later snacking pleasure.
Tips to Bake Raspberry Cheesecake Thumbprint Cookies Perfectly
How to Save Raspberry Cheesecake Thumbprint Cookies
What Pairs Well with Thumbprint Cookies
Fun Ways to Change Raspberry Cheesecake Thumbprint Cookies
FAQs About Raspberry Cheesecake Thumbprint Cookies
FAQs for Raspberry Cheesecake Thumbprint Cookies
Absolutely! Strawberry, apricot, or blackberry jam work great. Choose your favorite fruit flavor to customize these cookies.
Chilling helps prevent spreading during baking and makes the dough easier to handle. It also intensifies the butter’s flavor and creates a better texture.
Make a deep, clear indentation before baking. If the indent starts to close, gently press it again right after removing the cookies from the oven while they’re still warm.
Yes! You can prepare the dough and refrigerate it for up to 2 days before baking. The filled cookies can also be stored in an airtight container for 3-4 days.
Print
Raspberry Cheesecake Thumbprint Cookies Recipe
- Total Time: 1 hour 5 minutes
- Yield: 24 1x
Description
Delightful raspberry cheesecake thumbprint cookies blend creamy cheesecake with sweet-tart raspberry essence in one irresistible bite. Rich cream cheese and buttery cookie base create a perfect harmony that beckons dessert enthusiasts to savor each delectable morsel.
Ingredients
Cookies Base:
- 1 cup (226 g / 8 ounces) unsalted butter, softened
- ⅔ cup (130 g) granulated sugar
- 2 large egg yolks
- 2 cups (250 g) all-purpose flour
- 1 teaspoon vanilla extract
- ¼ teaspoon salt
Cheesecake Filling:
- 4 ounces (115 g) cream cheese, softened
- ¼ cup (30 g) powdered sugar
- ½ teaspoon vanilla extract
Topping:
- ⅓ cup (80 ml / 2.7 fluid ounces) raspberry jam or preserves
- Powdered sugar (optional, for dusting)
Instructions
- Craft a rich, velvety dough by creaming softened butter with granulated sugar until the mixture becomes airy and pale. Incorporate egg yolks and vanilla extract, blending until harmonious. Gently fold in flour and salt, creating a cohesive dough. Encase the mixture in plastic wrap and allow it to rest in the refrigerator for 30-60 minutes to firm up.
- Whip cream cheese with powdered sugar and vanilla extract until silky smooth, creating a luscious cheesecake filling. Set aside at room temperature.
- Heat the oven to 350F (175C). Cover two baking sheets with parchment paper, ensuring complete surface coverage.
- Remove chilled dough and roll into uniform one-inch spheres. Arrange cookies two inches apart on prepared sheets. Press a gentle indentation into the center of each cookie using your thumb or the rounded back of a measuring spoon.
- Delicately fill each cookie dimple with a precise dollop of cheesecake mixture, smoothing the surface gently. Crown each filled indentation with a small splash of vibrant raspberry jam.
- Slide the trays into the preheated oven and bake for 12-15 minutes, watching for delicate golden edges. Allow cookies to rest on the baking sheet for five minutes, enabling them to stabilize.
- Transfer cookies to a wire cooling rack. Once completely cooled, dust with a light snowfall of powdered sugar if desired. Store in an airtight container or serve immediately to eager guests.
Notes
- Chill the dough thoroughly to prevent spreading and maintain the cookie’s shape during baking.
- Use room temperature cream cheese for a smoother, lump-free filling that blends seamlessly.
- Create uniform cookies by using a small cookie scoop or measuring spoon when forming the dough balls.
- Experiment with different jam flavors like strawberry, apricot, or blackberry for unique taste variations.
- Ensure the thumbprint indentation is deep enough to hold the filling but not so deep that it breaks the cookie’s structure.
- Allow cookies to cool completely before storing to prevent moisture buildup and maintain their crisp texture.
- For a gluten-free version, substitute all-purpose flour with a 1:1 gluten-free baking blend.
- Make ahead and freeze unbaked cookie dough balls for up to 3 months, baking directly from frozen state with slight time adjustment.
- Prep Time: 20 minutes
- Cook Time: 15 minutes
- Category: Desserts, Snacks
- Method: Baking
- Cuisine: American
Nutrition
- Serving Size: 24
- Calories: 150
- Sugar: 8 g
- Sodium: 60 mg
- Fat: 7 g
- Saturated Fat: 4 g
- Unsaturated Fat: 3 g
- Trans Fat: 0 g
- Carbohydrates: 21 g
- Fiber: 0.5 g
- Protein: 2 g
- Cholesterol: 30 mg
Jenna Stewart
Head Chef & Recipe Innovator
Expertise
Farm-to-Table Cooking; Seasonal Menu Development; Visual Plating Techniques; Flavor Layering and Simple Prep Hacks.
Education
The Culinary Institute of America, Hyde Park, NY
Jenna Stewart is the inventive spirit behind many of our standout dishes at Pro of Delicious Creations. A proud graduate of The Culinary Institute of America, she built her skills mastering both classic recipes and fresh, modern twists.
Now, Jenna celebrates the beauty of seasonal, local ingredients, often sourced from her garden and nearby markets, to create recipes that are bursting with flavor yet easy to follow. When she’s not experimenting in the kitchen, Jenna loves exploring nature on hikes and discovering new treasures at local co-ops.