Festive Pull Apart Garlic Bread Wreath Recipe for Holiday Joy
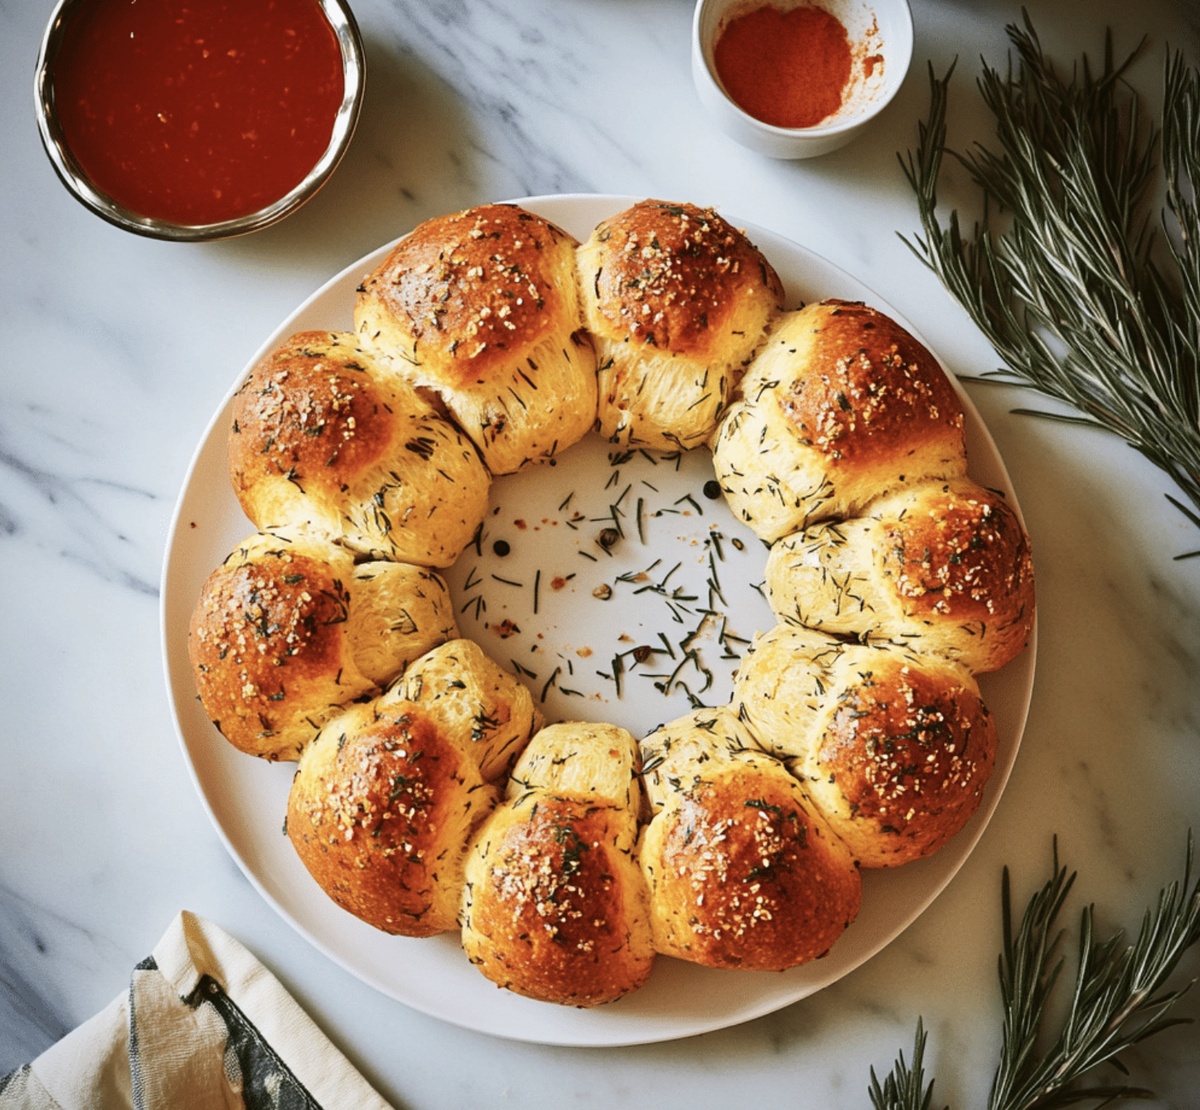
Sinking your teeth into a pull apart garlic bread wreath that looks like a festive masterpiece!
This stunning centerpiece brings serious wow factor to any gathering.
Warm, golden-brown strands of dough curl around each other, promising incredible flavor in every single bite.
Fragrant garlic and herbs weave through soft, pillowy layers that practically beg you to tear them apart.
Crispy edges contrast with tender inner sections, creating a delightful texture symphony.
Simple ingredients transform into something magical that will make everyone at the table lean forward with excitement.
One taste, and you’ll understand why this bread wreath becomes the star of any meal.
What Makes Pull Apart Garlic Bread Wreath So Special
What You Need For Pull Apart Garlic Bread Wreath
Bread Base:Yeast Activation:Dough Enrichment:Garlic Butter Coating:Optional Finishing Touches:Serving Accompaniments:How To Make Pull Apart Garlic Bread Wreath Step By Step
Step 1: Awaken the Yeast
Grab a cozy small bowl and pour in warm water. Sprinkle sugar and yeast into the liquid. Let the mixture hang out for about 10 minutes until it becomes wonderfully foamy and alive with tiny bubbles.
Step 2: Create the Dough
In a spacious mixing bowl, combine flour and a pinch of salt. Pour in the excited yeast mixture and a splash of olive oil. Mix everything until a shaggy dough forms. Time to get hands dirty! Knead the dough on a flour-dusted surface:The dough should feel smooth and bouncy like a soft pillow. If you have a stand mixer, let the dough hook do the work for 5-6 minutes.
Step 3: Let the Dough Rise
Tuck the dough into a lightly greased bowl. Cover with a damp kitchen towel and find a warm, cozy spot. Let it rest and grow for 1-1.5 hours until it doubles in size, looking puffy and proud.
Step 4: Craft Magical Garlic Butter
Whip up a flavor-packed butter mixture:Stir until everything is beautifully combined.
Step 5: Shape the Wreath
Preheat the oven to 375°F. Prepare a baking sheet with parchment paper. Punch down the risen dough and divide into 20-25 adorable little balls. Dunk each ball into the garlic butter, making sure it’s completely coated. Arrange the buttery balls in a circular wreath pattern, leaving small gaps between them.
Step 6: Bake to Golden Perfection
Slide the wreath into the oven. Bake for 20-25 minutes until the bread turns a gorgeous golden brown and looks irresistibly puffy.
Step 7: Final Touches
Optional but recommended:Serve warm with marinara sauce or herb butter for dipping. Watch everyone’s eyes light up!
Helpful Tips For Pull Apart Garlic Bread Wreath
Storing And Reheating Pull Apart Garlic Bread Wreath Made Simple
Best Combos To Eat With Pull Apart Garlic Bread Wreath
Fun Ways To Change Up Pull Apart Garlic Bread Wreath
Common Questions About Pull Apart Garlic Bread Wreath
This pull-apart garlic bread wreath is a showstopping, interactive bread that lets everyone tear off their own piece. Unlike traditional sliced garlic bread, this version creates a stunning circular shape that’s perfect for sharing and looks impressive on any table.
Not at all! This recipe is beginner-friendly. If you can mix ingredients and knead dough, you’ll succeed. The process is straightforward, and even novice bakers can create a professional-looking bread wreath with simple steps.
Absolutely! While the recipe suggests Italian seasoning and parsley, you can experiment with other herbs like rosemary, thyme, or basil. Feel free to adjust the garlic quantity to match your personal taste preferences and make the recipe your own.
This bread is perfect for holiday gatherings, game day parties, potlucks, or as a stunning side dish for family dinners. Its circular shape makes it a conversation starter and a delightful centerpiece that encourages communal eating and sharing.
Print
Pull Apart Garlic Bread Wreath Recipe
- Total Time: 2 hours
- Yield: 8 1x
Description
Garlic bread wreath elevates holiday gatherings with Mediterranean charm. Crisp rosemary-infused edges and melted cheese create irresistible comfort you’ll crave at every festive celebration.
Ingredients
Flour and Yeast Ingredients:
- 3 cups (375 g) all-purpose flour
- 2 ¼ teaspoons (1 packet) active dry yeast
- 1 tablespoon granulated sugar
- 1 teaspoon salt
Liquid and Oil Ingredients:
- 1 cup (240 ml) warm water (110F/45C)
- 2 tablespoons olive oil
Garlic Butter and Herb Ingredients:
- ¼ cup (60 g) unsalted butter, melted
- 2 cloves garlic, minced
- 2 tablespoons fresh parsley, chopped
- 1 teaspoon dried Italian seasoning
Optional Garnish:
- Grated Parmesan cheese
- Extra parsley for decoration
Instructions
- Awaken the yeast by whisking it with warm water and sugar in a compact vessel. Allow the mixture to bloom and become frothy for approximately 7-8 minutes.
- Craft the dough foundation by combining flour and salt in a spacious mixing container. Pour in the activated yeast mixture and olive oil, blending until a cohesive mass emerges. Transfer to a lightly dusted surface and knead energetically, developing a silky, resilient texture. The process should take roughly 10 minutes by hand or 5-6 minutes using a stand mixer with a dough hook.
- Create a nurturing environment for dough development by placing the kneaded mass in a lightly greased bowl. Drape with a damp cloth and position in a warm, draft-free zone. Allow the dough to expand and double in volume, which typically requires 1-1.5 hours.
- Construct the aromatic garlic butter by whisking melted butter with finely minced garlic, chopped parsley, and Italian seasoning until thoroughly combined.
- Prepare for baking by heating the oven to 375F (190C). Line a baking sheet with parchment paper. Deflate the risen dough and divide into 20-25 uniform spherical portions. Generously coat each dough ball in the herbed garlic butter mixture.
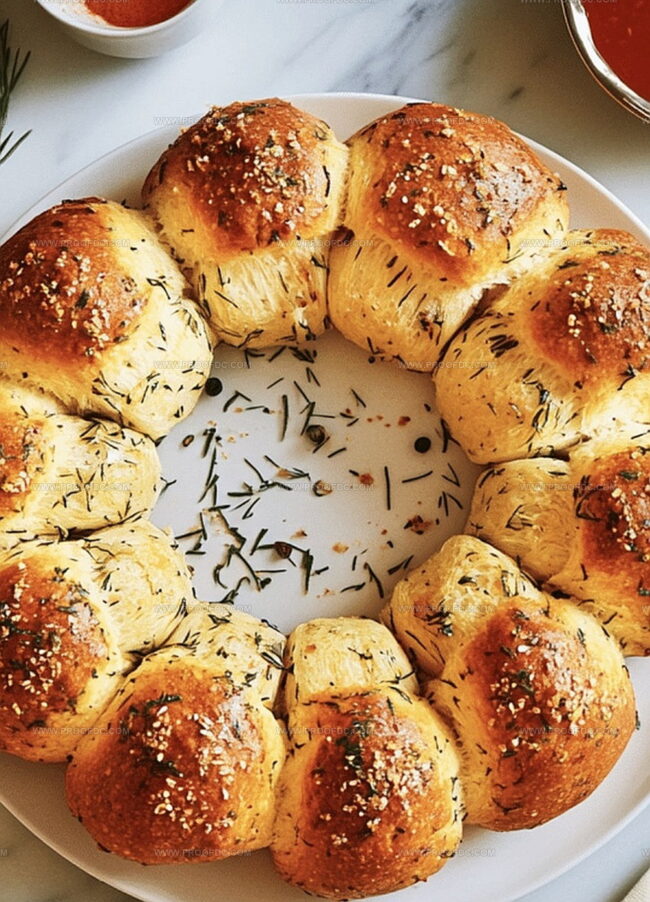
- Arrange the butter-coated dough balls in a circular formation on the prepared baking sheet, ensuring slight separation to allow expansion during baking. The configuration should resemble a festive wreath.
- Bake until the bread transforms into a golden, enticing masterpiece, approximately 22-25 minutes. The surface should appear uniformly bronzed and sound hollow when tapped.
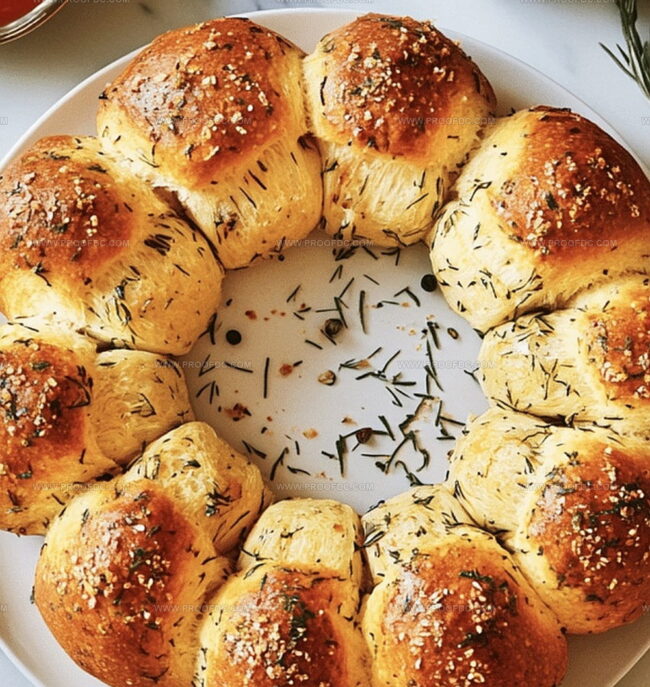
- Elevate the presentation by brushing the warm bread with residual garlic butter. Sprinkle generously with grated Parmesan cheese and fresh parsley. Serve immediately, accompanied by marinara sauce or herb-infused butter for an indulgent dipping experience.
Notes
- Yeast Activation Tip: Ensure water temperature is between 100-110°F to perfectly activate yeast without killing it. Too hot or cold water can prevent proper rising.
- Dough Kneading Hack: Windowpane test works wonders – stretch a small piece of dough; if it stretches thin without breaking, your gluten development is spot-on.
- Garlic Butter Magic: Use fresh garlic for maximum flavor punch. Roasting garlic beforehand can create a deeper, more mellow taste profile.
- Make-Ahead Strategy: Prepare dough the night before and let it slow-rise in the refrigerator for enhanced flavor complexity and convenience.
- Prep Time: 20 minutes
- Cook Time: 25 minutes
- Category: Appetizer, Snacks
- Method: Baking
- Cuisine: Italian
Nutrition
- Serving Size: 8
- Calories: 220
- Sugar: 1 g
- Sodium: 280 mg
- Fat: 10 g
- Saturated Fat: 5 g
- Unsaturated Fat: 4.5 g
- Trans Fat: 0 g
- Carbohydrates: 28 g
- Fiber: 1 g
- Protein: 4 g
- Cholesterol: 15 mg
Jenna Stewart
Head Chef & Recipe Innovator
Expertise
Farm-to-Table Cooking; Seasonal Menu Development; Visual Plating Techniques; Flavor Layering and Simple Prep Hacks.
Education
The Culinary Institute of America, Hyde Park, NY
Jenna Stewart is the inventive spirit behind many of our standout dishes at Pro of Delicious Creations. A proud graduate of The Culinary Institute of America, she built her skills mastering both classic recipes and fresh, modern twists.
Now, Jenna celebrates the beauty of seasonal, local ingredients, often sourced from her garden and nearby markets, to create recipes that are bursting with flavor yet easy to follow. When she’s not experimenting in the kitchen, Jenna loves exploring nature on hikes and discovering new treasures at local co-ops.