
Dreamy Peppermint Snowball Cookies Recipe for Winter Magic
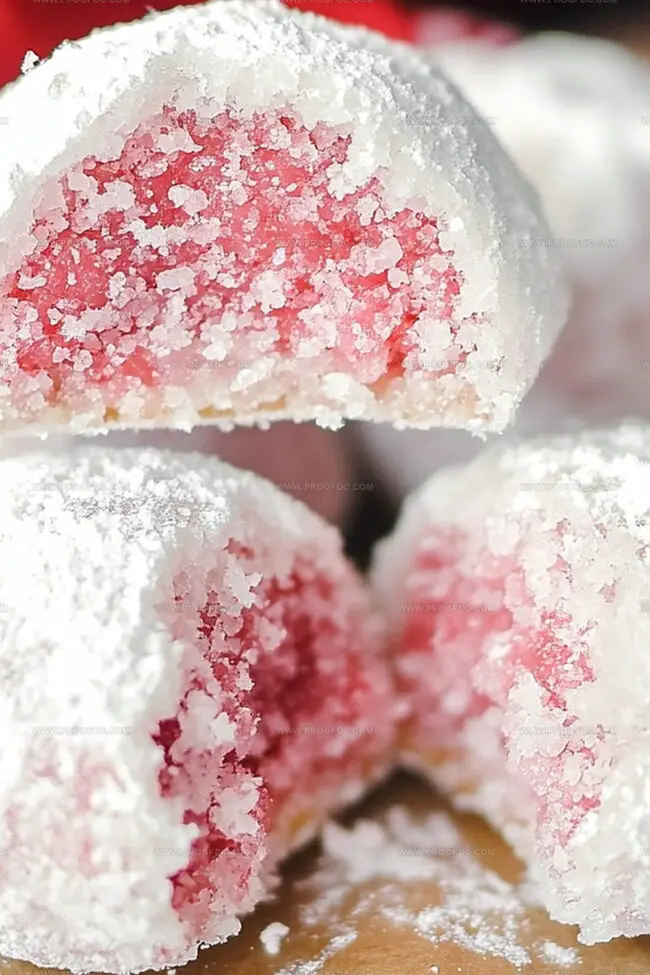
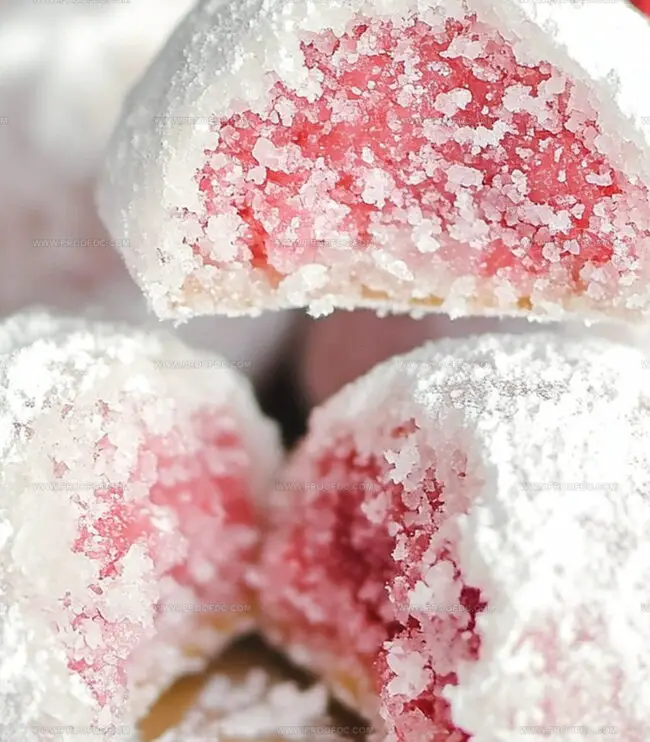
Biting into soft, melt-in-your-mouth peppermint snowball cookies that dance with festive cheer.
Cool mint whispers through delicate, powdery crumbles that remind you of winter’s gentle embrace.
These delightful treats bring magic to any holiday gathering with their elegant simplicity.
Buttery dough mingles with crushed candy canes, creating a sensational texture that surprises and delights.
Rich, sweet moments emerge from each carefully crafted morsel, promising joy in every single bite.
The classic recipe transforms traditional snowball cookies into a spectacular seasonal celebration.
Grab a cup of hot cocoa and let these cookies transport you to a winter wonderland of flavor.
You won’t want to miss making these irresistible peppermint gems that sparkle with festive wonder.
Why Peppermint Snowball Cookies Are A Cool Holiday Favorite
What You’ll Need For Peppermint Snowball Cookies
Main Ingredients:
Butter and Sugar: – Unsalted Butter: Provides rich, creamy base for the cookie with a smooth texture. Best when softened at room temperature.
Dry Ingredients:
Flour Mixture: – All-Purpose Flour, Salt: Gives structure and balanced flavor to the cookies. Use fresh, sifted flour for best results.
Flavor Enhancers:
Flavor Boosters: – Vanilla Extract, Peppermint Extract: Adds depth and signature minty flavor. Pure extracts provide the most authentic taste.
Finishing Touch:
Coating: – Powdered Sugar: Creates a beautiful snow-like exterior and adds extra sweetness. Sift for smooth, even coating.
How To Make Peppermint Snowball Cookies That Melt In Your Mouth
Step 1: Warm Up the Oven
Crank your oven to a cozy 350°F (175°C). Grab a baking sheet and line it with parchment paper, creating a smooth runway for your delightful cookies.
Step 2: Whip Up the Creamy Base
Grab a spacious mixing bowl and transform your softened butter into a fluffy cloud. Add powdered sugar and beat until the mixture looks light and dreamy. Pour in vanilla and peppermint extracts, stirring until everything dances together beautifully.
Step 3: Combine Dry Ingredients
In a separate bowl, gently whisk together:Slowly introduce the dry ingredients to your buttery mixture, stirring until a soft dough emerges. Fold in crushed peppermint candies, creating bursts of holiday cheer throughout the dough.
Step 4: Shape Tiny Treasures
Scoop out small portions of dough and roll them into perfect little balls. Place these cookie gems onto your prepared baking sheet, giving each one some breathing room about an inch apart.
Step 5: Bake to Golden Perfection
Slide the baking sheet into the oven and let the cookies bake for 10-12 minutes. Watch for the edges to turn a delicate golden brown. Once done, let them rest on the baking sheet for 5 minutes, then transfer to a cooling rack.
Step 6: Create a Snowy Coating
Once the cookies have completely cooled, roll them in a heavenly blanket of powdered sugar. For an extra festive touch, mix some finely crushed peppermint candies into the sugar before the final roll.
Enjoy your magical peppermint snowball cookies that melt in your mouth and spark holiday joy!
Tips To Perfect Your Peppermint Snowball Cookies
How To Store Peppermint Snowball Cookies Without Losing Flavor
Perfect Pairings For Peppermint Snowball Cookies
Creative Twists On Peppermint Snowball Cookies
Peppermint Snowball Cookies Questions Answered
These cookies blend the classic snowball cookie texture with a festive peppermint twist, creating a holiday treat that’s both creamy and crunchy with a cool mint flavor.
Absolutely! Crush regular candy canes to get the same minty crunch. Just make sure they’re finely crushed so they mix well into the dough and coating.
Not at all! These cookies are beginner-friendly. The recipe is straightforward and requires basic baking skills. The key is to have softened butter and mix ingredients carefully.
Chill the dough for 30 minutes before baking. This helps the cookies maintain their round shape and prevents excessive spreading in the oven.
Print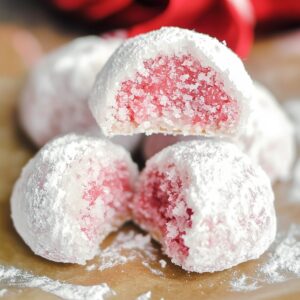
Peppermint Snowball Cookies Recipe
- Total Time: 27 minutes
- Yield: 24 1x
Description
Festive peppermint snowball cookies bring winter magic to classic shortbread with crushed candy cane sparkle. Sweet, buttery rounds melt in your mouth, offering comfort and cheer during holiday gatherings.
Ingredients
Main Ingredients:
- 2 cups (250 g) all-purpose flour
- 1 cup (225 g) unsalted butter, softened
- ½ cup (75 g) finely crushed peppermint candies or candy canes
Sweeteners and Flavoring:
- ½ cup (60 g) powdered sugar (plus extra for rolling)
- 1 teaspoon vanilla extract
- ½ teaspoon peppermint extract
Seasoning:
- ¼ teaspoon salt
Instructions
- Warm your kitchen oven to 350F (175C) and prepare a baking sheet with parchment paper, ensuring a clean and ready workspace for your festive treats.
- Using an electric mixer, whip softened butter with powdered sugar until the mixture becomes airy and smooth. Introduce vanilla and peppermint extracts, blending them thoroughly to create a fragrant base.
- In a separate mixing vessel, combine flour and salt, whisking to eliminate any potential lumps. Gradually incorporate the dry ingredients into the butter mixture, gently folding until a cohesive dough emerges. Fold in crushed peppermint candies, distributing them evenly throughout the mixture.
- Delicately form the dough into small spherical shapes, approximately one tablespoon in size. Arrange these tender orbs on the prepared baking sheet, positioning them with slight separation to allow for potential expansion.
- Slide the baking sheet into the preheated oven, allowing the cookies to transform for 10-12 minutes. Watch for a subtle golden hue developing along the bottom edges, indicating perfect doneness. Allow the cookies to rest on the baking sheet for a brief five-minute cooling period.
- Transfer the delicate cookies to a wire cooling rack, permitting them to reach room temperature. Once completely cooled, tenderly enrobe each cookie in a generous coating of powdered sugar. For an extra festive touch, mix finely pulverized peppermint candies into the powdered sugar before the final rolling process.
Notes
- Chill the dough for 30 minutes before shaping to prevent spreading and maintain a perfect round cookie shape.
- Use room temperature butter for smoother mixing and better cookie texture, ensuring it’s soft but not melted.
- Crush peppermint candies finely to distribute flavor evenly and create a consistent texture throughout the cookies.
- For gluten-free options, substitute all-purpose flour with a 1:1 gluten-free baking blend to accommodate dietary restrictions without compromising taste.
- Prep Time: 15 minutes
- Cook Time: 12 minutes
- Category: Desserts, Snacks
- Method: Baking
- Cuisine: American
Nutrition
- Serving Size: 24
- Calories: 134
- Sugar: 5 g
- Sodium: 53 mg
- Fat: 10 g
- Saturated Fat: 6 g
- Unsaturated Fat: 4 g
- Trans Fat: 0 g
- Carbohydrates: 14 g
- Fiber: 0.5 g
- Protein: 1 g
- Cholesterol: 31 mg
Jenna Stewart
Head Chef & Recipe Innovator
Expertise
Farm-to-Table Cooking; Seasonal Menu Development; Visual Plating Techniques; Flavor Layering and Simple Prep Hacks.
Education
The Culinary Institute of America, Hyde Park, NY
Jenna Stewart is the inventive spirit behind many of our standout dishes at Pro of Delicious Creations. A proud graduate of The Culinary Institute of America, she built her skills mastering both classic recipes and fresh, modern twists.
Now, Jenna celebrates the beauty of seasonal, local ingredients, often sourced from her garden and nearby markets, to create recipes that are bursting with flavor yet easy to follow. When she’s not experimenting in the kitchen, Jenna loves exploring nature on hikes and discovering new treasures at local co-ops.