Festive Peppermint Red Velvet Blossom Cookies Recipe for Holidays
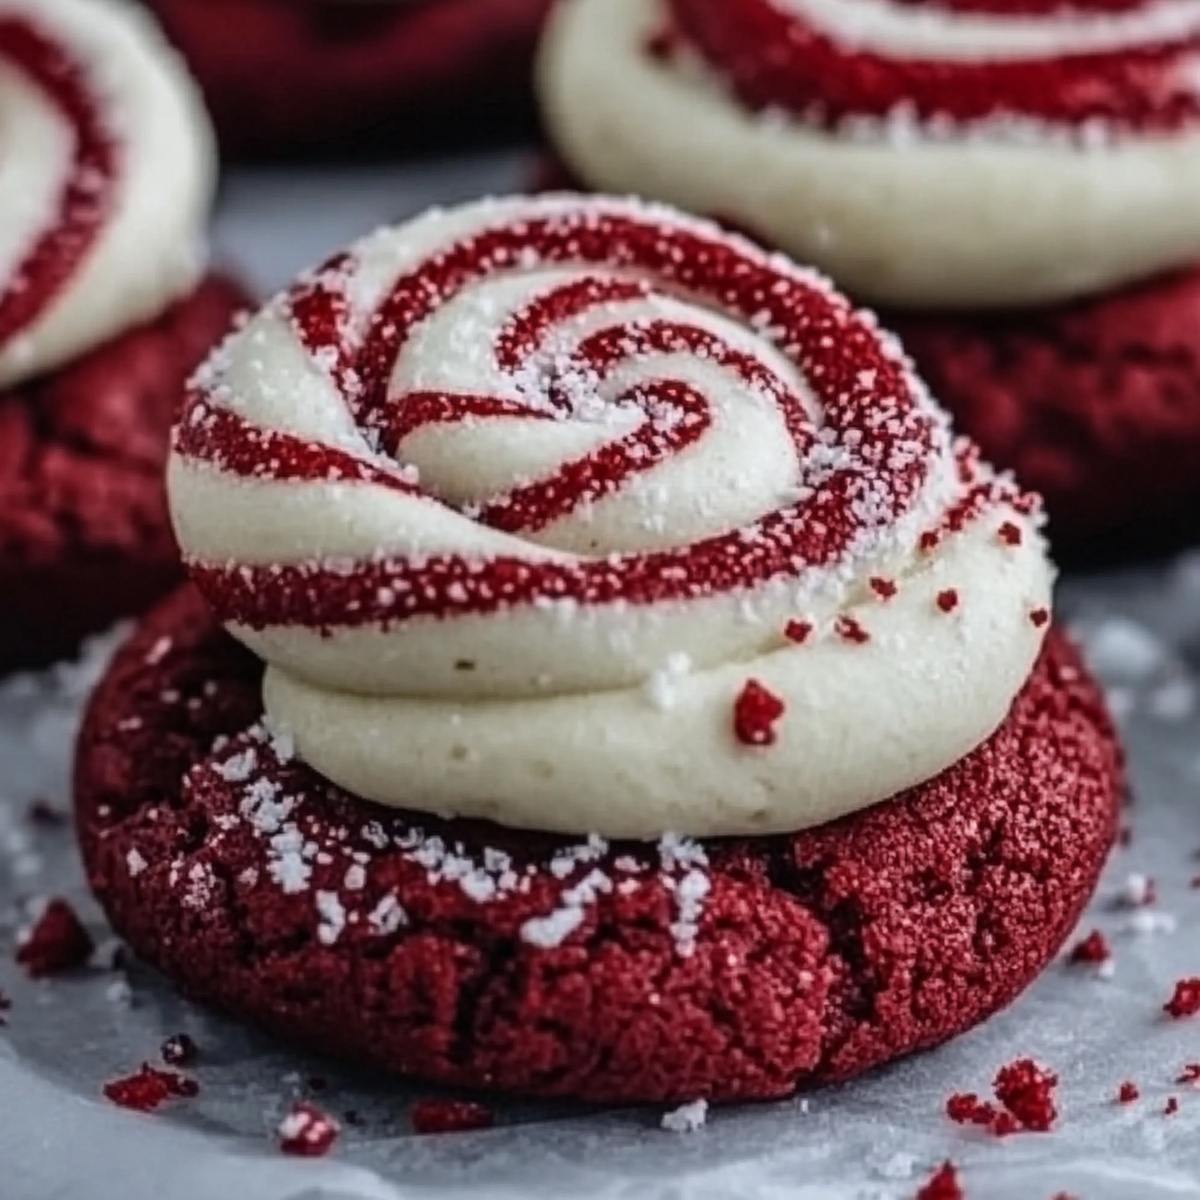
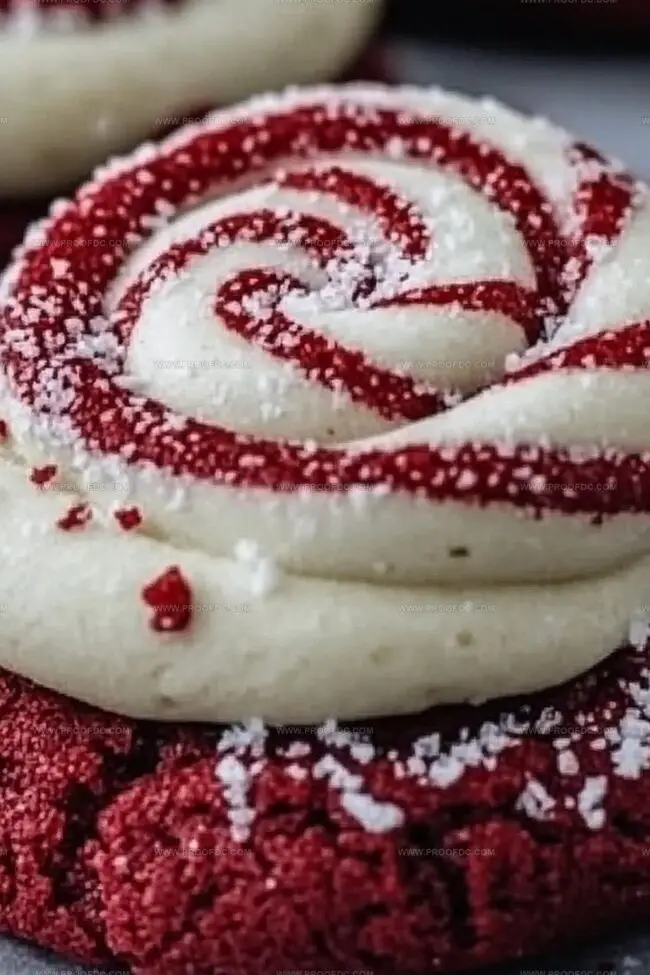
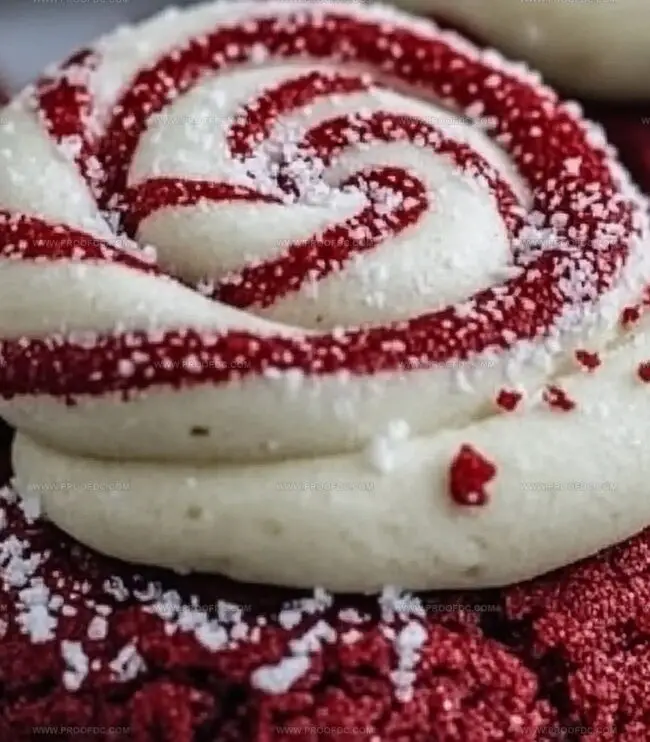
These soft peppermint red velvet blossom cookies dance with festive cheer, blending rich cocoa notes and cool mint essence into one irresistible treat.
Chocolate lovers will swoon over the deep crimson color and velvety texture that makes each bite magical.
Sweet hints of peppermint weave through tender cookie crumbs, promising a delightful holiday experience.
Hershey’s kisses nestle perfectly atop these spirited cookies, creating a visual and taste sensation that sparkles with winter charm.
Our simple recipe transforms basic ingredients into something extraordinary, with minimal effort and maximum satisfaction.
Tiny hands and seasoned bakers alike can craft these stunning cookies that will become an instant celebration favorite.
Sharing these beauties at your next gathering – they’ll vanish faster than snowflakes in sunshine!
Why Peppermint Red Velvet Blossom Cookies Are Holiday-Ready
All You Need for Peppermint Red Velvet Blossom Cookies
Dry Ingredients:Wet Ingredients:Finishing Ingredients:How to Bake Peppermint Red Velvet Blossom Cookies Right
Step 1: Prepare Baking Station
Warm up the oven to 350 degrees Fahrenheit. Cover two baking sheets with parchment paper. This creates the perfect surface for your delightful cookies.
Step 2: Create Dry Mixture
Grab a medium bowl and whisk together these ingredients:Set this mixture aside for later use.
Step 3: Whip Creamy Base
In a large mixing bowl, use an electric mixer to blend:Beat until the mixture looks light and fluffy, about 2-3 minutes. Pour in:Mix everything until smooth and well combined.
Step 4: Merge Ingredients
Slowly add the dry mixture into the wet ingredients. Stir until just combined. The dough should feel soft but not sticky. If it feels too soft, pop it in the refrigerator for 15-20 minutes to firm up.
Step 5: Shape Cookie Balls
Roll the dough into small balls, each about one inch wide. Optional: Roll each ball in granulated sugar for extra sparkle. Place cookies two inches apart on prepared baking sheets.
Step 6: Bake to Perfection
Slide the baking sheets into the oven. Bake for 8-10 minutes. The edges should look set, but centers remain slightly soft. Remove from oven and let sit for two minutes.
Step 7: Add Peppermint Kisses
While cookies are still warm, gently press a peppermint Hersheys Kiss into the center of each cookie. Transfer cookies to a wire rack and let them cool completely. The chocolate will set as they cool.
Enjoy these festive, minty, red velvet treats that are perfect for holiday gatherings or cozy winter afternoons!
Baking Hacks for Peppermint Red Velvet Blossom Cookies
Keeping Peppermint Red Velvet Blossom Cookies Tasting Fresh
What to Enjoy with Red Velvet Blossom Cookies
New Spins on Peppermint Red Velvet Blossom Cookies
Red Velvet Blossom Cookies FAQ
Chilling helps prevent the cookies from spreading too much during baking and makes the dough easier to handle. It also allows the flavors to meld together and creates a better texture.
Absolutely! While peppermint Kisses work great for this recipe, you can experiment with other flavors like chocolate, caramel, or hugs Kisses to create your own unique version of the cookie.
Use gel food coloring instead of liquid, as it provides a more intense color without changing the dough’s consistency. Start with a small amount and add more until you reach your desired shade of red.
If the dough is too soft, refrigerate it for 30-45 minutes. This will firm up the butter and make it easier to shape into balls without sticking to your hands.
Print
Peppermint Red Velvet Blossom Cookies Recipe
- Total Time: 40 minutes
- Yield: 24 1x
Description
Festive peppermint red velvet blossom cookies bring holiday cheer with rich cocoa and cool mint flavors. Chocolate kisses nestled atop crimson cookies create perfect seasonal sweetness you cannot resist.
Ingredients
Main Ingredients:
- 1 ½ cups (190 g) all-purpose flour
- ½ cup (115 g) unsalted butter, softened
- ¾ cup (150 g) granulated sugar
- ¼ cup (50 g) brown sugar, packed
- 1 large egg
Flavor and Color Ingredients:
- 2 tablespoons cocoa powder
- 1 teaspoon red food coloring (gel recommended for vibrant color)
- 1 teaspoon vanilla extract
- 1 tablespoon milk
Finishing and Binding Ingredients:
- 1 teaspoon baking soda
- ¼ teaspoon salt
- 24 peppermint Hershey’s Kisses (unwrapped)
- Granulated sugar (for rolling, optional)
Instructions
- Prepare the baking environment by warming the oven to 350F (175C) and covering two baking trays with parchment paper for optimal cookie performance.
- Construct the dry foundation by thoroughly whisking flour, cocoa powder, baking soda, and salt in a medium mixing vessel, then reserve to the side.
- Create a creamy base by vigorously blending butter, granulated sugar, and brown sugar using an electric mixer until achieving a light, airy texture. Introduce egg, vanilla extract, red food coloring, and milk, mixing until harmoniously incorporated.
- Merge the dry and wet components gradually, stirring until just combined. The resulting dough should feel supple yet maintain structural integrity. If the mixture feels overly soft, chill for 15-20 minutes to enhance manageability.
- Form uniform spherical portions by rolling dough into compact 1-inch balls. Optionally coat each ball in granulated sugar for enhanced texture and visual appeal. Arrange the orbs on prepared baking sheets, maintaining approximately 2 inches of separation.
- Bake the cookie spheres for 8-10 minutes, ensuring edges appear firm while centers retain a delicate softness. Remove from heat and allow a brief 2-minute stabilization period.
- While cookies remain warm, delicately nestle a peppermint Hersheys Kiss into the center of each cookie, creating a smooth indentation. Transfer cookies to a cooling rack, permitting the chocolate topping to solidify completely.
Notes
- Chill the dough for better texture and prevent spreading, ensuring your cookies maintain a perfect round shape with crisp edges.
- Avoid overmixing the dough to keep cookies tender and prevent them from becoming tough or dense.
- Use gel food coloring for a more vibrant red color without adding extra liquid that might affect the cookie’s consistency.
- For a gluten-free version, swap all-purpose flour with a 1:1 gluten-free baking blend, maintaining the same measurements.
- Press Kisses gently and quickly into warm cookies to create a smooth, glossy chocolate center without melting completely.
- Store cookies in an airtight container at room temperature for up to 5 days, separating layers with parchment paper to prevent sticking.
- Create a festive twist by using seasonal Kiss flavors like candy cane or chocolate mint during holiday baking.
- Prep Time: 20 minutes
- Cook Time: 20 minutes
- Category: Desserts, Snacks
- Method: Baking
- Cuisine: American
Nutrition
- Serving Size: 24
- Calories: 143
- Sugar: 10 g
- Sodium: 56 mg
- Fat: 7 g
- Saturated Fat: 4 g
- Unsaturated Fat: 2 g
- Trans Fat: 0 g
- Carbohydrates: 18 g
- Fiber: 0.5 g
- Protein: 1.5 g
- Cholesterol: 20 mg
Jenna Stewart
Head Chef & Recipe Innovator
Expertise
Farm-to-Table Cooking; Seasonal Menu Development; Visual Plating Techniques; Flavor Layering and Simple Prep Hacks.
Education
The Culinary Institute of America, Hyde Park, NY
Jenna Stewart is the inventive spirit behind many of our standout dishes at Pro of Delicious Creations. A proud graduate of The Culinary Institute of America, she built her skills mastering both classic recipes and fresh, modern twists.
Now, Jenna celebrates the beauty of seasonal, local ingredients, often sourced from her garden and nearby markets, to create recipes that are bursting with flavor yet easy to follow. When she’s not experimenting in the kitchen, Jenna loves exploring nature on hikes and discovering new treasures at local co-ops.