Irresistible Peppermint Oreo Truffles Recipe for Sweet Lovers
Sweet chocolate lovers know these peppermint Oreo truffles deliver pure decadence in every single bite.
Rich chocolate and crushed cookies mingle with cool mint flavors that dance across your palate.
Creating something so delightful that friends will beg you for the recipe.
Impressive desserts like these need minimal ingredients but pack maximum satisfaction.
Professional bakers and kitchen novices alike can master this simple treat in minutes.
Creamy centers coated in smooth chocolate provide an irresistible combination nobody can refuse.
You’ll want to make extras because these truffles vanish faster than snowflakes in sunshine.
Why Peppermint Oreo Truffles Are Always A Hit
What Goes Into Peppermint Oreo Truffles
Base Ingredients:Flavoring Ingredients:Coating and Garnish Ingredients:How To Make Peppermint Oreo Truffles Step By Step
Step 1: Crush Oreo Cookies
Toss Oreo cookies into a food processor and pulse until they transform into fine, sandy crumbs. Set aside a small portion of crumbs for a delightful finishing touch. Mix in softened cream cheese and a splash of peppermint extract, blending until the mixture becomes a smooth, creamy delight.
Step 2: Form Truffle Balls
Scoop out small portions of the Oreo mixture and roll them gently between your palms, creating perfectly round truffle balls. Arrange these tasty spheres on a parchment-lined baking sheet. Pop them into the refrigerator or freezer for a quick chill, allowing them to firm up for about half an hour.
Step 3: Chocolate Dipping Magic
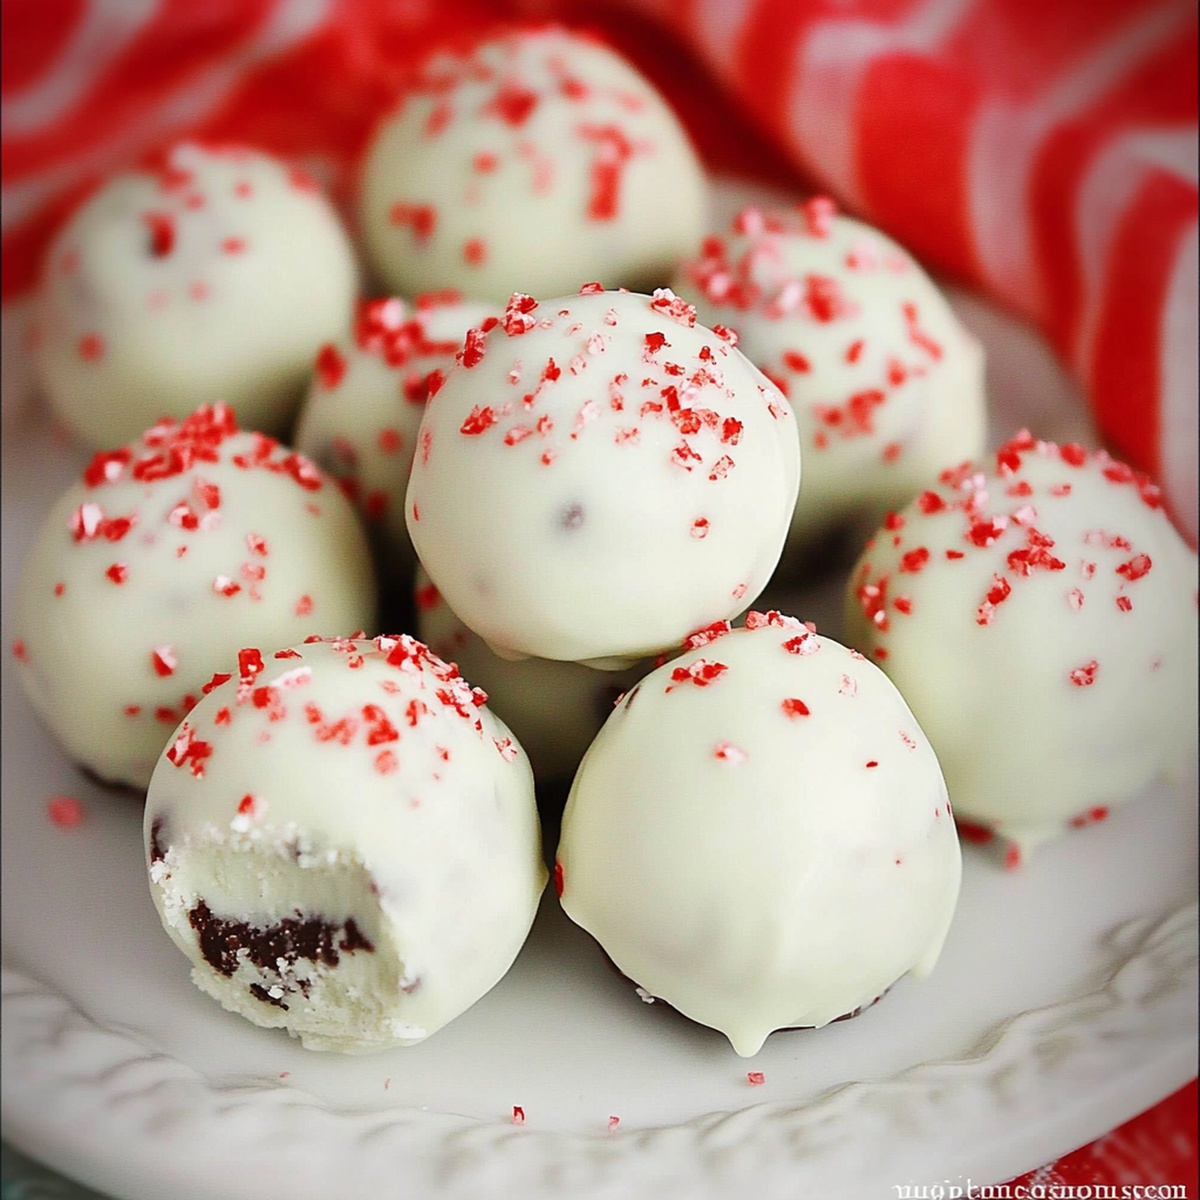
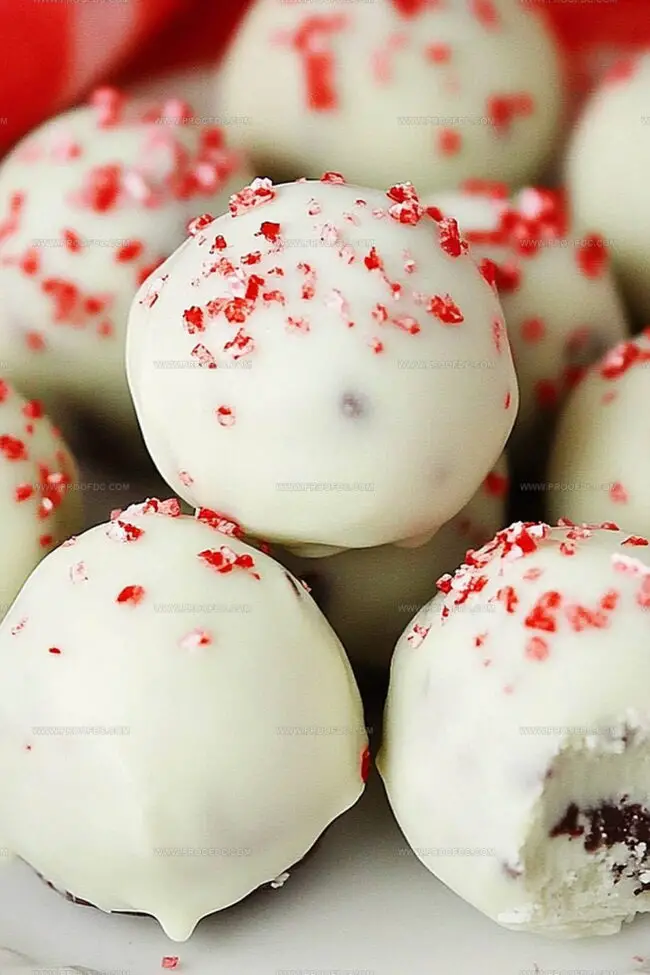
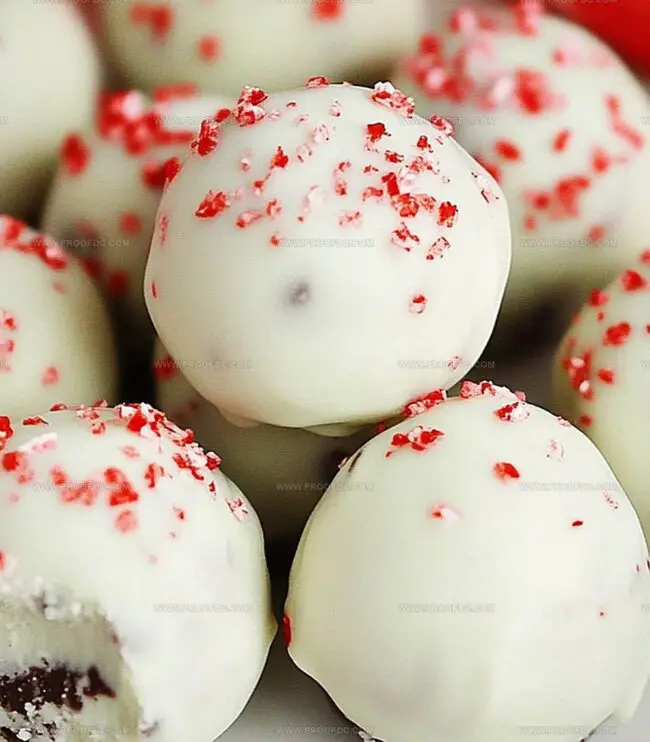
Melt white chocolate or candy melts in a microwave-safe bowl, warming in short bursts and stirring between each interval until silky smooth. Using a fork or specialized dipping tool, carefully submerge each chilled truffle into the molten chocolate, ensuring a complete and even coating. Let excess chocolate drip away before placing back on the lined sheet.
Step 4: Add Festive Flair
While the chocolate coating is still wet, sprinkle crushed candy canes or reserved Oreo crumbs over each truffle. This adds a delightful crunch and visual appeal. Allow the truffles to set completely at room temperature or speed up the process in the refrigerator.
Step 5: Serve and Delight
Artfully arrange these peppermint Oreo truffles on a serving platter. They’re perfect for holiday gatherings, sweet gifts, or a personal indulgence. Watch as friends and family marvel at your culinary creation!
Tips For The Best Peppermint Oreo Truffles
How To Keep Peppermint Oreo Truffles Fresh
Perfect Matches For Peppermint Oreo Truffles
New Ideas For Peppermint Oreo Truffles
Peppermint Oreo Truffles FAQs
Yes, you can crush the Oreos in a sealed plastic bag using a rolling pin or the bottom of a heavy glass. Crush them until they become fine crumbs.
Make sure the truffles are well-chilled before coating. Cold truffles hold their shape better and the chocolate coating will stick more easily.
No worries! You can skip the peppermint extract or substitute with 1/4 teaspoon of mint extract. The truffles will still be delicious, just with a slightly different flavor profile.
Store the truffles in an airtight container in the refrigerator for up to 1 week. They’ll maintain their texture and taste best when kept chilled.
Print
Peppermint Oreo Truffles Recipe
- Total Time: 50 minutes
- Yield: 36 1x
Description
Peppermint oreo truffles bring winter magic to dessert lovers with their creamy chocolate coating and cool mint center. Rich cookie crumbs blended with cream cheese create irresistible bite-sized treats you’ll crave all season long.
Ingredients
Primary Ingredients:
- 1 package (14.3 ounces / 405 grams) Oreo cookies
- 8 ounces (225 grams) cream cheese, softened
- 12 ounces (340 grams) white chocolate or white candy melts
Flavoring and Garnish Ingredients:
- ½ teaspoon peppermint extract
- ¼ cup crushed candy canes or peppermint candies
Instructions
- Crush whole Oreo cookies into ultrafine crumbs using a food processor, carefully setting aside a portion for decorative topping.
- Incorporate softened cream cheese and peppermint extract into the cookie crumbs, mixing thoroughly until achieving a cohesive, smooth texture.
- Gently form uniform truffle spheres by carefully rolling small portions of the mixture between palms, creating consistent bite-sized rounds.
- Transfer truffle balls onto a parchment-lined tray, then chill in the refrigerator or freezer until completely firm and compact.
- Melt white chocolate or candy melts in a microwave-safe vessel, stirring periodically to ensure a silky, lump-free consistency.
- Delicately submerge each chilled truffle into the molten chocolate coating, allowing excess to drip away before positioning on the prepared surface.
- While chocolate remains glossy, quickly dust truffles with reserved Oreo crumbs or crushed candy cane fragments for textural contrast and visual appeal.
- Allow truffles to solidify at room temperature or expedite the process by placing them in the refrigerator until coating hardens completely.
- Display truffles on an elegant serving platter or package them in decorative containers for a festive, homemade gift option.
Notes
- Prevent clumping by ensuring cream cheese is softened at room temperature before mixing with Oreo crumbs for a smooth, uniform texture.
- Break up Oreo cookies completely to create fine, even crumbs that will help bind the truffle mixture effectively.
- Use a small cookie scoop or melon baller for consistent truffle sizes, which helps ensure even coating and professional-looking results.
- Chill truffles thoroughly before dipping to prevent them from falling apart in warm chocolate and maintain their perfect round shape.
- Experiment with different extracts like vanilla or almond for varied flavor profiles if peppermint isn’t your preference.
- Keep truffles refrigerated in an airtight container for up to one week, allowing flavors to meld and maintain optimal texture.
- Create gluten-free versions by using gluten-free chocolate sandwich cookies instead of traditional Oreos.
- Add a touch of festive flair by drizzling contrasting chocolate or sprinkling edible glitter over the finished truffles.
- Prep Time: 20 minutes
- Cook Time: 30 minutes
- Category: Desserts, Snacks
- Method: Blending
- Cuisine: American
Nutrition
- Serving Size: 36
- Calories: 100
- Sugar: 9 g
- Sodium: 50 mg
- Fat: 6 g
- Saturated Fat: 3 g
- Unsaturated Fat: 2 g
- Trans Fat: 0 g
- Carbohydrates: 12 g
- Fiber: 1 g
- Protein: 1 g
- Cholesterol: 10 mg
Jenna Stewart
Head Chef & Recipe Innovator
Expertise
Farm-to-Table Cooking; Seasonal Menu Development; Visual Plating Techniques; Flavor Layering and Simple Prep Hacks.
Education
The Culinary Institute of America, Hyde Park, NY
Jenna Stewart is the inventive spirit behind many of our standout dishes at Pro of Delicious Creations. A proud graduate of The Culinary Institute of America, she built her skills mastering both classic recipes and fresh, modern twists.
Now, Jenna celebrates the beauty of seasonal, local ingredients, often sourced from her garden and nearby markets, to create recipes that are bursting with flavor yet easy to follow. When she’s not experimenting in the kitchen, Jenna loves exploring nature on hikes and discovering new treasures at local co-ops.