Heavenly Peppermint Oreo Balls Recipe: Sweet Holiday Magic
Sweet treats like these peppermint Oreo balls always spark instant joy among chocolate lovers everywhere.
Biting into a smooth, creamy confection that melts perfectly on your tongue.
Crushing delicate Oreo cookies creates the ideal base for this magical dessert.
Cold winter nights call for something special, and these little spheres of happiness deliver pure delight.
Rich chocolate and cool peppermint dance together in each bite-sized morsel.
Simple ingredients transform into an elegant dessert that looks far more complicated than the actual preparation.
You will absolutely adore how quickly these delectable treats come together with minimal effort.
Grab a mixing bowl and let’s make something irresistibly delicious that everyone will request again and again.
What Makes Peppermint Oreo Balls a Fun Treat
All the Ingredients for Peppermint Oreo Balls
Main Cookie Base:Flavor Enhancers:Coating and Decoration:How to Put Together Peppermint Oreo Balls
Step 1: Crush Oreo Cookies
Grab your food processor and transform Oreo cookies into fine, dusty crumbs. The goal is to create a smooth, even texture that will blend perfectly with cream cheese.
Step 2: Create Creamy Mixture
Add softened cream cheese and a splash of peppermint extract to the Oreo crumbs. Mix until the ingredients become:Step 3: Shape Delightful Rounds
With clean hands, roll the mixture into bite-sized spheres. Each truffle should be about the size of a small walnut. Place the rounds on a parchment-lined baking sheet and chill in the refrigerator for half an hour.
Step 4: Melt Chocolate Coating
Select white or dark chocolate wafers and melt them carefully in a microwave-safe bowl. Stir frequently to ensure a silky, lump-free consistency.
Step 5: Dunk and Decorate
Gently dip each chilled truffle into the melted chocolate using a fork. Let excess chocolate drip off before placing back on the parchment paper. While chocolate is still wet, sprinkle with:Step 6: Chill and Serve
Allow truffles to set at room temperature or speed up the process by placing them in the refrigerator. Once chocolate hardens, transfer to an airtight container and store in the refrigerator until ready to enjoy.
Simple Tips for Peppermint Oreo Balls Success
Storing and Serving Peppermint Oreo Balls Later
What Pairs Nicely With Peppermint Oreo Balls
Peppermint Oreo Balls Variations to Mix Things Up
FAQs That Come Up About Peppermint Oreo Balls
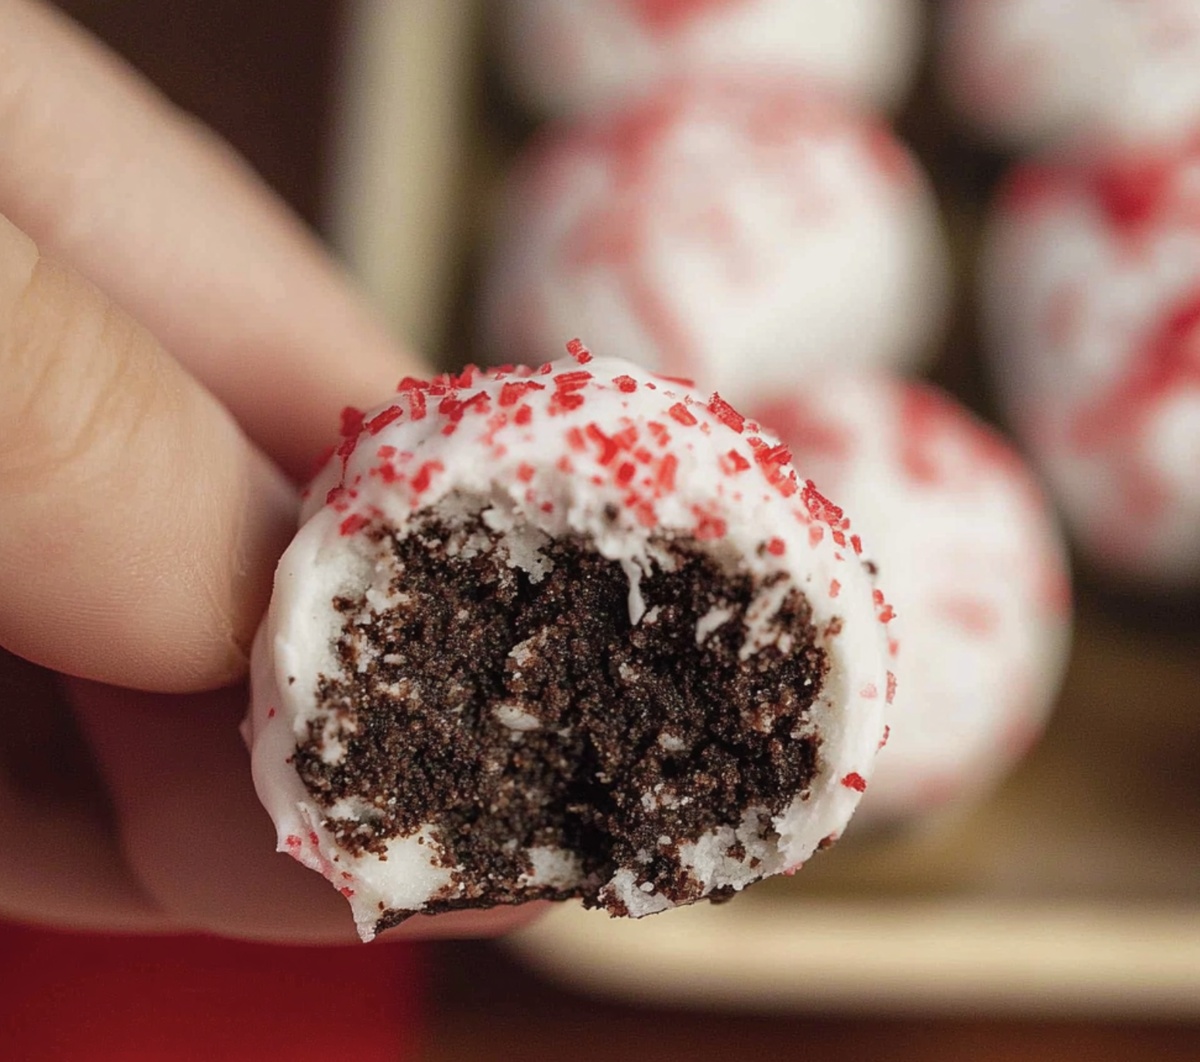
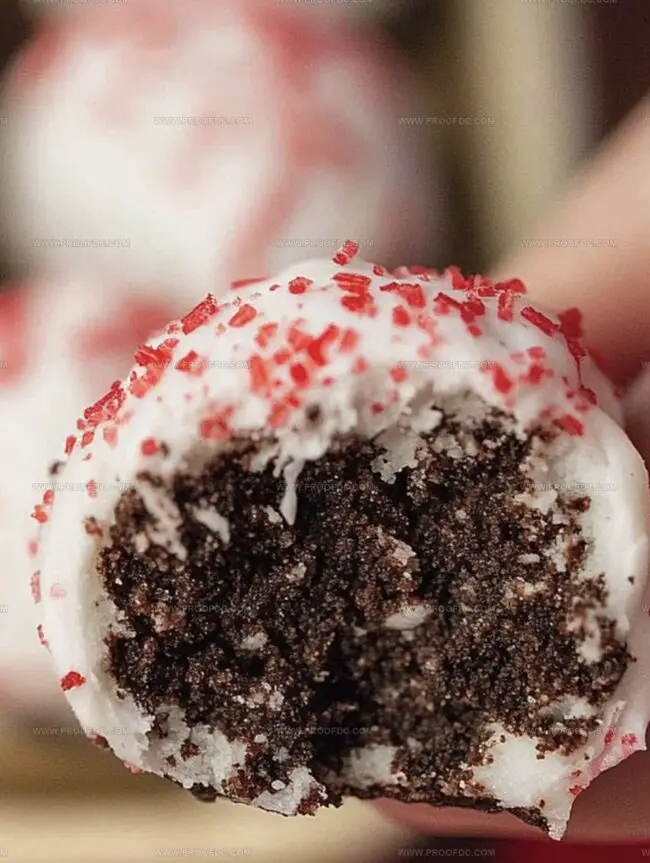
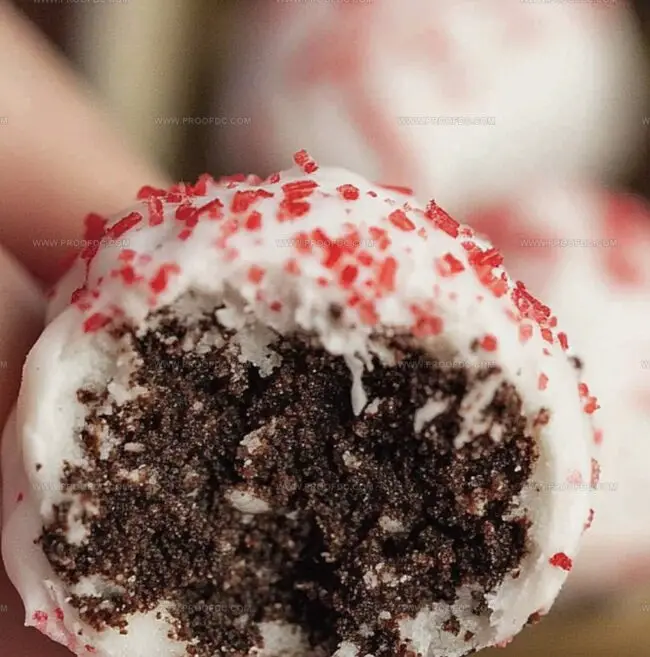
Peppermint Oreo Balls are delicious no-bake holiday treats made with crushed Oreo cookies, cream cheese, and peppermint extract, coated in chocolate and topped with candy cane pieces.
You’ll need a food processor to crush the Oreos and create a smooth mixture, and a microwave-safe bowl for melting chocolate. A baking sheet and parchment paper are also helpful.
Yes! You can place Oreos in a sealed plastic bag and crush them with a rolling pin or meat mallet until they become fine crumbs. Mix with cream cheese by hand using a spatula or spoon.
When stored in an airtight container in the refrigerator, these treats will stay fresh for up to 1 week. They’re perfect for making ahead of holiday gatherings or gifting to friends and family.
Print
Peppermint Oreo Balls Recipe
- Total Time: 50 minutes
- Yield: 24 1x
Description
Sweet holiday magic meets creamy peppermint oreo balls in this irresistible dessert that blends classic cookie crunch with cool mint flavor. Rich chocolate coating and crushed candy cane sprinkles make these treats perfect for winter celebrations you’ll want to share with friends and family.
Ingredients
Main Ingredients:
- 36 Oreo cookies
- 8 ounces (226 grams) cream cheese, softened
- 16 ounces (454 grams) white or dark chocolate melting wafers
Flavoring Ingredients:
- 1 teaspoon peppermint extract
Garnish Ingredients:
- ½ cup crushed candy canes or peppermint candies
Instructions
- Crush the Oreo cookies into fine, uniform crumbs using a food processor, ensuring no large chunks remain.
- Incorporate softened cream cheese and peppermint extract into the cookie crumbs, mixing thoroughly until a cohesive, moldable mixture forms.
- Prepare a parchment-lined baking sheet to provide a clean surface for shaping and chilling the confections.
- Carefully form the mixture into uniform, bite-sized spheres, using gentle rolling motions to create smooth, compact balls.
- Chill the shaped oreo spheres in the refrigerator for approximately 30 minutes to enhance their structural integrity and make chocolate coating easier.
- Melt chocolate wafers in a microwave-safe bowl, stirring intermittently to achieve a glossy, smooth consistency without scorching.
- Utilize a dipping tool or fork to delicately submerge each chilled ball into the melted chocolate, ensuring complete and even coverage.
- Gently tap the dipping utensil to remove excess chocolate, allowing a thin, elegant coating to embrace each confection.
- While the chocolate remains liquid, quickly garnish the tops with finely crushed candy canes or peppermint candies for a festive, textural element.
- Allow the chocolate-covered treats to set at room temperature or expedite the process by placing them in the refrigerator.
- Once fully set, transfer the peppermint oreo balls to an airtight container, storing them in the refrigerator to maintain their optimal texture and flavor.
Notes
- Crush Oreos thoroughly to ensure a smooth, consistent texture without large cookie chunks for better binding and mouthfeel.
- Chill the cream cheese and Oreo mixture before rolling to prevent sticky hands and make ball formation easier.
- Use white chocolate for a more festive look and to enhance the peppermint flavor profile.
- Experiment with alternative dietary options by substituting regular Oreos with gluten-free or vegan cookie alternatives for inclusivity.
- Prep Time: 20 minutes
- Cook Time: 30 minutes
- Category: Desserts, Snacks
- Method: Blending
- Cuisine: American
Nutrition
- Serving Size: 24
- Calories: 158
- Sugar: 13g
- Sodium: 95mg
- Fat: 9g
- Saturated Fat: 5g
- Unsaturated Fat: 4g
- Trans Fat: 0g
- Carbohydrates: 18g
- Fiber: 0.5g
- Protein: 2g
- Cholesterol: 10mg
Jenna Stewart
Head Chef & Recipe Innovator
Expertise
Farm-to-Table Cooking; Seasonal Menu Development; Visual Plating Techniques; Flavor Layering and Simple Prep Hacks.
Education
The Culinary Institute of America, Hyde Park, NY
Jenna Stewart is the inventive spirit behind many of our standout dishes at Pro of Delicious Creations. A proud graduate of The Culinary Institute of America, she built her skills mastering both classic recipes and fresh, modern twists.
Now, Jenna celebrates the beauty of seasonal, local ingredients, often sourced from her garden and nearby markets, to create recipes that are bursting with flavor yet easy to follow. When she’s not experimenting in the kitchen, Jenna loves exploring nature on hikes and discovering new treasures at local co-ops.