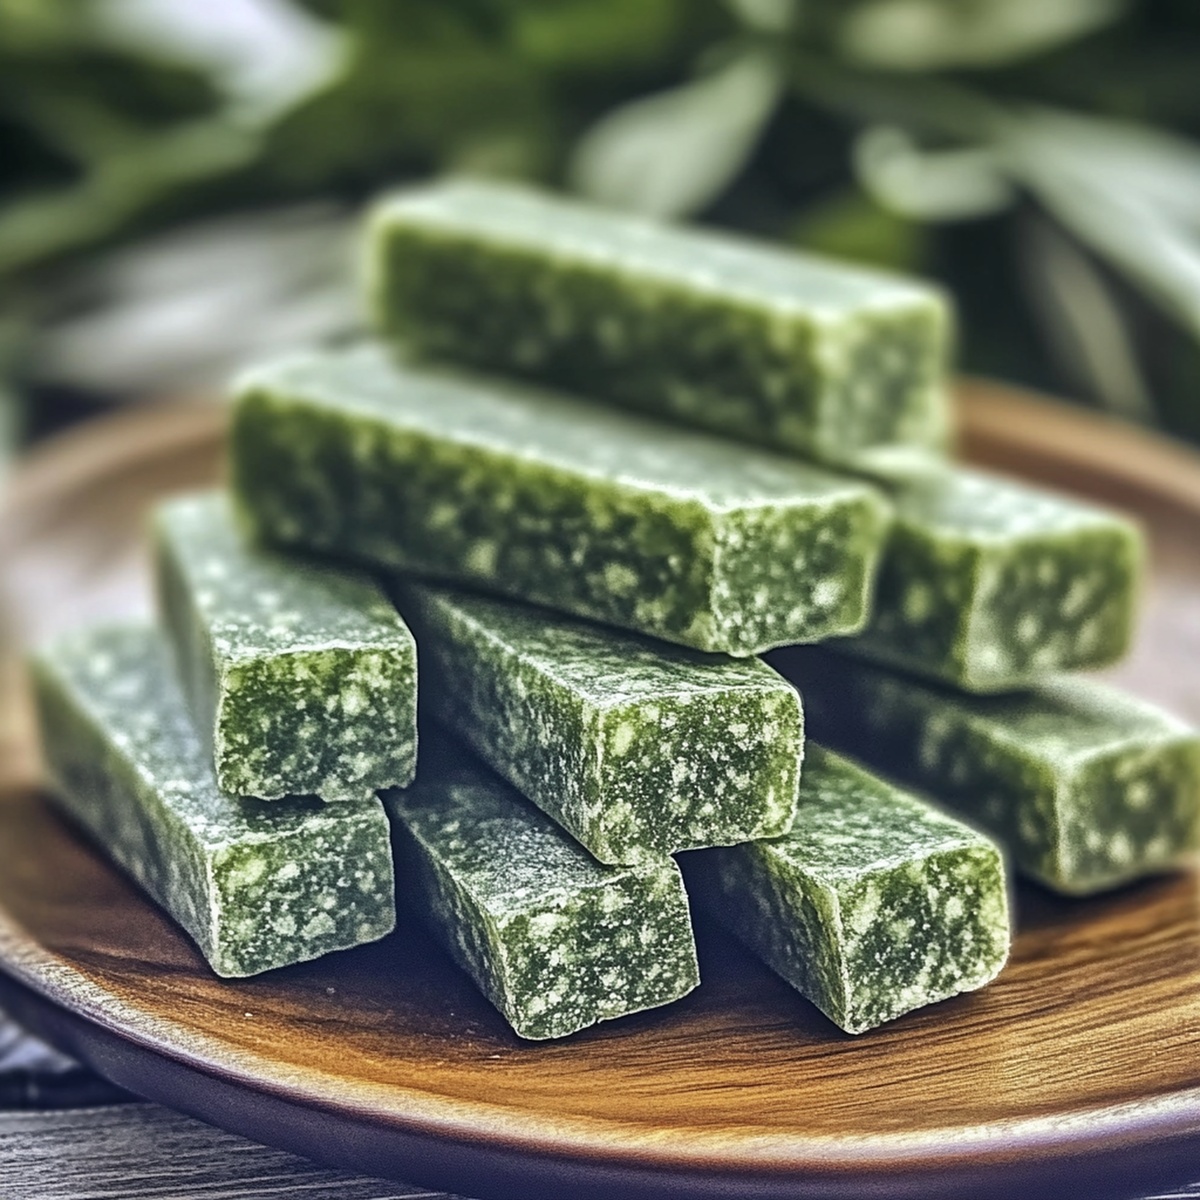
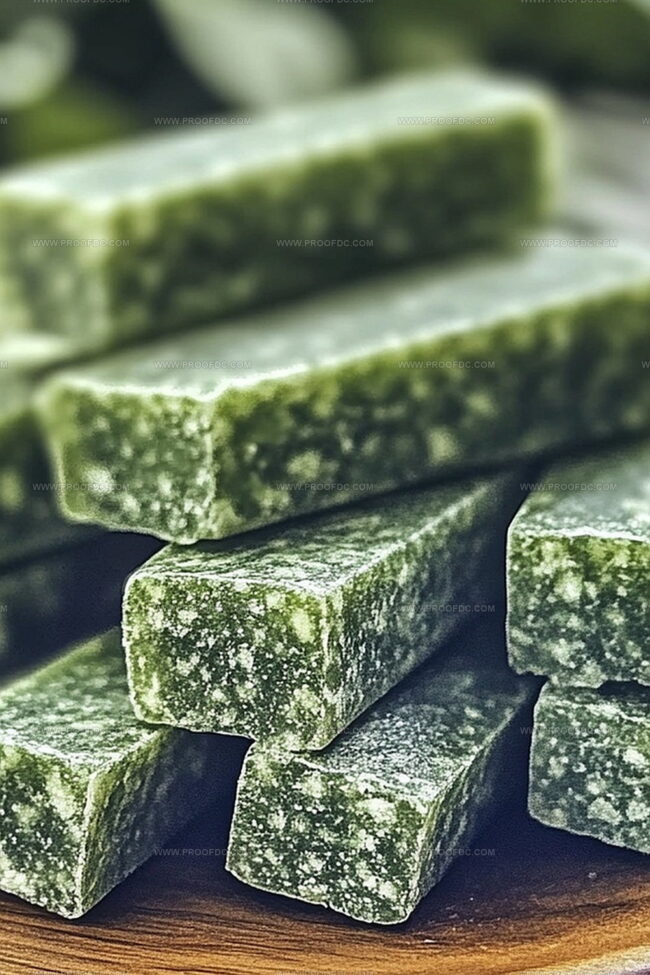
Homemade Parsley & Mint Teeth Cleaner Treats Recipe for Pups
Nature’s freshest breath mint teeth cleaner sparks incredible oral health possibilities.
Herbal ingredients work magic in this simple wellness solution.
Chemical-free alternatives always intrigue health conscious individuals seeking natural remedies.
Crushing parsley and mint leaves into a powerful cleansing blend.
Ancient cultures understood the remarkable properties hidden within these common herbs.
Powerful antiseptic qualities emerge when combining these green ingredients carefully.
Let’s explore how simple kitchen herbs can revolutionize your dental care routine.
Why Parsley & Mint Teeth Cleaner Treats Work Great
What You’ll Need For Parsley & Mint Teeth Cleaner Treats
Dog Treat Base Ingredients:Wet Binding Ingredients:Optional Flavor and Health Enhancers:Making Parsley & Mint Teeth Cleaner Treats At Home

Step 1: Fire Up the Oven
Crank your oven to a cozy 325F (165C). Grab a baking sheet and drape it with parchment paper for a smooth, non-stick surface.
Step 2: Mix the Magic
Gather your ingredients:In one bowl, blend the dry ingredients until they’re thoroughly mingled. In another bowl, whisk together the wet ingredients until smooth. Pour the wet mixture into the dry and stir until a soft, pliable dough emerges.
Step 3: Shape the Goodness
Dust your workspace with a light sprinkle of flour. Roll out the dough to a slim 1/4-inch thickness. Grab your favorite cookie cutter – bone-shaped or small round works perfectly. Press and release to create adorable treat shapes. Transfer each cutout onto the prepared baking sheet, giving them a little breathing room.
Step 4: Bake to Perfection
Slide the baking sheet into the warm oven. Let the treats bake for 20-25 minutes, watching for a light golden edge and a firm texture. Your kitchen will start smelling like a doggy bakery!
Step 5: Cool and Preserve
Carefully transfer the treats to a wire cooling rack. Allow them to cool completely – patience is key! Once cooled, store in an airtight container. These dental delights will stay fresh for a week in the pantry or can be frozen for future munching.
Bonus Dental Health Tip: The parsley and mint aren’t just for flavor – they’re natural breath fresheners that help combat doggy bad breath while providing a tasty reward!
Tips For Better Parsley & Mint Teeth Cleaner Treats
Best Storage Tips For Parsley & Mint Teeth Cleaner Treats
Serving Ideas With Parsley & Mint Teeth Cleaner Treats
Flavor Ideas For Parsley & Mint Teeth Cleaner Treats
FAQs For Parsley & Mint Teeth Cleaner Treats
Parsley and mint naturally help freshen your dog’s breath and provide additional dental health benefits by fighting bacteria that cause bad breath and plaque buildup.
Yes, these homemade treats are suitable for dogs of all sizes. You can adjust the size of the cookie cutter to match your dog’s breed and chewing preferences.
Absolutely! You can swap applesauce with pumpkin puree, use different types of flour like whole wheat or oat flour, and adjust herbs based on what you have available at home.
These treats are meant to be occasional dental supplements. Offer 1-2 treats per day as part of a balanced diet, and always consult with your veterinarian about your dog’s specific nutritional needs.
Print
Parsley & Mint Teeth Cleaner Treats Recipe
- Total Time: 40 minutes
- Yield: 12 1x
Description
Refreshing parsley & mint teeth cleaner treats bring natural dental care straight from Mediterranean culinary wisdom. Herbal essences combine with gentle ingredients, offering pure oral health that delights and nourishes you.
Ingredients
Main Ingredients:
- 1 cup (125 grams) whole wheat flour
- ½ cup (120 milliliters) unsweetened applesauce or pumpkin puree
- 1 egg
Herbs and Flavoring:
- 2 tablespoons fresh parsley, finely chopped
- 2 tablespoons fresh mint leaves, finely chopped
Oil and Fat:
- 2 tablespoons coconut oil, melted
Instructions
- Preheat the oven to 325F (165C), ensuring the rack is positioned in the center. Layer a baking sheet with parchment paper to prevent sticking.
- Create a dry mixture by combining flour, finely chopped parsley, and crushed mint leaves in a spacious mixing bowl. In a separate vessel, whisk together applesauce, liquefied coconut oil, and a fresh egg until smooth and well-integrated.
- Gradually fold the liquid ingredients into the dry mixture, stirring carefully until a cohesive dough develops. If the consistency feels too sticky, dust with additional flour.
- Sprinkle a clean surface with flour and gently roll the dough to approximately quarter-inch thickness. Use a bone-shaped or small geometric cookie cutter to craft uniform treat shapes.
- Arrange the cut treats on the prepared baking sheet, leaving small gaps between each piece to promote even baking and crisp edges.
- Slide the baking sheet into the preheated oven and bake for 20-25 minutes. Watch for a light golden hue and firm texture as indicators of doneness.
- Remove from oven and transfer treats to a wire cooling rack. Allow complete cooling to room temperature to ensure optimal texture and crispness.
- Store the cooled treats in an airtight container, keeping them fresh for up to one week at room temperature or freeze for extended preservation.
Notes
- Choose fresh, organic parsley and mint for maximum flavor and dental health benefits in your dog treats.
- Ensure ingredients are finely chopped to distribute evenly throughout the dough and prevent large herb chunks.
- Experiment with whole wheat or gluten-free flour options to accommodate different canine dietary needs.
- Adjust baking time slightly for crunchier or softer treats depending on your dog’s preference, watching carefully to prevent burning.
- Prep Time: 15 minutes
- Cook Time: 25 minutes
- Category: Snacks
- Method: Baking
- Cuisine: American
Nutrition
- Serving Size: 12
- Calories: 69
- Sugar: 1g
- Sodium: 0mg
- Fat: 4g
- Saturated Fat: 3.5g
- Unsaturated Fat: 0.5g
- Trans Fat: 0g
- Carbohydrates: 8g
- Fiber: 1g
- Protein: 2g
- Cholesterol: 17mg
Jenna Stewart
Head Chef & Recipe Innovator
Expertise
Farm-to-Table Cooking; Seasonal Menu Development; Visual Plating Techniques; Flavor Layering and Simple Prep Hacks.
Education
The Culinary Institute of America, Hyde Park, NY
Jenna Stewart is the inventive spirit behind many of our standout dishes at Pro of Delicious Creations. A proud graduate of The Culinary Institute of America, she built her skills mastering both classic recipes and fresh, modern twists.
Now, Jenna celebrates the beauty of seasonal, local ingredients, often sourced from her garden and nearby markets, to create recipes that are bursting with flavor yet easy to follow. When she’s not experimenting in the kitchen, Jenna loves exploring nature on hikes and discovering new treasures at local co-ops.