Quick & Dreamy Oreo Cake Balls Recipe for Sweet Moments
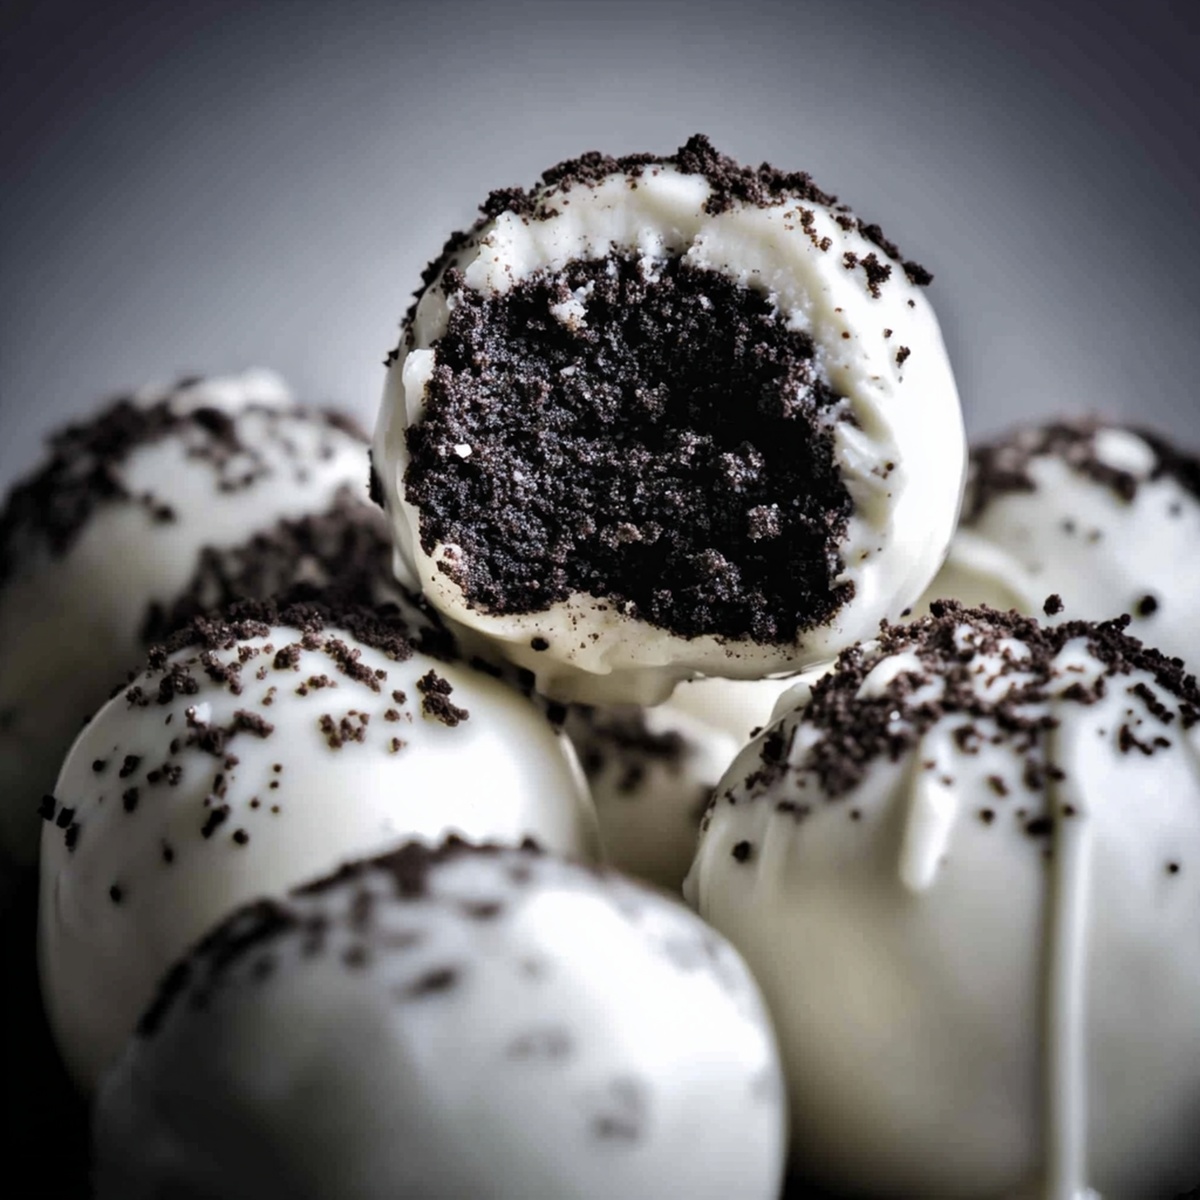
Sweet tooth enthusiasts adore these decadent Oreo cake balls that blend creamy texture with irresistible chocolate crunch.
Crushed cookies mixed with soft cream cheese create an addictive treat everyone adores.
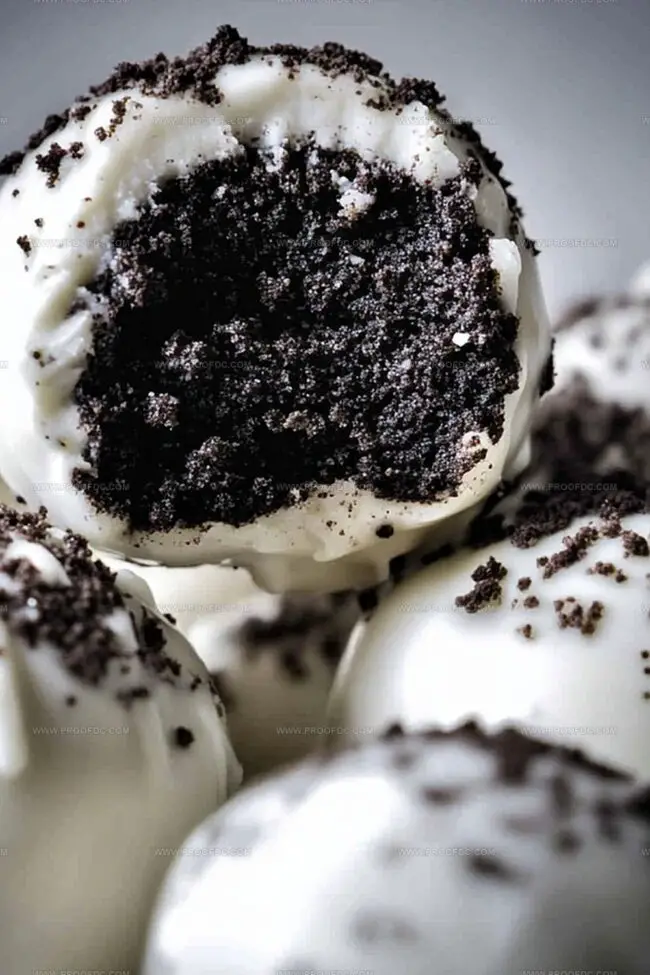
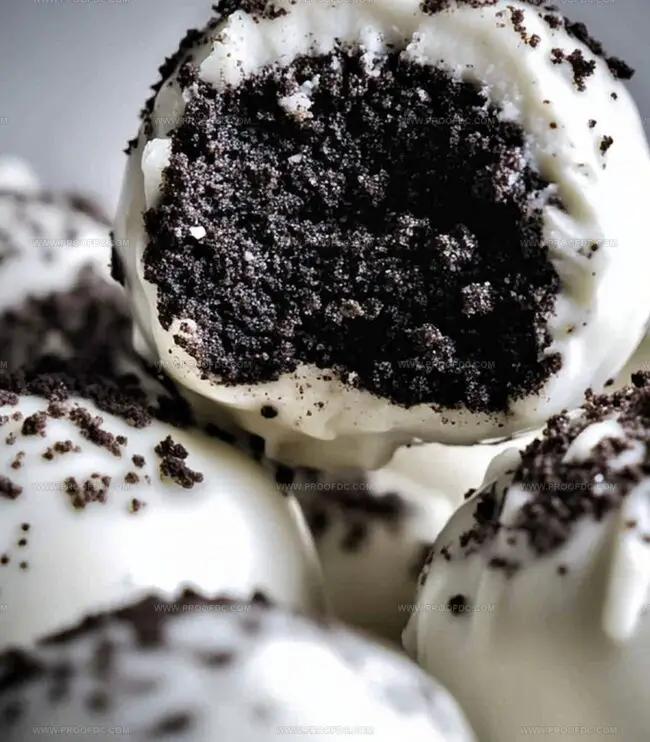
Biting into a perfectly smooth sphere coated in rich melted chocolate.
Each bite delivers a magical combination of classic sandwich cookie and velvety cake-like center.
Kids and adults alike will go crazy for these simple yet stunning dessert bites.
Small gatherings or big parties become instantly more delightful with these handheld delicacies.
No complicated techniques required – just pure deliciousness waiting to happen.
Grab your ingredients and let the delightful adventure begin!
Why Oreo Cake Balls Are So Much Fun To Make
What Ingredients Go Into Oreo Cake Balls
Base Ingredients:Coating and Decorative Ingredients:Preparation Ingredients:How To Make Oreo Cake Balls In A Few Easy Steps
Step 1: Pulverize Oreo Cookies
Grab a food processor or a sturdy zip-top bag and a rolling pin. Crush the Oreo cookies into fine, delicate crumbs. If using a bag, press firmly and roll the pin back and forth until the cookies transform into a powdery mixture.
Step 2: Blend with Creamy Goodness
In a spacious mixing bowl, combine the Oreo crumbs with softened cream cheese. Mix thoroughly until the ingredients merge into a smooth, moldable consistency. The texture should feel slightly damp and easy to shape.
Step 3: Form Irresistible Spheres
Gently roll the mixture into bite-sized balls, approximately one inch in diameter. Arrange these delectable spheres on a parchment-lined baking sheet. Pop them into the refrigerator or freezer for 20-30 minutes to firm up.
Step 4: Chocolate Dipping Extravaganza
Prepare your chocolate coating:Melt the chocolate in a microwave-safe bowl. Heat in short 30-second bursts, stirring between each interval until silky smooth. Use a fork or skewer to:Step 5: Artistic Decoration
Before the chocolate sets, add your creative touch:Step 6: Chill and Savor
Refrigerate the cake balls for a minimum of 30 minutes, allowing the chocolate to solidify completely. Serve chilled or let them sit at room temperature for a few minutes before enjoying.
Tips That Make Oreo Cake Balls Even Better
Storing And Reheating Oreo Cake Balls Made Easy
What To Serve With Oreo Cake Balls
Easy Twists On Oreo Cake Balls You’ll Want To Try
FAQs About Oreo Cake Balls You Shouldn’t Miss
Oreo Cake Balls are delicious bite-sized treats made by mixing crushed Oreo cookies with cream cheese, forming them into small balls, and then coating them in melted chocolate.
You’ll only need a food processor or a rolling pin to crush the Oreos, a mixing bowl, and a baking sheet with parchment paper. It’s a simple recipe with minimal equipment required.
Absolutely! You can prepare Oreo Cake Balls in advance and store them in the refrigerator for up to 5 days, making them perfect for party prep or quick dessert options.
Yes! They’re perfect bite-sized desserts that are easy to serve, look impressive, and appeal to both kids and adults. They’re great for birthday parties, potlucks, or holiday events.
Print
Oreo Cake Balls Recipe
- Total Time: 1 hour
- Yield: 36 1x
Description
Indulgent Oreo cake balls merge creamy crushed cookies with smooth chocolate coating for an irresistible sweet treat. Bite-sized delights promise pure dessert bliss that you won’t be able to stop enjoying.
Ingredients
Main Ingredients:
- 1 package (36 cookies, about 300 g) Oreo cookies
- 8 ounces (225 g) cream cheese, softened
- 200 grams (7 ounces) white or semi-sweet chocolate, melted
Decoration (Optional):
- Sprinkles
- Crushed Oreos
- Cocoa powder
Instructions
- Transform classic Oreo cookies into fine, uniform crumbs using a food processor or by placing them in a sealed bag and crushing with a rolling pin until achieving a consistent texture.
- Incorporate softened cream cheese into the cookie crumbs, mixing thoroughly until the mixture becomes a cohesive, moldable consistency that holds together effortlessly.
- Craft compact, uniform spheres by gently rolling the Oreo-cream cheese blend between your palms, creating bite-sized balls approximately one inch in diameter.
- Stabilize the formed balls by placing them on a parchment-lined tray, then chill in the refrigerator or freezer for 20-30 minutes to ensure structural integrity during the chocolate coating process.
- Melt chocolate using gentle microwave intervals, stirring between each heating cycle to prevent scorching and achieve a smooth, glossy coating.
- Carefully immerse each chilled ball into the melted chocolate, using a fork or skewer to ensure complete coverage and allow excess chocolate to drip away.
- While the chocolate remains liquid, embellish the coated balls with decorative elements like colorful sprinkles, crushed Oreo fragments, or an artistic chocolate drizzle.
- Allow the decorated cake balls to set by refrigerating for a minimum of 30 minutes, ensuring the chocolate hardens and the flavors meld together.
- Serve the Oreo cake balls chilled or at ambient temperature, presenting a delightful treat perfect for gatherings or personal indulgence.
Notes
- Crush Oreos thoroughly to ensure a smooth, consistent texture without large cookie chunks for better binding.
- Use room temperature cream cheese to create a creamy, easily moldable mixture that holds together perfectly.
- Chill the balls before dipping to prevent them from falling apart and to help the chocolate coating set quickly and evenly.
- Experiment with different chocolate coatings like dark chocolate or milk chocolate for varied flavor profiles.
- Add a pinch of salt to the mixture to enhance the overall sweetness and balance the flavor.
- For gluten-free version, use gluten-free sandwich cookies and ensure all ingredients are certified gluten-free.
- Store in an airtight container in the refrigerator for up to a week, allowing flavors to meld and maintain optimal texture.
- Create mini versions for bite-sized desserts perfect for parties or portion control.
- Prep Time: 30 minutes
- Cook Time: 30 minutes
- Category: Desserts, Snacks
- Method: Mixing
- Cuisine: American
Nutrition
- Serving Size: 36
- Calories: 100
- Sugar: 8 g
- Sodium: 50 mg
- Fat: 5 g
- Saturated Fat: 2.5 g
- Unsaturated Fat: 2.5 g
- Trans Fat: 0 g
- Carbohydrates: 12 g
- Fiber: 0.5 g
- Protein: 1 g
- Cholesterol: 10 mg
Jenna Stewart
Head Chef & Recipe Innovator
Expertise
Farm-to-Table Cooking; Seasonal Menu Development; Visual Plating Techniques; Flavor Layering and Simple Prep Hacks.
Education
The Culinary Institute of America, Hyde Park, NY
Jenna Stewart is the inventive spirit behind many of our standout dishes at Pro of Delicious Creations. A proud graduate of The Culinary Institute of America, she built her skills mastering both classic recipes and fresh, modern twists.
Now, Jenna celebrates the beauty of seasonal, local ingredients, often sourced from her garden and nearby markets, to create recipes that are bursting with flavor yet easy to follow. When she’s not experimenting in the kitchen, Jenna loves exploring nature on hikes and discovering new treasures at local co-ops.