
The Best Old Fashioned Raisin Pie Recipe for Sweet Nostalgia
Grandma’s cherished old fashioned raisin pie brings back memories of cozy kitchen moments.
Warm spices dance through this rustic dessert, whisking you to simpler times.
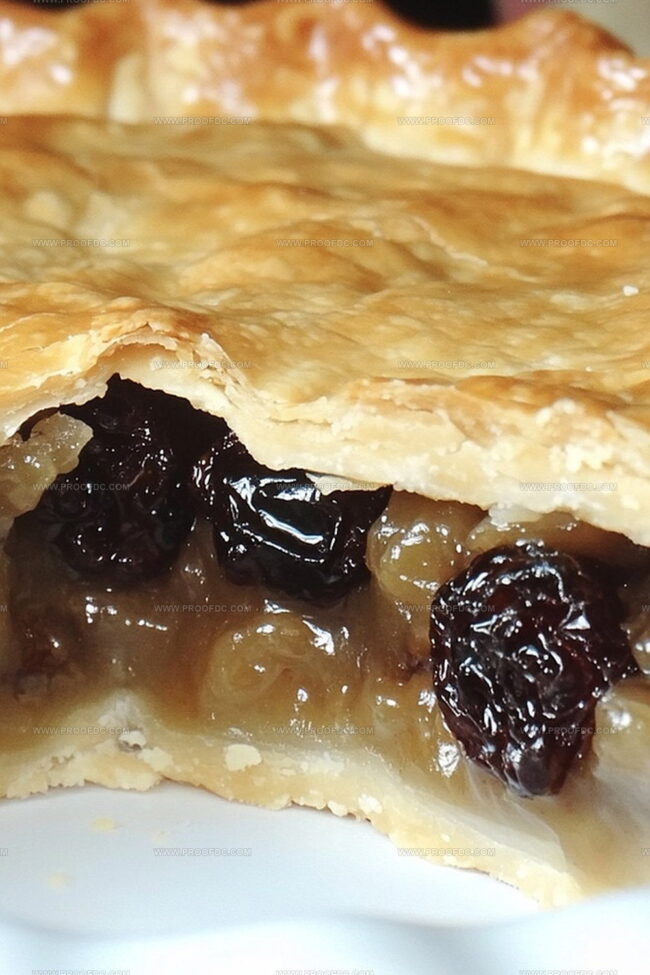
Sweet raisins nestled in a flaky crust tell stories of traditional baking.
Generations have savored this humble yet comforting treat passed down through loving hands.
Rich filling bursts with nostalgic flavors that remind you of Sunday gatherings.
Crisp pastry edges promise a delightful crunch in every single bite.
You’ll want to gather ingredients and recreate this timeless classic right away.
Why Old Fashioned Raisin Pie Tastes Like Sweet Nostalgia
What You’ll Use In Old Fashioned Raisin Pie
Pie Crust:Filling Base:Spices and Finishing Touches:How To Make An Old Fashioned Raisin Pie Step By Step
Step 1: Create Raisin Filling
In a medium saucepan, combine raisins and water. Bring to a boil over medium heat and simmer for 5 minutes until raisins become plump. In a separate bowl, mix together:Stir this mixture into the raisins. Cook while stirring constantly until the mixture thickens, about 2-3 minutes. Remove from heat and fold in lemon juice and butter. Allow filling to cool slightly.
Step 2: Prepare Pie Crust
Preheat the oven to 425°F (220°C). Roll out one pie crust and carefully place it into a 9-inch pie pan. Pour the cooled raisin filling evenly into the crust.
Step 3: Top and Seal Pie
Roll out the second pie crust and gently lay it over the filling. Trim the excess dough and seal the edges by pinching them together. Create decorative crimped edges. Cut small slits on the top crust to allow steam to escape.
Step 4: Add Finishing Touches
Brush the top crust with beaten egg. Sprinkle granulated sugar over the surface for extra sparkle and crunch.
Step 5: Bake the Pie
Place the pie in the preheated oven. Bake for 10 minutes at 425°F (220°C). Reduce the oven temperature to 375°F (190°C) and continue baking for 25-30 minutes until the crust turns a beautiful golden brown.
Step 6: Cool and Enjoy
Remove the pie from the oven and let it cool completely. This resting time allows the filling to set properly. Slice and serve on its own or top with a dollop of whipped cream or a scoop of vanilla ice cream for an extra special treat.
Tips For A Perfect Old Fashioned Raisin Pie Crust
How To Keep Old Fashioned Raisin Pie Fresh
Tasty Matches For Old Fashioned Raisin Pie
Easy Variations Of Old Fashioned Raisin Pie
FAQs For Old Fashioned Raisin Pie
Raisins offer a rich, sweet flavor and natural chewiness that creates a delightful old-fashioned dessert experience. They’re packed with natural sugars and add depth to the pie’s taste profile.
Absolutely! Golden raisins, black raisins, or a mix work perfectly. Each variety brings a slightly different sweetness and texture to the pie, so feel free to experiment with what you have on hand.
Yes, raisin pie is a classic Midwestern and Pennsylvania Dutch recipe dating back to early settler times. It was a popular way to use preserved fruits during winter months when fresh produce was scarce, making it a true heritage dessert.
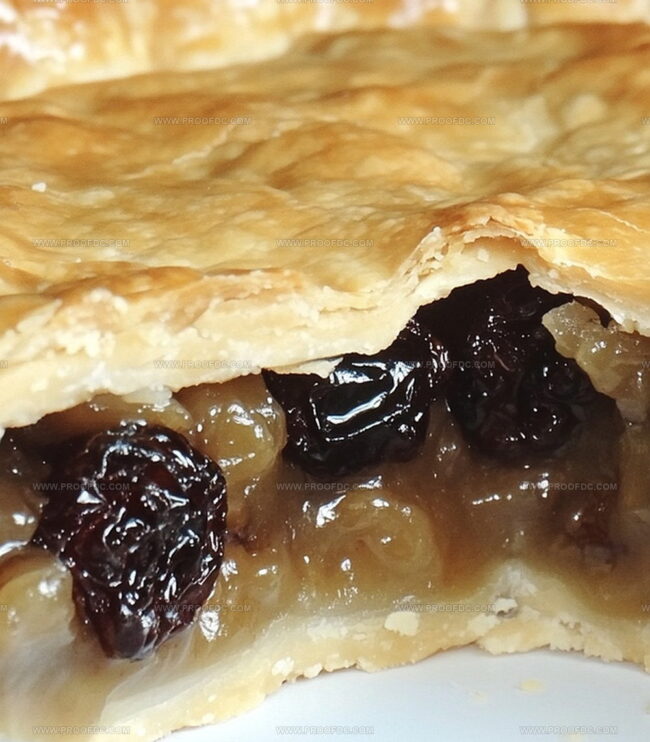
The filling should be thick and glossy, coating the back of a spoon. When you run your finger through the mixture, it should leave a clear path that doesn’t immediately fill back in, indicating it’s perfectly thickened.
Print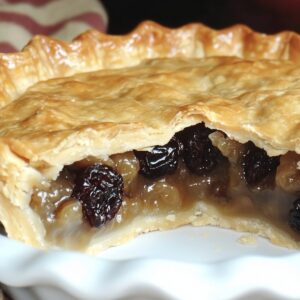
Old Fashioned Raisin Pie Recipe
- Total Time: 1 hour
- Yield: 8 1x
Description
Timeless charm meets sweet nostalgia in this classic Old Fashioned Raisin Pie that whispers stories of grandmother’s kitchen. Robust raisin filling nestled in a flaky, golden crust promises a delightful journey through generations of comforting homemade goodness you’ll savor with each heartwarming bite.
Ingredients
Filling:
- 2 cups (300 g) raisins
- 1 ¾ cups (420 ml) water
- ¾ cup (150 g) granulated sugar
- 2 tablespoons cornstarch
- 2 tablespoons lemon juice
- 1 tablespoon unsalted butter
Spices:
- 1 teaspoon cinnamon
- ½ teaspoon ground nutmeg
- ¼ teaspoon salt
Crust and Topping:
- 1 package (14 ounces / 400 g) pie crusts (or homemade, for a double crust)
- 1 large egg, beaten (for egg wash)
- 1 tablespoon granulated sugar (optional, for sprinkling)
Instructions
- Hydrate the raisins by combining them with water in a medium saucepan. Gently bring to a rolling boil, then reduce heat and simmer for 5 minutes until the raisins become plump and tender.
- Create a thickening agent by whisking together sugar, cornstarch, cinnamon, nutmeg, and salt in a separate bowl. Gradually incorporate this mixture into the simmering raisins, stirring continuously to prevent lumps.
- Continue cooking the raisin mixture, maintaining constant stirring until the filling transforms into a thick, glossy consistency, which typically takes 2-3 minutes. Remove from heat immediately.
- Enhance the filling’s flavor by folding in fresh lemon juice and melted butter. Allow the mixture to cool and slightly set while preparing the pie crust.
- Preheat the oven to a high temperature of 425F, ensuring the cooking environment is properly heated.
- Roll out the bottom pie crust and carefully transfer it into a 9-inch pie pan, ensuring smooth coverage of the pan’s surface.
- Pour the cooled raisin filling into the prepared bottom crust, spreading it evenly to create a consistent layer.
- Roll out the top pie crust and delicately place it over the filled bottom crust. Trim excess dough and meticulously seal the edges, creating a decorative crimp.
- Using a sharp knife, cut small strategic vents in the top crust to allow steam to escape during baking.
- Brush the entire top crust with beaten egg, creating a golden sheen. Optional: Sprinkle granulated sugar for added texture and sweetness.
- Initial baking begins at 425F for 10 minutes to create a crisp foundation. Reduce temperature to 375F and continue baking for 25-30 minutes until the crust achieves a rich, golden-brown color.
- Remove pie from oven and let it cool completely at room temperature. This resting period allows the filling to set and stabilize.
- Slice and serve the pie at room temperature. Complement with a dollop of whipped cream or a scoop of vanilla ice cream for an indulgent dessert experience.
Notes
- Ensure raisins are plump and soft by simmering them gently, which helps release their natural sweetness and creates a more intense flavor profile.
- Control the filling’s consistency by stirring constantly and watching for thickening, preventing lumps and achieving a smooth, glossy texture.
- Experiment with spice variations like adding a pinch of ground cloves or cardamom to enhance the traditional cinnamon and nutmeg flavor.
- Create a gluten-free version by using alternative pie crust made from almond flour or gluten-free blend, maintaining the classic raisin pie taste for those with dietary restrictions.
- Prep Time: 20 minutes
- Cook Time: 40 minutes
- Category: Desserts
- Method: Baking
- Cuisine: American
Nutrition
- Serving Size: 8
- Calories: 203
- Sugar: 23 g
- Sodium: 90 mg
- Fat: 6 g
- Saturated Fat: 3 g
- Unsaturated Fat: 2 g
- Trans Fat: 0 g
- Carbohydrates: 34 g
- Fiber: 1 g
- Protein: 2 g
- Cholesterol: 20 mg
Jenna Stewart
Head Chef & Recipe Innovator
Expertise
Farm-to-Table Cooking; Seasonal Menu Development; Visual Plating Techniques; Flavor Layering and Simple Prep Hacks.
Education
The Culinary Institute of America, Hyde Park, NY
Jenna Stewart is the inventive spirit behind many of our standout dishes at Pro of Delicious Creations. A proud graduate of The Culinary Institute of America, she built her skills mastering both classic recipes and fresh, modern twists.
Now, Jenna celebrates the beauty of seasonal, local ingredients, often sourced from her garden and nearby markets, to create recipes that are bursting with flavor yet easy to follow. When she’s not experimenting in the kitchen, Jenna loves exploring nature on hikes and discovering new treasures at local co-ops.