
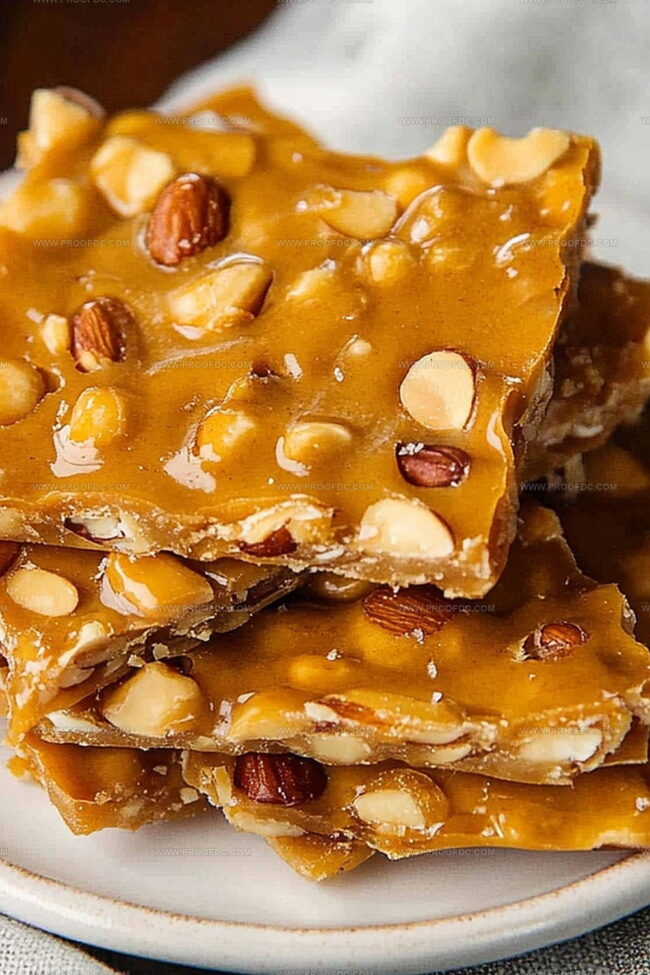
The Crunchiest Old Fashioned Peanut Brittle Recipe Ever
Cracking into homemade peanut brittle reveals a nostalgic journey through sweet and crunchy memories.
Generations of home cooks have perfected this classic candy with simple ingredients and patience.
Sugar bubbling and caramelizing creates a golden landscape of delectable texture.
Mastering this traditional treat connects you to cherished kitchen traditions.
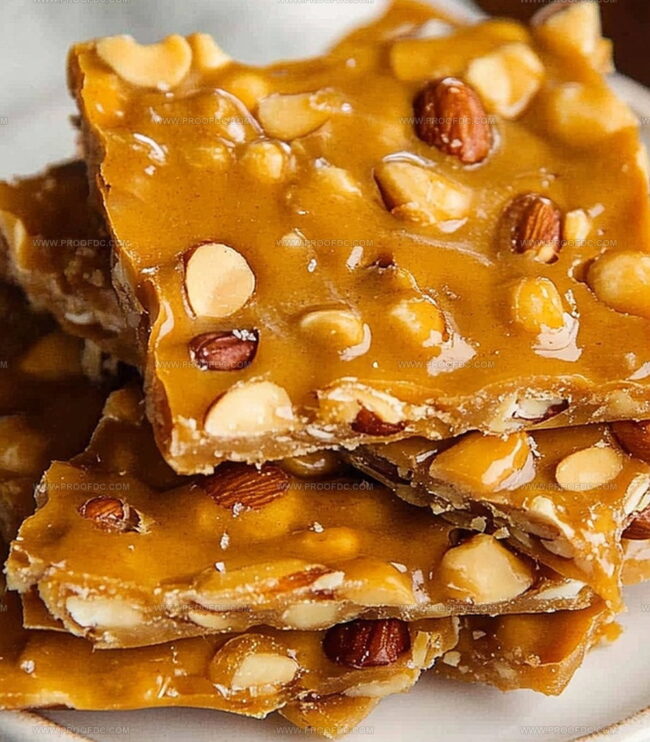
Crisp, amber-hued shards promise a delightful dance of buttery nuttiness on your palate.
The aroma of roasting peanuts and caramelized sugar will transport you to warm, comforting moments.
Grab a spatula and let the candy-making magic begin—your taste buds are in for an unforgettable adventure.
Why Old Fashioned Peanut Brittle Is Still A Classic
Everything You’ll Need For Old Fashioned Peanut Brittle
Candy Base:Nuts and Flavoring:Finishing and Preparation:How To Cook Old Fashioned Peanut Brittle Without Fuss
Step 1: Prepare Baking Surface
Grab a large baking sheet and line it with parchment paper or a non-stick silicone mat. Give the surface a quick spray of cooking spray or gently rub it with butter to help the brittle release smoothly later.
Step 2: Combine Sweet Base
In a heavy-bottomed saucepan, mix:Stir these ingredients together until they’re completely blended.
Step 3: Heat to Caramel Perfection
Place the pan over medium-high heat. Let the mixture bubble and dance without stirring. Watch carefully as the color transforms from clear to a rich golden amber. This magical transformation takes about 8-10 minutes.
Step 4: Add Nutty Crunch
Once the syrup reaches a deep golden color, carefully add:Stir quickly to coat the peanuts evenly in the sweet liquid.
Step 5: Cook to Brittle Stage
Continue cooking and stirring until the mixture turns a warm caramel brown and reaches 300°F on a candy thermometer (hard crack stage). The peanuts will start to smell wonderfully toasted.
Step 6: Create Brittle Magic
Remove from heat and quickly stir in:The mixture will foam and become lighter in color. Immediately pour onto the prepared baking sheet, spreading quickly with a spatula.
Step 7: Cool and Break
Let the brittle cool completely at room temperature. Once hardened, break into irregular pieces by gently tapping with a hard object or using your hands.
Step 8: Store and Enjoy
Store the peanut brittle in an airtight container at room temperature. It will stay crisp and delicious for about two weeks – if it lasts that long!
Tips To Nail Old Fashioned Peanut Brittle Every Time
How To Store And Reheat Old Fashioned Peanut Brittle Correctly
Great Matches For Old Fashioned Peanut Brittle
Flavor Options For Old Fashioned Peanut Brittle
FAQs On Old Fashioned Peanut Brittle
Peanut brittle is a classic hard candy that stands out because it combines sweet caramelized sugar with crunchy, salty peanuts, creating a unique texture and flavor that’s both brittle and nutty.
No, peanut brittle contains peanuts and is not safe for individuals with peanut allergies. Always check ingredients carefully if you have food sensitivities.
Use a candy thermometer and look for the mixture to reach 300°F (hard crack stage), which is crucial for achieving the signature crisp, snappy texture of traditional peanut brittle.
While possible, using a candy thermometer is highly recommended to ensure precise sugar cooking and prevent burning, which can quickly ruin the entire batch.
Print
Old Fashioned Peanut Brittle Recipe
- Total Time: 30 minutes
- Yield: 12 1x
Description
Sweet nostalgia meets crunchy delight in this classic Old Fashioned Peanut Brittle recipe that whispers memories of grandma’s kitchen. Crackling caramel and roasted peanuts blend into a golden treat you’ll savor with pure, simple pleasure.
Ingredients
Primary Ingredients:
- 1 ½ cups (200 g) unsalted dry roasted peanuts
- 1 cup (200 g) granulated sugar
- ½ cup (120 ml) light corn syrup
- ¼ cup (60 ml) water
Flavoring Ingredients:
- 2 tablespoons (30 g) unsalted butter
- 1 teaspoon vanilla extract
Finishing Ingredients:
- ¼ teaspoon salt
- 1 teaspoon baking soda
Instructions
- Prepare your workspace by laying out a large baking sheet and covering it with parchment paper or a silicone baking mat, creating a non-stick surface for your candy-making process.
- Lightly coat the prepared surface with a thin layer of butter or non-stick spray, ensuring the delicate brittle will release effortlessly once cooled.
- Gather all ingredients and equipment nearby, creating an organized station for precise candy crafting.
- Position a heavy-bottomed saucepan on the stovetop, ready to transform sugar and corn syrup into a golden, caramelized foundation.
- Carefully monitor the temperature with a candy thermometer, watching as the mixture reaches the critical hard-crack stage, developing a rich amber hue.
- Swiftly incorporate roasted peanuts into the molten sugar mixture, stirring quickly to ensure even distribution and prevent burning.
- Immediately pour the scorching caramel onto the prepared baking sheet, using a spatula to spread it into a thin, even layer that will create a delicate, crisp texture.
- Allow the brittle to cool completely at room temperature, resisting the temptation to touch or move it during the setting process.
- Once fully hardened, break the brittle into irregular, rustic pieces by gently tapping with the back of a heavy utensil.
- Store the finished peanut brittle in an airtight container, preserving its crisp texture and preventing moisture absorption.
Notes
- Use a thick-bottomed heavy saucepan to distribute heat evenly and prevent burning during sugar caramelization.
- Work quickly when pouring the hot brittle mixture onto the prepared baking sheet, as it starts to harden rapidly once removed from heat.
- Break the cooled brittle into irregular pieces for a more rustic, homemade appearance that looks appetizing and artisanal.
- Store the peanut brittle in an airtight container at room temperature to maintain its crisp texture and prevent moisture absorption.
- Prep Time: 10 minutes
- Cook Time: 20 minutes
- Category: Snacks, Desserts
- Method: Baking
- Cuisine: American
Nutrition
- Serving Size: 12
- Calories: 165
- Sugar: 16 g
- Sodium: 60 mg
- Fat: 7 g
- Saturated Fat: 1 g
- Unsaturated Fat: 6 g
- Trans Fat: 0 g
- Carbohydrates: 23 g
- Fiber: 1 g
- Protein: 3 g
- Cholesterol: 3 mg
Jenna Stewart
Head Chef & Recipe Innovator
Expertise
Farm-to-Table Cooking; Seasonal Menu Development; Visual Plating Techniques; Flavor Layering and Simple Prep Hacks.
Education
The Culinary Institute of America, Hyde Park, NY
Jenna Stewart is the inventive spirit behind many of our standout dishes at Pro of Delicious Creations. A proud graduate of The Culinary Institute of America, she built her skills mastering both classic recipes and fresh, modern twists.
Now, Jenna celebrates the beauty of seasonal, local ingredients, often sourced from her garden and nearby markets, to create recipes that are bursting with flavor yet easy to follow. When she’s not experimenting in the kitchen, Jenna loves exploring nature on hikes and discovering new treasures at local co-ops.