Homemade Italian Nut Roll Cookies Recipe: A Sweet Family Treat
Sweet memories of childhood bakeries swirl through this authentic italian nut roll recipe, weaving a delectable tapestry of tradition.
Generations have cherished these delicate pastries passed down through warm kitchen conversations.
Crumbly, nutty, and subtly sweet, these cookies connect you to generations of Italian baking artistry.
Each tender bite carries whispers of old-world techniques and family gatherings.
The delicate dough embraces a rich nut filling that melts softly on your tongue.
With simple ingredients and straightforward steps, you can recreate this beloved classic in your own kitchen.
These cookies promise to transport you straight to a cozy Italian grandmother’s home, where love is baked into every single morsel.
Quick Recipe Overview
Ingredients Needed For Italian Nut Roll Cookies
For Dry Ingredients:For Wet Ingredients:For Filling and Topping Ingredients:Baking Tools For Italian Nut Roll Cookies
Easy Steps For Italian Nut Roll Cookies
Mix flour, sugar, salt, and baking powder in a large bowl. Crumble cold butter into the dry ingredients until it looks like rough sand. In another bowl, blend eggs, sour cream, and vanilla. Combine wet and dry mixtures until soft dough forms. Divide into two round discs, wrap in plastic, and chill in refrigerator for minimum one hour.
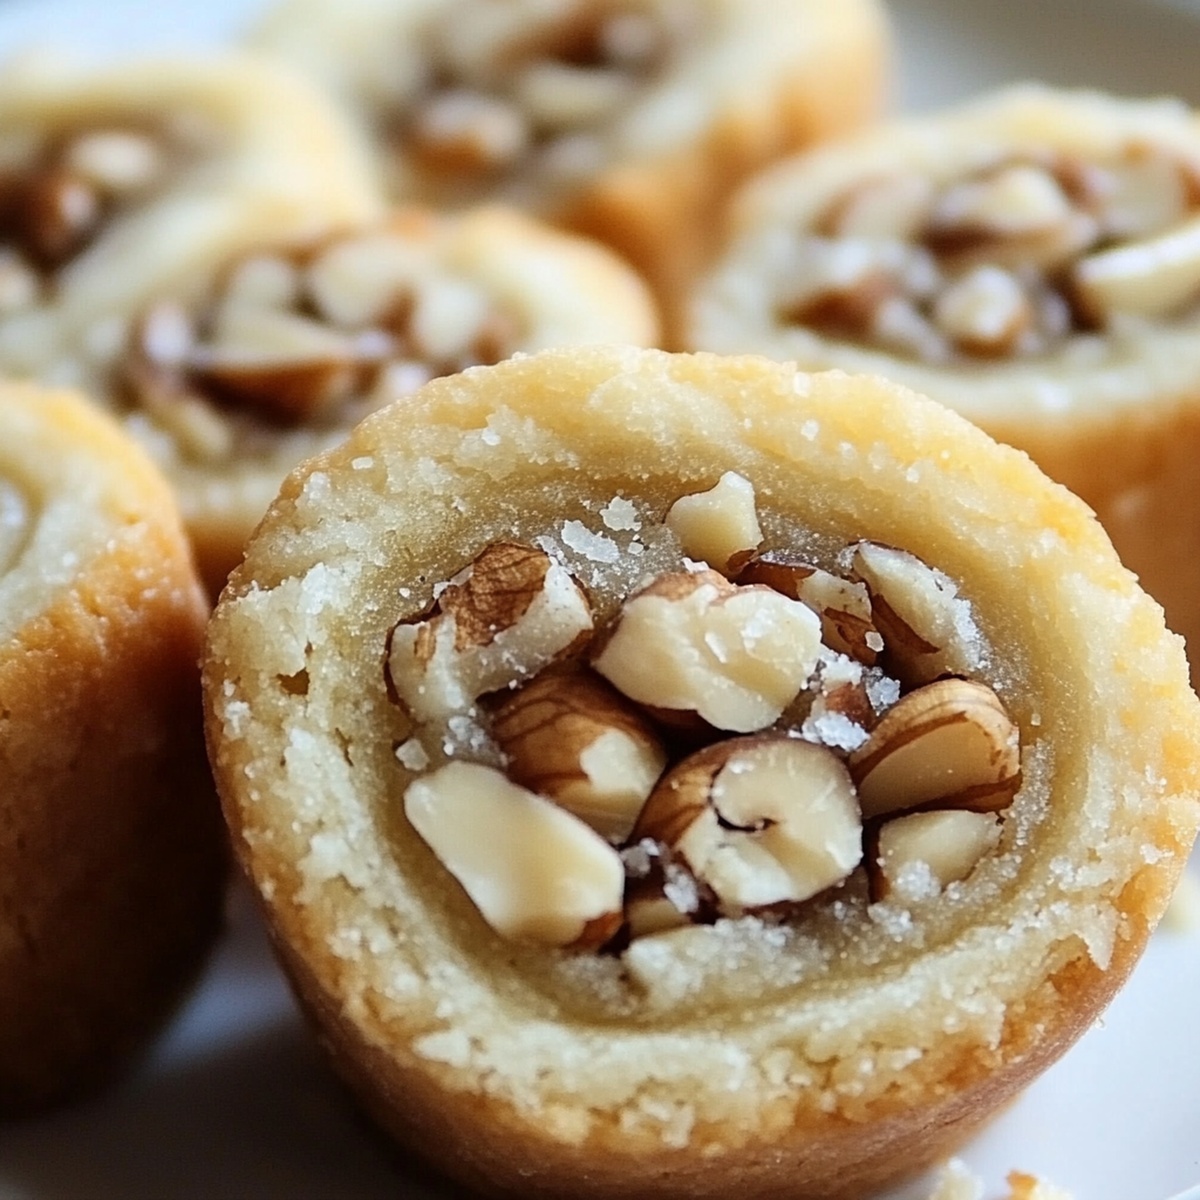
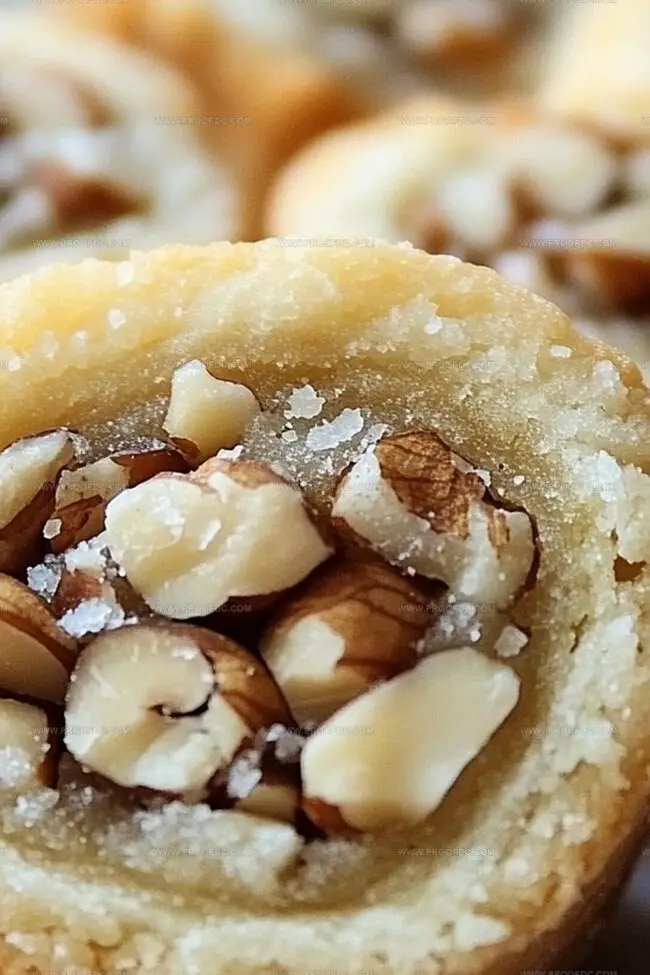
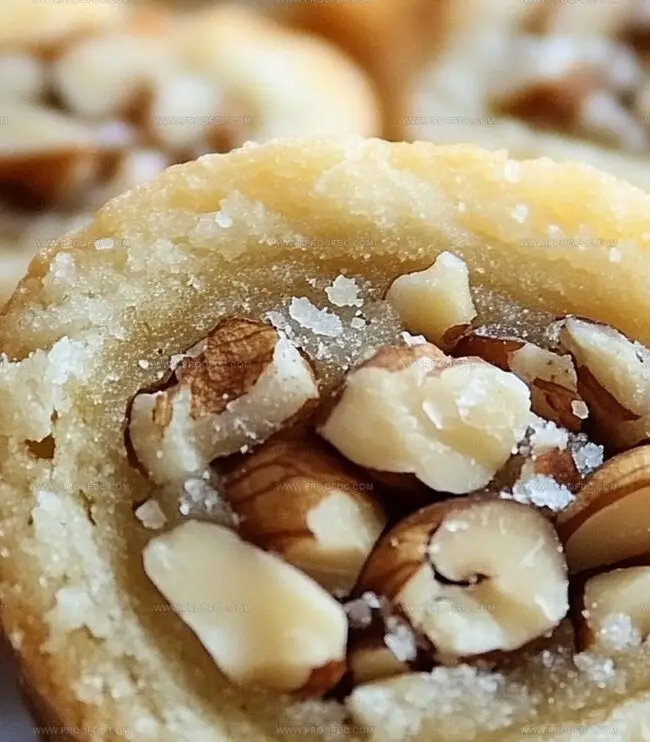
Blend chopped nuts, brown sugar, cinnamon, honey, milk, and vanilla in a bowl. Ensure mixture is slightly sticky but spreadable.
Heat oven to 350F. Dust work surface with flour. Roll out each dough disc into rectangular shape. Spread nutty mixture across dough, leaving small border. Roll dough into tight log from long edge. Place seam-side down on baking sheet.
Slide logs into oven. Bake 25-30 minutes until golden brown. Cool briefly, then slice into bite-sized pieces while still warm.
Whisk powdered sugar, milk, and vanilla for smooth glaze. Drizzle over cookies. Sprinkle with extra nuts if desired. Let glaze set before serving.
Baking Tips For Italian Nut Roll Cookies
How To Serve Italian Nut Roll Cookies Neatly
Store Italian Nut Roll Cookies The Easy Way
Print
Nostalgic Italian Nut Roll Cookies Recipe
- Total Time: 1 hour 50 minutes
- Yield: 25 1x
Description
Dolce di Noci, a cherished Italian nut roll, weaves together generations of family tradition and rich nutty flavors. Festive holiday gatherings come alive with these delicate, spiraled cookies that connect you to Italy’s sweet culinary heritage.
Ingredients
- 2.5 cups (300 g) all-purpose flour
- 1 cup (227 g) unsalted butter, cold and cubed
- 2 large eggs
- 0.5 cup (100 g) granulated sugar
- 0.5 cup (110 g) brown sugar
- 1.5 cups (170 g) walnuts or pecans, finely chopped
- 0.5 tsp salt
- 1 tsp baking powder
- 1 tsp cinnamon
- 0.5 cup (120 ml) sour cream or Greek yogurt
- 1 tbsp honey or maple syrup
- 2 tbsps milk or heavy cream
- 1 tsp vanilla extract
- 0.5 tsp vanilla extract (for filling)
- 1 cup (120 g) powdered sugar
- 2 tbsps milk or lemon juice
- 0.5 tsp vanilla extract (for glaze)
- Sprinkles or chopped nuts for garnish (optional)
Instructions
- Dough Preparation: Combine flour, sugar, salt, and baking powder in a large mixing bowl. Incorporate cold butter using a pastry cutter until the mixture resembles fine crumbs.
- Liquid Integration: Whisk eggs, sour cream, and vanilla extract until smooth. Fold liquid ingredients into dry mixture, creating a soft, cohesive dough.
- Chilling Process: Divide dough into two equal discs, wrap in plastic, and refrigerate for 1 hour to develop rich flavors and optimal texture.
- Filling Creation: Blend chopped nuts, brown sugar, cinnamon, honey, milk, and vanilla extract into a smooth, spreadable mixture.
- Rolling and Filling: Preheat oven to 350F. On a floured surface, roll out first dough disc into a rectangle. Spread half the nut filling evenly, leaving a small border. Carefully roll the dough from the long side into a compact log.
- Second Log Formation: Repeat filling and rolling process with the second dough disc. Position both logs seam-side down on a parchment-lined baking sheet.
- Baking and Cooling: Bake for 25-30 minutes until golden brown. Rest for 10 minutes before slicing into delicate cookies.
- Finishing Touch: Optional – Whisk powdered sugar, milk (or lemon juice), and vanilla extract into a silky glaze. Drizzle over cooled cookies and sprinkle with additional nuts or decorative elements.
- Serving: Allow glaze to set for 10-15 minutes, then present these delectable Italian nut roll cookies for enjoyment.
Notes
- Chill Dough Thoroughly: Refrigerate dough for at least 1 hour to develop robust flavors and make rolling easier, preventing sticky texture and improving overall cookie structure.
- Control Nut Filling Consistency: Ensure filling is slightly tacky but not runny, preventing leakage during baking and maintaining a balanced nut-to-dough ratio.
- Maintain Even Rolling Technique: Roll dough into uniform rectangular shape with consistent thickness to guarantee even baking and prevent undercooked or burnt sections.
- Customize Glaze Options: Experiment with lemon juice or alternative liquid bases to adjust glaze flavor profile, accommodating different taste preferences and dietary needs.
- Prep Time: 20 minutes (+1 hour chilling)
- Cook Time: 30 minutes
- Category: Desserts, Snacks
- Method: Baking
- Cuisine: Italian
Nutrition
- Serving Size: 25
- Calories: 210
- Sugar: 12 g
- Sodium: 75 mg
- Fat: 10 g
- Saturated Fat: 5 g
- Unsaturated Fat: 4.5 g
- Trans Fat: 0 g
- Carbohydrates: 28 g
- Fiber: 1 g
- Protein: 3 g
- Cholesterol: 30 mg
Marcus Foley
Food Critic & Kitchen Coach
Expertise
Recipe Testing and Troubleshooting; Time-Saving Kitchen Hacks; Global Flavor Exploration; Engaging Food Writing and Honest Reviews.
Education
Institute of Culinary Education (ICE), New York, NY
Marcus Foley, based in Atlanta, GA, is a friendly food expert who makes cooking fun and simple.
With hands-on training from the Institute of Culinary Education and years of tasting everything from street food to fine dining, he shares easy kitchen hacks, global flavor ideas, and step-by-step recipes that turn kitchen mishaps into delicious surprises.