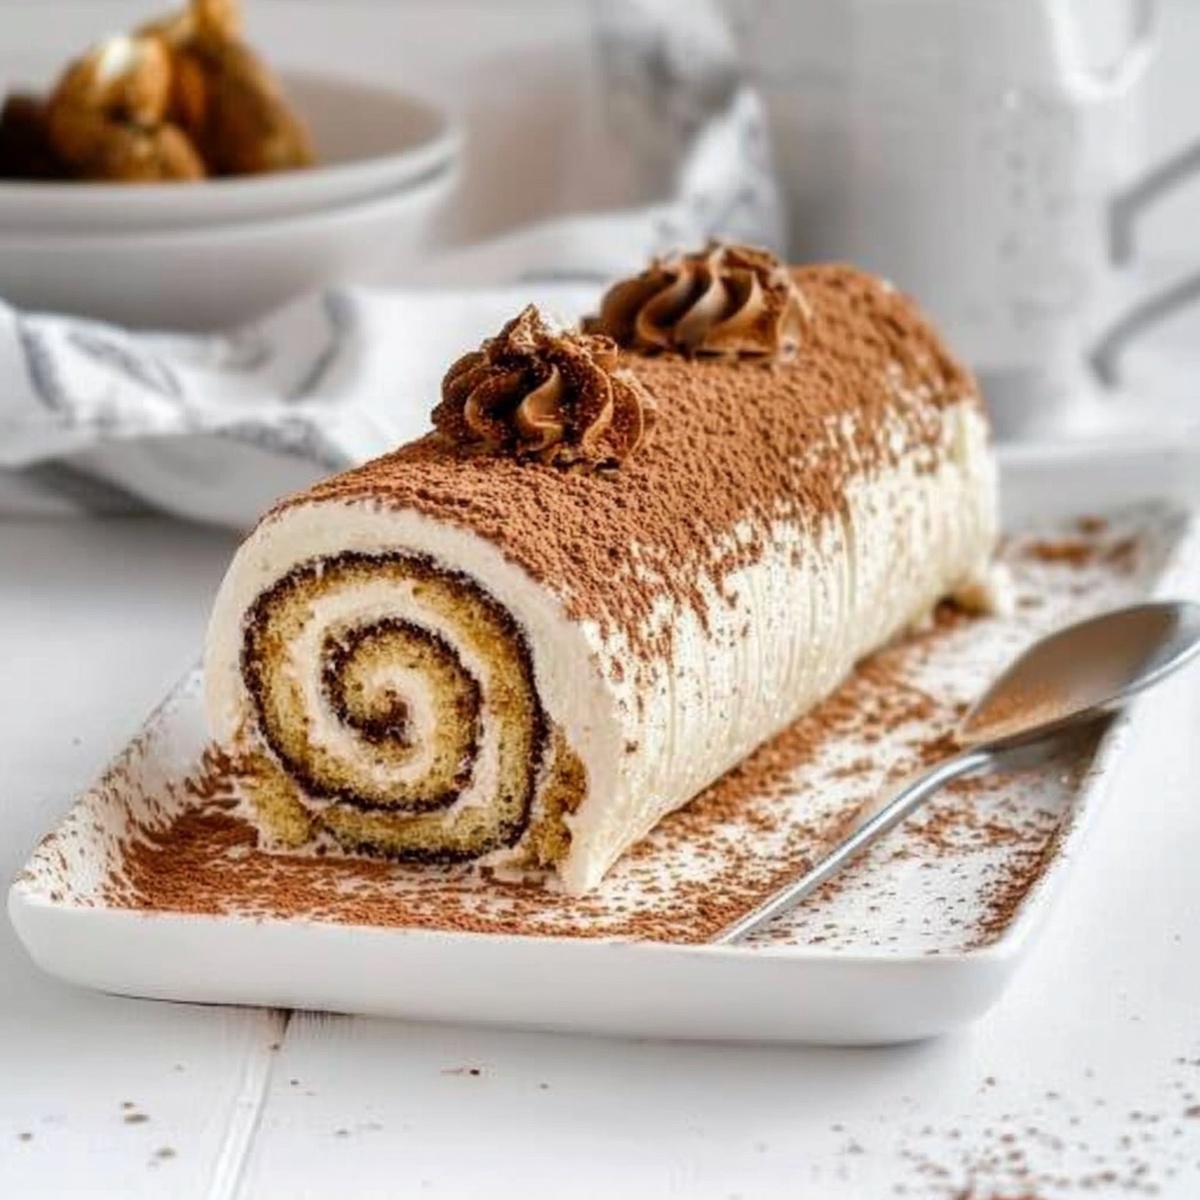
Dreamy No-Bake Vanilla Tiramisu Roll Recipe for Sweet Success
Crafting a delightful no-bake vanilla tiramisu roll that could spark instant excitement at your next gathering.
This dreamy dessert whisks together classic Italian flavors with modern simplicity.
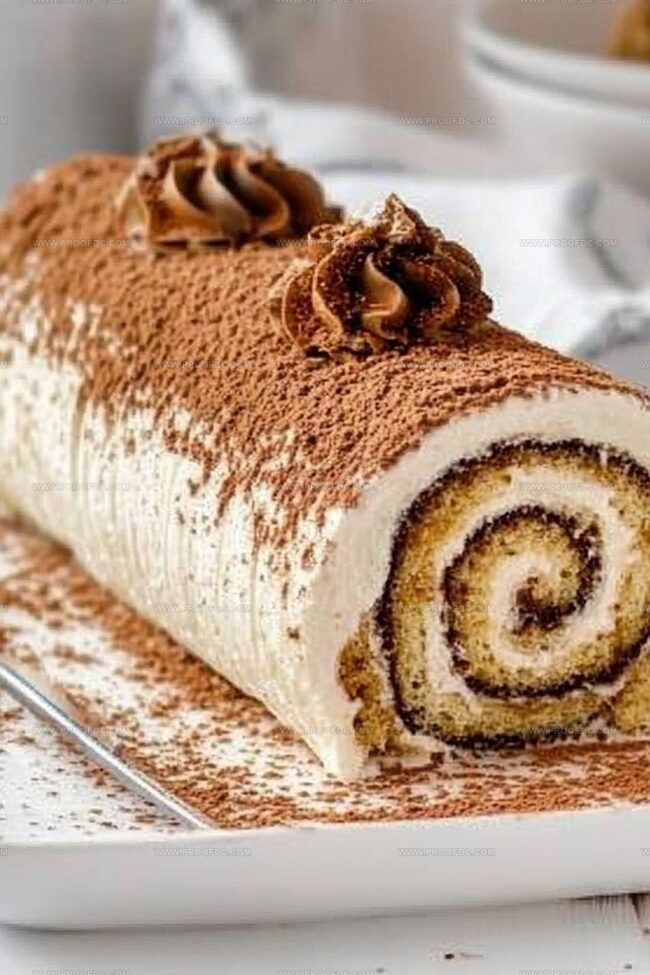
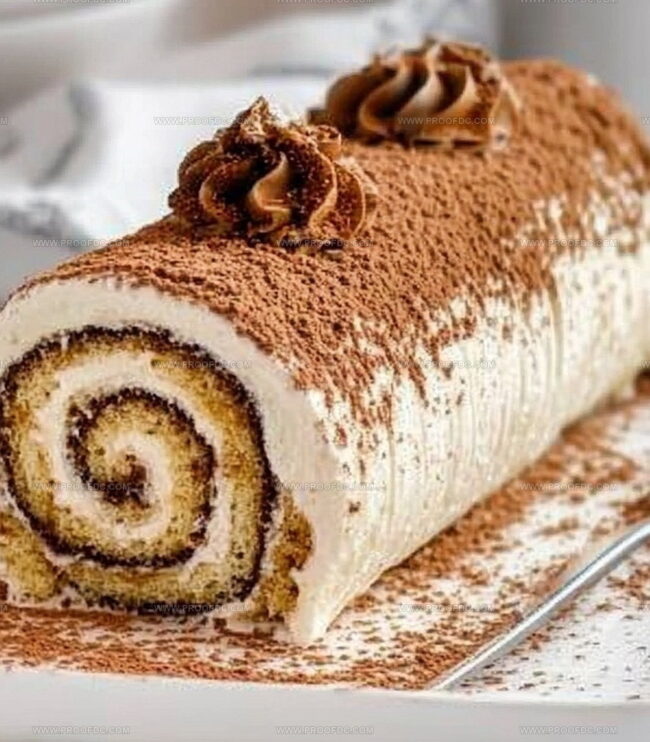
Sweet mascarpone cream layers dance between delicate vanilla-soaked ladyfingers, creating a luscious treat that feels both elegant and effortless.
Chilling replaces traditional baking, making this recipe perfect for warm days or when you want something spectacular without turning on the oven.
Gentle folding techniques and quality ingredients transform ordinary ingredients into an extraordinary experience.
Delicate, creamy, and surprisingly simple, this roll promises to become your new favorite dessert that impresses without stress.
One slice, and you’ll understand why this tiramisu roll is pure magic.
What Makes No-Bake Vanilla Tiramisu Roll So Light And Creamy
Ingredients For No-Bake Vanilla Tiramisu Roll
Main Ingredients:
Coffee and Liqueur Base:Biscuit Base:Filling Components:Finishing Touches:Easy Steps To Build No-Bake Vanilla Tiramisu Roll
Step 1: Whip Creamy Filling
Grab a spacious mixing bowl and blend mascarpone cheese with:Whisk until silky smooth. Tenderly fold in heavy whipped cream until everything blends perfectly. Set mixture aside.
Step 2: Soak Ladyfinger Cookies
Pour brewed coffee and coffee liqueur into a wide, shallow container. Quickly dunk each ladyfinger cookie, ensuring they’re moistened but not waterlogged. Work swiftly to prevent soggy cookies.
Step 3: Create Dessert Foundation
Spread out a large plastic wrap sheet. Arrange soaked ladyfingers in a rectangular shape, slightly overlapping. Cover ladyfingers with prepared mascarpone mixture, leaving small edges uncovered.
Step 4: Craft Elegant Roll
Carefully use plastic wrap to help roll ladyfingers into a compact log. Start from the shorter side, rolling tightly and consistently. Wrap the entire roll securely in plastic wrap.
Step 5: Chill and Prepare
Refrigerate roll for minimum 4 hours, preferably overnight. This allows flavors to meld and texture to set perfectly.
Step 6: Garnish and Serve
Unwrap roll gently. Sprinkle cocoa powder across surface. Optional: Add delicate white chocolate shavings. Slice into elegant 1-inch portions. Serve chilled and enjoy!
Tips To Get No-Bake Vanilla Tiramisu Roll Just Right
How To Store And Slice No-Bake Vanilla Tiramisu Roll
Pair It Well With No-Bake Vanilla Tiramisu Roll
Fresh Ideas For No-Bake Vanilla Tiramisu Roll
Your No-Bake Vanilla Tiramisu Roll FAQs
This no-bake version is easier to prepare and creates a beautiful rolled presentation instead of the classic layered dessert. It’s a modern twist that eliminates the need for baking and offers a fun, elegant approach to the traditional Italian dessert.
Absolutely! You can simply use pure brewed coffee or even skip the liqueur entirely. The recipe works perfectly fine without it, though the liqueur adds a subtle depth of flavor for those who enjoy it.
Dip the ladyfingers quickly in the coffee mixture – just a second or two on each side. They should be moistened but not falling apart. The key is a light, swift dip to prevent them from becoming too wet and losing their structure.
If you omit the coffee liqueur, this dessert becomes completely kid-friendly. The vanilla and almond extracts provide wonderful flavor, and children typically love the creamy, sweet mascarpone filling and soft texture of the roll.
Print
No-Bake Vanilla Tiramisu Roll Recipe
- Total Time: 4 hours 20 minutes
- Yield: 12 1x
Description
Sweet Italian classic gets a cool twist with this no-bake vanilla tiramisu roll, blending creamy mascarpone and delicate ladyfingers into a chilled dessert masterpiece. Rich layers and smooth textures invite you to savor each indulgent slice of pure culinary comfort.
Ingredients
Main Ingredients:
- 24 ladyfingers (savoiardi)
- 8 ounces (225 grams) mascarpone cheese, softened
- 1 cup (240 milliliters) heavy cream, whipped
Liquid Ingredients:
- 1 cup (240 milliliters) brewed coffee, cooled
- ¼ cup (60 milliliters) coffee liqueur (optional)
Flavoring and Finishing Ingredients:
- ½ cup (60 grams) powdered sugar
- 1 teaspoon vanilla extract
- ½ teaspoon almond extract (optional)
- 2 tablespoons cocoa powder, for dusting
- Shaved white chocolate (optional)
Instructions
- Craft a velvety mascarpone blend by whisking mascarpone cheese, powdered sugar, vanilla extract, and almond extract until silky smooth. Delicately incorporate whipped heavy cream, creating a luxurious, airy filling.
- Prepare a coffee bath by mixing brewed coffee and coffee liqueur in a shallow container. Swiftly dunk each ladyfinger into the aromatic liquid, ensuring a light, even moisture without oversaturating.
- Lay out a generous sheet of plastic wrap and meticulously arrange the coffee-kissed ladyfingers in a slightly overlapping rectangular formation. Spread the creamy mascarpone mixture across the surface, maintaining a small perimeter of bare ladyfinger.
- Employ the plastic wrap as a gentle guide, carefully roll the layered ladyfingers into a compact cylindrical shape, starting from the shorter edge. Encase the roll securely in the plastic wrap, then nestle in the refrigerator for a minimum of 4 hours, allowing flavors to meld and texture to set.
- Retrieve the chilled dessert and delicately unwrap. Artfully dust the exterior with a delicate layer of cocoa powder and embellish with wispy shavings of white chocolate if desired. Slice into elegant portions and serve directly from the refrigerator.
Notes
- Enhance the coffee flavor by using freshly brewed espresso instead of regular coffee for a more intense, authentic taste.
- For a non-alcoholic version, replace coffee liqueur with additional strong coffee or coffee syrup to maintain depth of flavor.
- Create a gluten-free alternative by using gluten-free ladyfingers or substituting with almond sponge cake for those with dietary restrictions.
- Ensure mascarpone and heavy cream are cold when whipping to achieve a stable, fluffy filling that holds its shape perfectly during rolling.
- Prep Time: 20 minutes
- Cook Time: 4 hours
- Category: Desserts
- Method: Mixing
- Cuisine: Italian
Nutrition
- Serving Size: 12
- Calories: 252
- Sugar: 10 g
- Sodium: 60 mg
- Fat: 16 g
- Saturated Fat: 10 g
- Unsaturated Fat: 5 g
- Trans Fat: 0 g
- Carbohydrates: 23 g
- Fiber: 0 g
- Protein: 4 g
- Cholesterol: 55 mg
Jenna Stewart
Head Chef & Recipe Innovator
Expertise
Farm-to-Table Cooking; Seasonal Menu Development; Visual Plating Techniques; Flavor Layering and Simple Prep Hacks.
Education
The Culinary Institute of America, Hyde Park, NY
Jenna Stewart is the inventive spirit behind many of our standout dishes at Pro of Delicious Creations. A proud graduate of The Culinary Institute of America, she built her skills mastering both classic recipes and fresh, modern twists.
Now, Jenna celebrates the beauty of seasonal, local ingredients, often sourced from her garden and nearby markets, to create recipes that are bursting with flavor yet easy to follow. When she’s not experimenting in the kitchen, Jenna loves exploring nature on hikes and discovering new treasures at local co-ops.