Dreamy No-Bake Chocolate Eclair Cake Recipe for Sweet Success
Sinking your fork into a creamy no-bake chocolate eclair cake that melts effortlessly on your tongue.
This dreamy dessert combines classic French pastry elegance with simple American kitchen convenience.
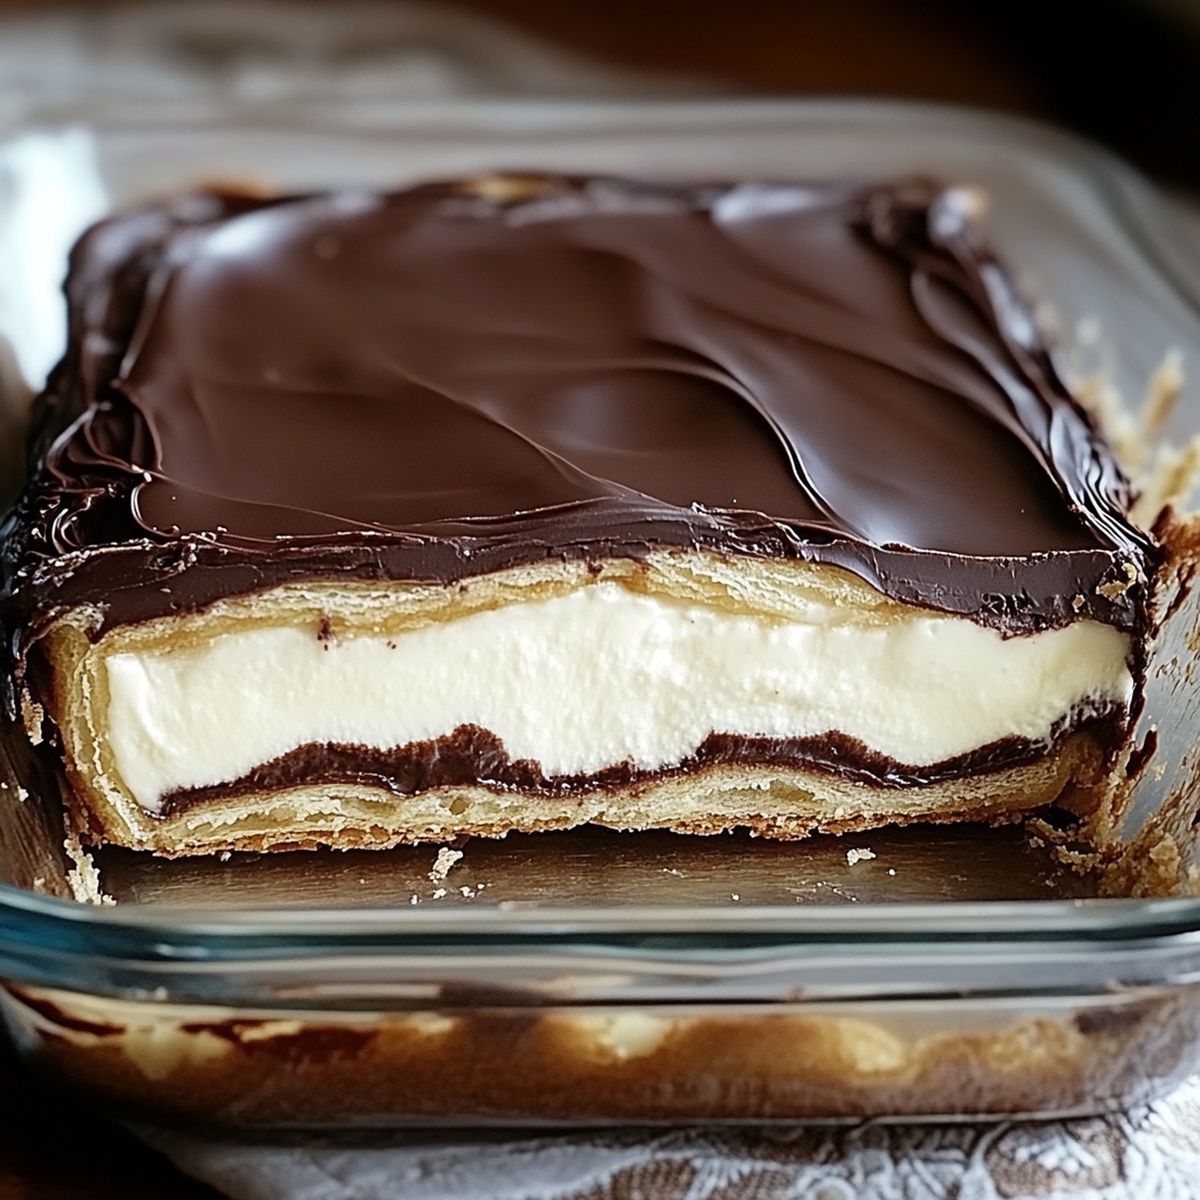
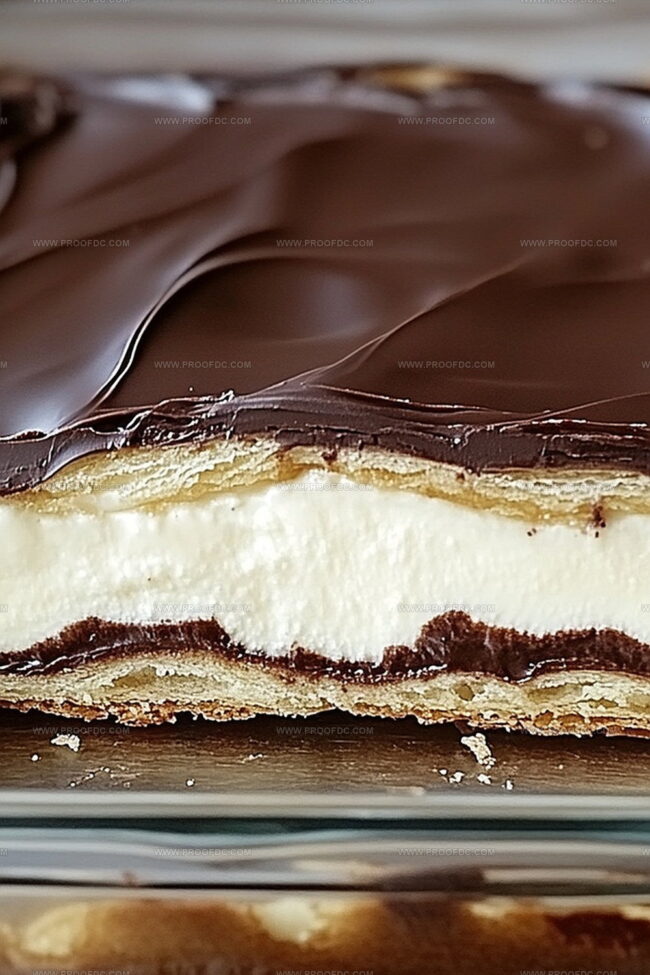
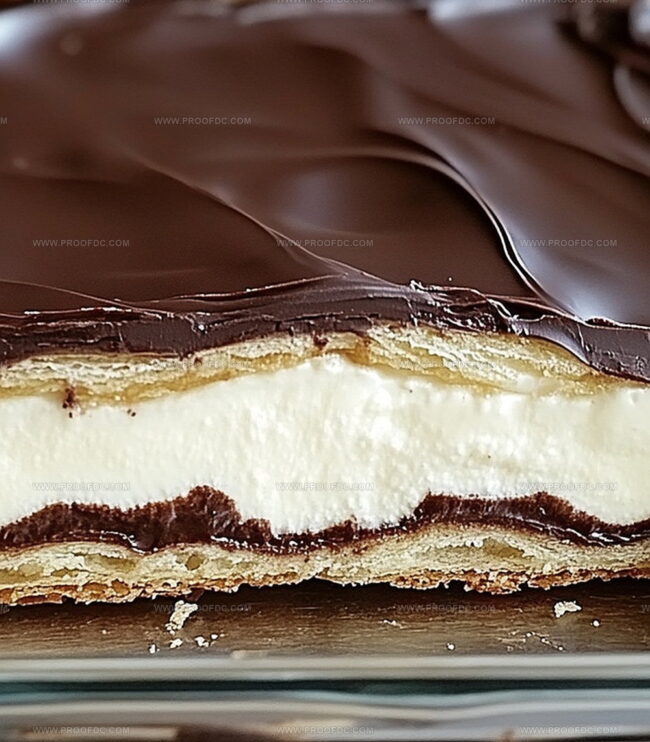
Layers of delicate graham crackers nestle between clouds of rich vanilla pudding, creating a sublime texture that surprises and delights.
Silky chocolate frosting drapes across the top, promising indulgent spoonfuls of pure comfort.
Summer heat doesn’t stand a chance against this cool, refreshing treat that requires zero oven time.
Minimal ingredients and maximum flavor make this recipe a secret weapon in your dessert arsenal.
Grab a slice and watch everyone’s eyes light up with pure dessert joy.
Why No-Bake Chocolate Eclair Cake Is Always A Hit
Everything You’ll Need For No-Bake Chocolate Eclair Cake
Base Layer:Creamy Filling:Topping:How To Layer No-Bake Chocolate Eclair Cake Right
Step 1: Prepare Pudding Base
Grab a spacious mixing bowl and pour in the instant vanilla pudding mix. Add cold milk and whisk vigorously until the mixture transforms into a smooth, creamy texture. Keep whisking for about two minutes until the pudding starts to thicken and develop a luxurious consistency.
Step 2: Blend Whipped Cream
Gently fold in the whipped topping into the pudding mixture. Use a spatula to carefully incorporate the whipped cream, ensuring it’s fully blended and creates a light, airy filling. The goal is to create a silky smooth mixture without deflating the whipped cream.
Step 3: Layer Graham Crackers
Line the bottom of a rectangular baking dish with a single layer of graham crackers. Make sure they cover the entire base of the dish without overlapping too much. Spread a generous layer of the pudding mixture evenly over the graham crackers, completely covering them.
Step 4: Create Multiple Layers
Repeat the layering process:Ensure each layer is even and completely covered with the pudding mixture. The final layer should be pudding mixture on top.
Step 5: Chill and Set
Cover the dish with plastic wrap and place in the refrigerator. Let the eclair cake chill for at least 4 hours, preferably overnight. This resting time allows the graham crackers to soften and absorb the pudding, creating a cake-like texture.
Step 6: Prepare Chocolate Topping
Once the cake has set, drizzle chocolate frosting or syrup over the top. Use a spoon or spatula to spread it evenly, creating a delicious chocolate layer that complements the creamy pudding base.
Step 7: Serve and Enjoy
Remove the cake from the refrigerator just before serving. Cut into squares and serve chilled. The dessert will have a soft, almost cake-like consistency with layers of creamy pudding and graham crackers.
Tips To Keep No-Bake Chocolate Eclair Cake Creamy
How To Store No-Bake Chocolate Eclair Cake Without Sogginess
Best Matches For No-Bake Chocolate Eclair Cake
Flavor Ideas For No-Bake Chocolate Eclair Cake
No-Bake Chocolate Eclair Cake FAQs
This eclair cake doesn’t require any oven time. You simply layer ingredients and let it chill in the refrigerator, making it perfect for hot summer days or when you want a quick dessert without heating up the kitchen.
Absolutely! While whipped topping is convenient, you can substitute it with freshly whipped cream. Just ensure it’s stabilized so the cake maintains its texture and doesn’t become watery.
This is an ideal dessert for beginners or those with minimal cooking skills. It involves simple steps like mixing pudding, folding in whipped topping, and layering ingredients – no complex techniques required.
From start to finish, you’ll spend about 15-20 minutes assembling the cake. The refrigeration time allows the flavors to meld and the layers to set, creating a delicious, creamy dessert with minimal effort.
Print
No-Bake Chocolate Eclair Cake Recipe
- Total Time: 4 hours 15 minutes
- Yield: 12 1x
Description
Creamy layers of no-bake chocolate eclair cake delight dessert enthusiasts with classic French bakery charm. Graham crackers, vanilla pudding, and rich chocolate frosting create a quick, indulgent treat perfect for summer gatherings you’ll savor to the last delicious bite.
Ingredients
Cake Layers:
- 1 box (14.4 ounces / 408 grams) graham crackers (about 3 sleeves)
- 2 boxes (3.4 ounces / 96 grams each) instant vanilla pudding mix
- 3 cups (720 milliliters) cold milk
- 1 cup (240 milliliters) whipped topping (e.g., Cool Whip)
Chocolate Topping:
- ½ cup (120 milliliters) heavy cream
- 4 ounces (120 grams) semisweet chocolate, chopped
- 1 tablespoon unsalted butter
- 2 tablespoons corn syrup (optional, for shine)
Instructions
- Whisk pudding mix and cold milk in a spacious mixing vessel, stirring vigorously until the mixture transforms into a smooth, luscious consistency with no lumps.
- Incorporate whipped topping into the pudding base, using delicate folding motions to maintain the airy texture and ensure complete integration of ingredients.
- Layer graham crackers across the bottom of a rectangular serving dish, creating a uniform foundation that will absorb the creamy mixture.
- Carefully spread half of the pudding-whipped topping blend over the graham cracker base, ensuring even coverage and smooth surface.
- Arrange another layer of graham crackers atop the pudding, pressing gently to create a stable second tier.
- Distribute the remaining pudding mixture evenly, completely concealing the graham cracker layer.
- Add a final layer of graham crackers to complete the dessert structure.
- Prepare chocolate frosting by whisking until silky and spreadable.
- Drizzle and spread the chocolate frosting across the top layer, creating an elegant, glossy finish.
- Refrigerate the eclair cake for at least 4 hours, allowing flavors to meld and texture to set perfectly.
- Before serving, let the dessert rest at room temperature for 10 minutes to enhance its creamy consistency.
Notes
- Achieve a silky-smooth pudding base by whisking the instant pudding mix and cold milk thoroughly, ensuring no lumps remain for a perfectly creamy texture.
- Fold the whipped topping gently to maintain its light and airy consistency, preventing deflation that could make the dessert heavy or dense.
- Opt for full-fat milk and whipped topping to enhance the richness and mouthfeel of this decadent no-bake chocolate eclair cake.
- Chill the dessert for at least 4 hours or overnight to allow the graham crackers to soften and absorb the pudding mixture, creating an authentic eclair-like experience.
- Prep Time: 15 minutes
- Cook Time: 4 hours
- Category: Desserts, Snacks
- Method: Mixing
- Cuisine: American
Nutrition
- Serving Size: 12
- Calories: 280
- Sugar: 22 g
- Sodium: 160 mg
- Fat: 15 g
- Saturated Fat: 9 g
- Unsaturated Fat: 4 g
- Trans Fat: 0 g
- Carbohydrates: 31 g
- Fiber: 1 g
- Protein: 3 g
- Cholesterol: 30 mg
Jenna Stewart
Head Chef & Recipe Innovator
Expertise
Farm-to-Table Cooking; Seasonal Menu Development; Visual Plating Techniques; Flavor Layering and Simple Prep Hacks.
Education
The Culinary Institute of America, Hyde Park, NY
Jenna Stewart is the inventive spirit behind many of our standout dishes at Pro of Delicious Creations. A proud graduate of The Culinary Institute of America, she built her skills mastering both classic recipes and fresh, modern twists.
Now, Jenna celebrates the beauty of seasonal, local ingredients, often sourced from her garden and nearby markets, to create recipes that are bursting with flavor yet easy to follow. When she’s not experimenting in the kitchen, Jenna loves exploring nature on hikes and discovering new treasures at local co-ops.