
The No-Fuss No Bake Chocolate Oat Bars Recipe Everyone Loves
A decadent no bake chocolate oat bars treat that melts in your mouth with creamy richness.
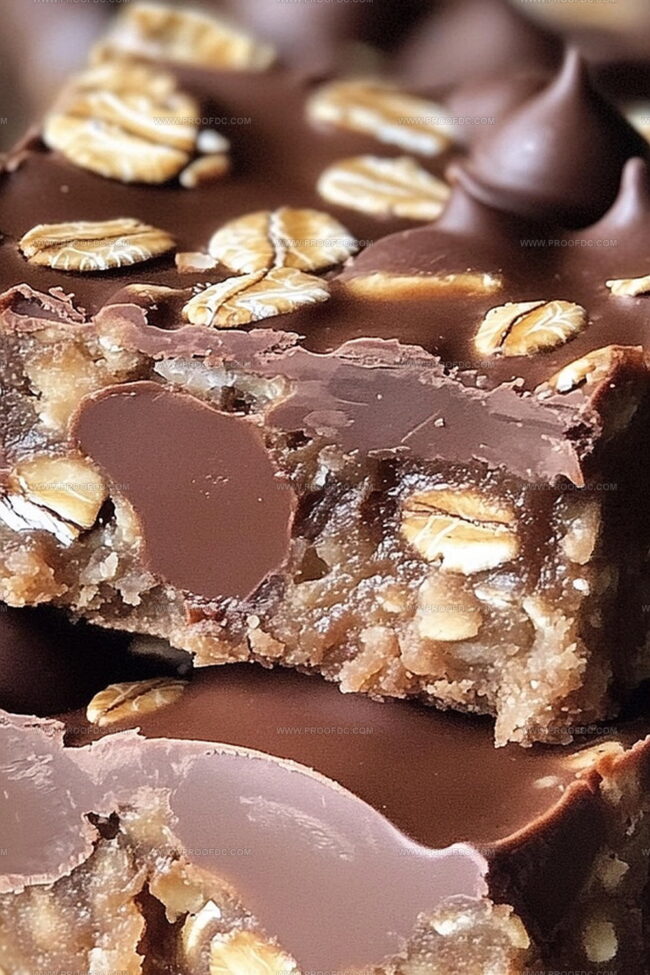
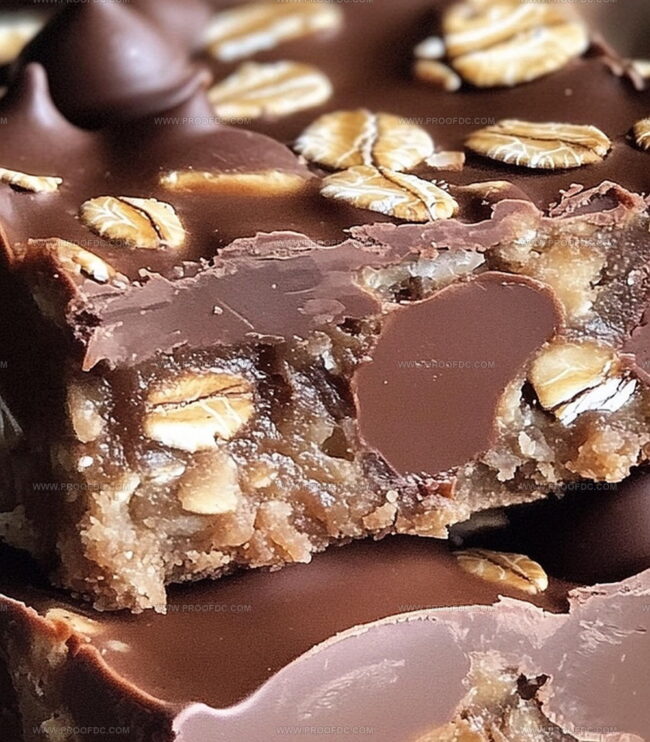
Smooth chocolate layers perfectly complement hearty oats for an irresistible dessert.
Sweet cravings demand something quick and delightful without heating up the kitchen.
These bars combine simple ingredients into a magical blend of textures and flavors.
Cutting through a silky chocolate top to reveal a crunchy oat base that promises pure satisfaction.
Each bite delivers a delectable experience that feels both indulgent and wholesome.
Anyone can master this foolproof recipe in minutes, making it ideal for spontaneous sweet moments.
Grab a napkin and get ready to savor every delicious morsel!
Why No Bake Chocolate Oat Bars Are A Fast Favorite
What You’ll Need For No Bake Chocolate Oat Bars
Base Ingredients:Sweetening and Flavoring Ingredients:Chocolate and Binding Ingredients:How To Make No Bake Chocolate Oat Bars Easily
Step 1: Craft Toasty Oat Base
Grab a saucepan and melt butter over medium heat. Swirl in brown sugar and vanilla extract until they dance together smoothly. Toss rolled oats into the mix and stir constantly for 2-3 minutes, creating a golden, fragrant coating. This step builds a rich, warm foundation for your bars.
Step 2: Create Solid Foundation
Grab a baking dish and line it with parchment paper or give it a light grease. Take half of your oat mixture and press it firmly into the bottom. Use a spatula or spoon to create a smooth, compact layer that will hold everything together.
Step 3: Melt Chocolate Magic
Find a microwave-safe bowl and combine chocolate chips with peanut butter. Zap in short bursts of 20-30 seconds, stirring between each interval. Keep going until the mixture transforms into a silky, glossy pool of deliciousness. Pro tip: You can also use a double boiler for melting.
Step 4: Spread Chocolate Wonderland
Pour the luscious chocolate mixture over your oat base. Use a spatula to spread it evenly, creating a smooth chocolate blanket that covers every inch of the oat layer.
Step 5: Crown with Remaining Oats
Sprinkle the rest of the oat mixture over the chocolate layer. Gently press down to create a beautiful, textured top that looks as good as it tastes.
Step 6: Chill and Set
Pop the dish into the refrigerator and let it rest for at least 2 hours. This gives the bars time to firm up and become the perfect treat.
Step 7: Slice and Enjoy
Once chilled, lift the bars out using the parchment paper. Slice into squares or rectangles. These bars are ready to be devoured or stored in an airtight container in the refrigerator for up to a week.
Tips For Firm And Chewy No Bake Chocolate Oat Bars
How To Store No Bake Chocolate Oat Bars The Right Way
Snacks That Go With No Bake Chocolate Oat Bars
Flavor Variations Of No Bake Chocolate Oat Bars
No Bake Chocolate Oat Bars FAQs Made Simple
These bars offer some nutritional benefits from oats and nuts, but they’re still a sweet treat. Oats provide fiber, while peanut butter adds protein. Enjoy them in moderation as a delicious dessert.
Absolutely! You can swap chocolate chips with dark, milk, or semi-sweet chocolate. Just ensure you use the same amount specified in the recipe for best results.
No problem! You can substitute peanut butter with almond butter, sunflower seed butter, or any nut butter you prefer. Each will give a slightly different flavor profile to the bars.
Not at all! You’ll just need a saucepan, microwave or double boiler, baking dish, and basic kitchen tools like a spatula. It’s a super simple recipe that doesn’t require fancy equipment.
Print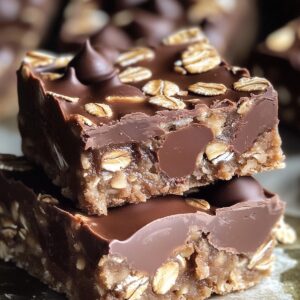
No Bake Chocolate Oat Bars Recipe
- Total Time: 2 hours 10 minutes
- Yield: 16 1x
Description
Chocolate oat bars bring sweet simplicity to dessert lovers seeking quick indulgence. Creamy, rich layers meld perfectly with wholesome oats, creating an irresistible no-bake treat you’ll crave again and again.
Ingredients
Main Ingredients:
- 3 cups (240 g) rolled oats
- 1 ½ cups (265 g) semisweet chocolate chips
- 1 cup (225 g) unsalted butter
- ½ cup (125 g) creamy peanut butter
- ½ cup (100 g) brown sugar, packed
Additional Ingredients:
- 1 teaspoon vanilla extract
Instructions
- Craft a buttery foundation by gently melting butter in a saucepan, then whisk in brown sugar and vanilla until completely integrated. Fold in rolled oats, stirring continuously to ensure each grain becomes glossy and lightly toasted.
- Prepare your baking vessel by lining it with parchment paper or applying a light grease. Compress half of the oat mixture into a compact, uniform base, using a spatula to create a smooth, dense layer.
- Create a decadent chocolate layer by combining chocolate chips and peanut butter in a microwave-safe bowl. Heat in brief intervals, stirring between each session, until the mixture transforms into a silky, uniform chocolate coating.
- Cascade the molten chocolate mixture over the oat foundation, ensuring an even distribution with gentle, deliberate strokes of a spatula.
- Sprinkle the remaining oat mixture across the chocolate surface, delicately pressing down to form a cohesive final layer that embraces the chocolate beneath.
- Allow the creation to rest and solidify in the refrigerator for approximately two hours, or until the bars achieve a firm, structured consistency.
- Extract the chilled delicacy using the parchment paper edges, then slice into elegant squares or rectangles. Preserve the bars in a sealed container within the refrigerator, where they will maintain their delectable texture for up to one week.
Notes
- Adjust the toasting time for oats carefully to prevent burning, which can create a bitter taste and ruin the bar’s delicate flavor profile.
- Use old-fashioned rolled oats for the best texture and structural integrity, as quick oats might make the bars too soft or crumbly.
- Swap peanut butter with almond or sunflower seed butter for nut-free variations, ensuring those with allergies can enjoy these delightful treats.
- Experiment with dark or milk chocolate chips to customize the sweetness level and create a personalized chocolate experience that suits your palate.
- Prep Time: 10 minutes
- Cook Time: 2 hours
- Category: Snacks, Desserts
- Method: Mixing
- Cuisine: American
Nutrition
- Serving Size: 16
- Calories: 279
- Sugar: 14 g
- Sodium: 50 mg
- Fat: 18 g
- Saturated Fat: 8 g
- Unsaturated Fat: 10 g
- Trans Fat: 0 g
- Carbohydrates: 27 g
- Fiber: 2 g
- Protein: 5 g
- Cholesterol: 30 mg
Jenna Stewart
Head Chef & Recipe Innovator
Expertise
Farm-to-Table Cooking; Seasonal Menu Development; Visual Plating Techniques; Flavor Layering and Simple Prep Hacks.
Education
The Culinary Institute of America, Hyde Park, NY
Jenna Stewart is the inventive spirit behind many of our standout dishes at Pro of Delicious Creations. A proud graduate of The Culinary Institute of America, she built her skills mastering both classic recipes and fresh, modern twists.
Now, Jenna celebrates the beauty of seasonal, local ingredients, often sourced from her garden and nearby markets, to create recipes that are bursting with flavor yet easy to follow. When she’s not experimenting in the kitchen, Jenna loves exploring nature on hikes and discovering new treasures at local co-ops.