The Silliest Moose Farts Recipe: Giggly Sweet Treats Everyone Loves
Weird culinary adventures sometimes lead to hilarious moose farts dessert discoveries that surprise everyone at the table.
Strange names often hide delicious secrets waiting to be unwrapped.
This quirky treat brings unexpected giggles and delightful flavor combinations to your kitchen.
Dessert lovers appreciate playful recipes that challenge traditional expectations.
Sweet meets silly in a memorable confection that sparks conversation and smiles.
Serving something that makes guests laugh while enjoying a surprisingly tasty bite.
You’ll want to surprise your friends with this unconventional dessert that defies all dessert expectations.
What Makes Moose Farts Recipe So Funny And Good

What’s Inside Moose Farts Recipe
Base Ingredients:Coating Options:Additional Ingredients:How To Prepare Moose Farts Recipe Easily
Step 1: Craft The Magical Mixture
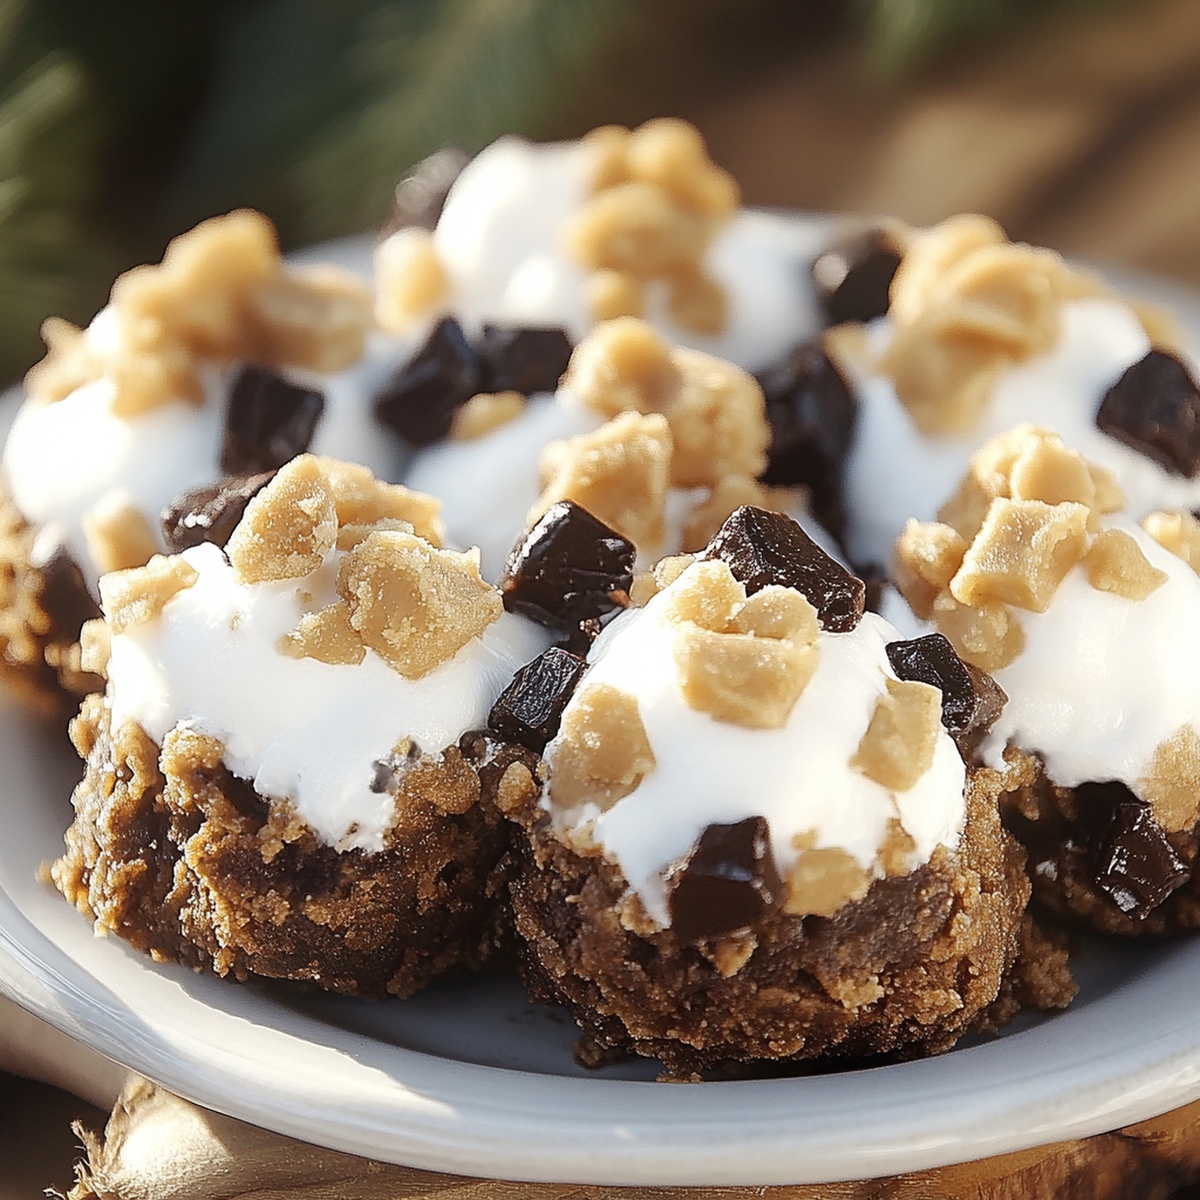
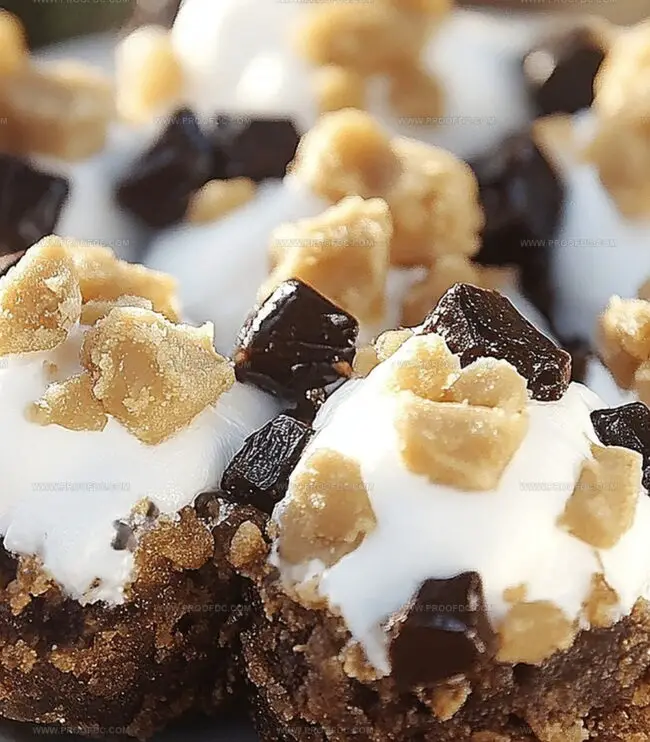
Grab a spacious mixing bowl and toss together these yummy ingredients:Stir everything until it transforms into a sticky, clumpy dough that holds together like a delicious treasure.
Step 2: Shape Into Cute Little Treats
Using your hands or a tiny cookie scoop, roll the mixture into adorable bite-sized orbs. Each ball should be about the size of a walnut. Arrange these delectable morsels on a parchment-lined tray, giving them a little personal space.
Step 3: Chill And Firm Up
Pop the tray into the refrigerator for a quick 30-minute vacation. This helps the treats become firm and hold their shape like champions.
Step 4: Dress Up Your Treats
Choose your adventure for coating:
Chocolate Dream Dip:Powdered Sugar Blizzard:Step 5: Store And Enjoy
Tuck your Moose Droppings into an airtight container. They’ll happily hang out in the refrigerator for up to a week. Serve them chilled or let them chill at room temperature for a melt-in-your-mouth experience.
Pro Tip: These treats are perfect for surprising friends, delighting kids, or enjoying a sneaky personal indulgence!
Tips To Help With Moose Farts Recipe
Best Storage For Moose Farts Recipe
Great Add-Ons For Moose Farts Recipe
Creative Takes On Moose Farts Recipe
Moose Farts Recipe Questions Answered
The silly name comes from a Canadian joke about these no-bake treats looking like small round droppings. It’s a playful, humorous name that makes people laugh and remember the recipe.
Not at all! These treats are super easy and require no baking. Kids and adults can make them together in just a few simple steps with basic ingredients you likely already have in your kitchen.
If you don’t like coconut, you can substitute it with crushed nuts like almonds or use additional graham cracker crumbs. The goal is to maintain a similar texture and binding consistency in the mixture.
The balls are ready when they hold their shape and feel firm. After chilling for 30 minutes in the refrigerator, they should be solid enough to handle and coat with chocolate or powdered sugar.
Print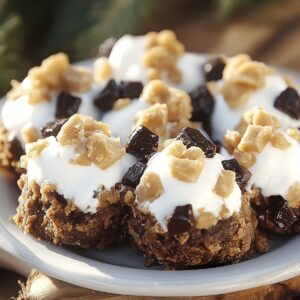
Moose Farts Recipe
- Total Time: 45 minutes
- Yield: 12 1x
Description
Hilarious Canadian dessert Moose Farts bring laughter and sweet nostalgia to family gatherings. Simple chocolate-coconut no-bake treats promise quick delights for dessert lovers craving playful Canadian confections.
Ingredients
Main Ingredients:
- ½ cup (120 milliliters) sweetened condensed milk
- 1 cup (100 grams) graham cracker crumbs
- 2 cups (150 grams) shredded sweetened coconut
Optional Coating Ingredients:
- 1 cup (175 grams) semi-sweet chocolate chips
- Powdered sugar
Flavoring Ingredient:
- ½ teaspoon vanilla extract
Instructions
- Prepare a spacious mixing vessel and combine shredded coconut, graham cracker crumbs, sweetened condensed milk, and vanilla extract. Thoroughly blend the ingredients until a cohesive, slightly tacky mixture forms.
- Utilize clean hands or a compact cookie scoop to craft uniform spherical treats, approximately one inch in diameter. Gently position each orb onto a parchment-lined baking surface.
- Transfer the assembled delicacies to the refrigerator, allowing them to solidify and maintain their structured shape for a minimum of half an hour.
- For chocolate enthusiasts, carefully melt chocolate chips using intermittent microwave intervals, stirring consistently until achieving a silky, glossy texture. Delicately immerse each chilled sphere into the molten chocolate, permitting excess to cascade back into the bowl. Alternatively, for a more rustic presentation, generously dust the orbs with powdered sugar, creating a delicate, snow-like coating.
- Once decorated, arrange the confections on the parchment paper, permitting the chocolate to set or the powdered sugar to adhere completely.
- Transfer the finished treats to an hermetic container, storing them within the refrigerator’s cool environment. These delectable morsels will maintain optimal taste and texture for approximately one week. Serve slightly chilled or allow to rest at ambient temperature for a softer, more indulgent experience.
Notes
- Customize the texture by adjusting the amount of sweetened condensed milk for a softer or firmer bite.
- Experiment with different coatings like crushed nuts, sprinkles, or toasted coconut for added crunch and flavor variety.
- For a gluten-free version, swap graham cracker crumbs with gluten-free cookie crumbs or ground almonds.
- Make these treats vegan-friendly by using coconut condensed milk and dairy-free chocolate chips for coating.
- Prep Time: 25 minutes
- Cook Time: 20 minutes
- Category: Desserts, Drinks, Cocktails
- Method: Mixing
- Cuisine: Canadian
Nutrition
- Serving Size: 12
- Calories: 174
- Sugar: 17g
- Sodium: 50mg
- Fat: 7g
- Saturated Fat: 5g
- Unsaturated Fat: 2g
- Trans Fat: 0g
- Carbohydrates: 24g
- Fiber: 1g
- Protein: 2g
- Cholesterol: 5mg
Jenna Stewart
Head Chef & Recipe Innovator
Expertise
Farm-to-Table Cooking; Seasonal Menu Development; Visual Plating Techniques; Flavor Layering and Simple Prep Hacks.
Education
The Culinary Institute of America, Hyde Park, NY
Jenna Stewart is the inventive spirit behind many of our standout dishes at Pro of Delicious Creations. A proud graduate of The Culinary Institute of America, she built her skills mastering both classic recipes and fresh, modern twists.
Now, Jenna celebrates the beauty of seasonal, local ingredients, often sourced from her garden and nearby markets, to create recipes that are bursting with flavor yet easy to follow. When she’s not experimenting in the kitchen, Jenna loves exploring nature on hikes and discovering new treasures at local co-ops.