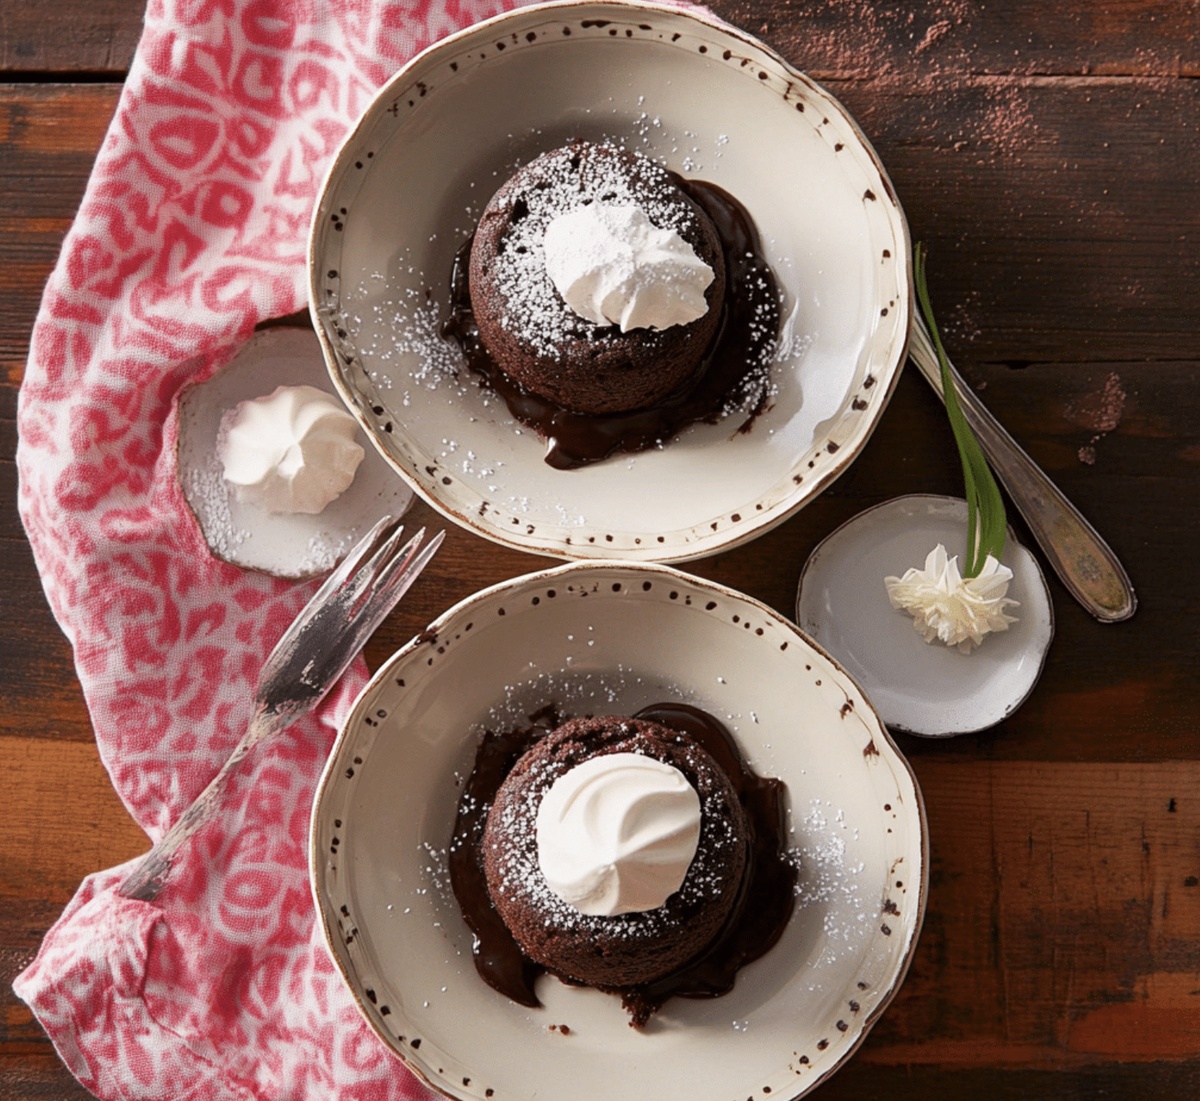
Molten Magic: Irresistible Chocolate Lava Cakes Recipe
Decadent chocolate lava cakes melt hearts with their irresistible molten chocolate lava cakes recipe hidden inside soft, tender cake layers.
Rich chocolate oozes like a warm embrace when you break through the delicate exterior.
Indulgent desserts rarely get more seductive than this classic treat.
Each bite promises a luxurious explosion of intense chocolate flavor.
The recipe requires minimal ingredients but delivers maximum impact.
Professional pastry chefs and home bakers alike adore this elegant dessert.
These individual cakes transform an ordinary evening into a gourmet experience.
Prepare to dazzle your taste buds with a chocolate masterpiece that promises pure, velvety bliss.
Quick Recipe Overview
Ingredients You’ll Need For Chocolate Lava Cakes
For Chocolate Base:For Binding and Structure:For Serving and Garnish:For Preparation:Helpful Tools For Chocolate Lava Cakes
Step-By-Step Guide For Chocolate Lava Cakes
Crank the oven to a toasty 425F. Grab your ramekins and give them a quick butter massage, then sprinkle cocoa powder inside like magical dust.
Grab chocolate and butter, creating a silky smooth mixture using a double boiler or microwave. Stir gently until everything transforms into a glossy chocolate dream.
Crack eggs into a bowl and dance them with sugar until they become light and fluffy. Gently fold in the melted chocolate, then softly incorporate flour until just combined.
Pour the decadent batter into ramekins, filling them about three-quarters full. Arrange them on a baking sheet like precious chocolate treasures.
Slide the baking sheet into the oven and let the cakes bake for 12-14 minutes. You’ll want the edges firm but the center still seductively soft.
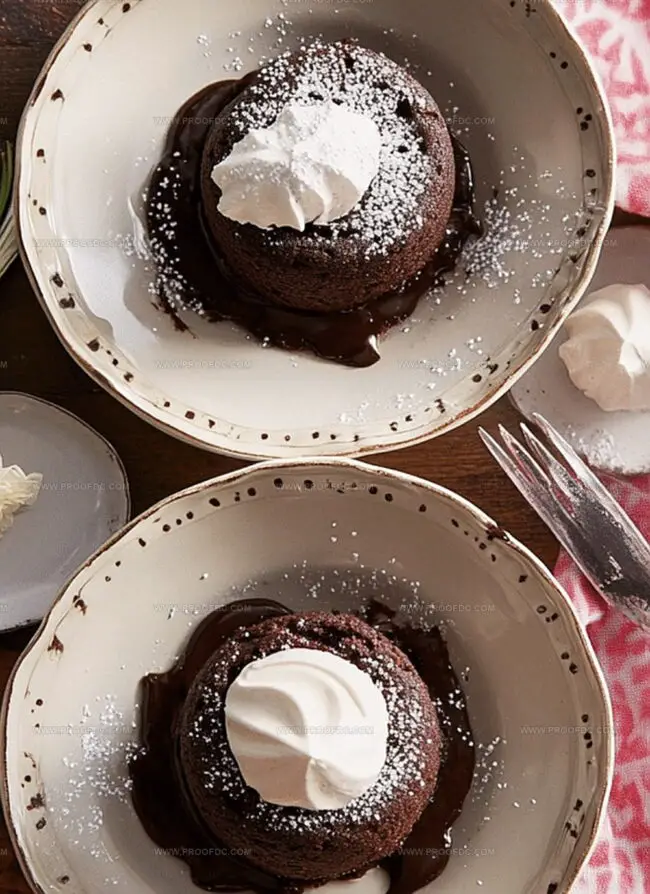
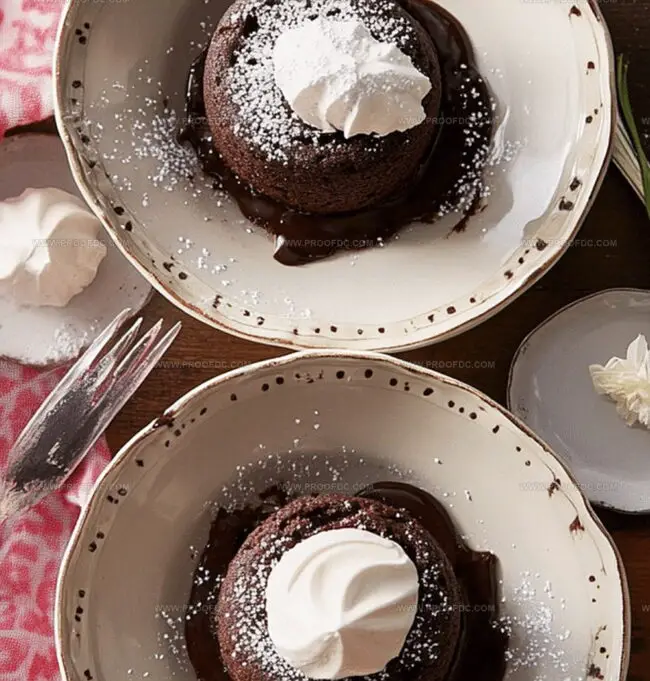
After a quick one-minute rest, carefully loosen the edges with a knife. Flip each cake onto a plate, revealing the molten chocolate heart inside. Dust with powdered sugar and add a scoop of vanilla ice cream or fresh berries for extra indulgence.
Smart Tips For Chocolate Lava Cakes
Simple Ways To Serve Chocolate Lava Cakes
Best Way To Keep Chocolate Lava Cakes Fresh
Print
Molten Chocolate Lava Cakes Recipe
- Total Time: 22 minutes
- Yield: 3 1x
Description
Rich chocolate lava cakes deliver molten centers that melt hearts with their luxurious chocolate intensity. Classic French desserts promise pure indulgence when warm chocolate flows like liquid gold from delicate cake shells.
Ingredients
- 6 oz (170g) semi-sweet or dark chocolate, chopped
- ½ cup (115g) unsalted butter
- 2 large eggs
- 2 large egg yolks
- ¼ cup (50g) granulated sugar
- 2 tbsps (15g) all-purpose flour
- Cocoa powder, for dusting ramekins
- Unsalted butter, extra for greasing ramekins
Instructions
- Preparation: Preheat oven to 425F (220C). Butter four ramekins and dust with cocoa powder, tapping out excess to create a non-stick surface.
- Chocolate Fusion: Melt chocolate and butter using a double boiler or microwave, stirring until achieving a glossy, uniform texture. Allow to cool slightly.
- Egg Transformation: Whip eggs, egg yolks, and sugar until the mixture becomes pale and voluminous, creating a thick, ribbon-like consistency in 1-2 minutes of vigorous whisking.
- Batter Assembly: Gently fold cooled chocolate into egg mixture. Sift flour and incorporate with minimal stirring to preserve the delicate air bubbles.
- Baking Preparation: Divide batter evenly among ramekins, filling about three-quarters full. Arrange on a baking sheet for consistent heat distribution.
- Culinary Alchemy: Bake for 12-14 minutes until edges set but centers remain soft and slightly wobbly. The perfect moment captures a delicate balance between set exterior and molten interior.
- Plating Finale: Rest cakes briefly, then loosen edges with a knife. Invert onto serving plates, revealing the decadent chocolate core.
- Sensory Elevation: Dust with powdered sugar. Garnish with fresh berries, whipped cream, or vanilla ice cream. Serve immediately to experience the ultimate chocolate lava cake indulgence.
Notes
- Chocolate Quality Matters: Select high-quality dark chocolate with at least 60% cocoa content for rich, intense flavor and smooth melting consistency.
- Precise Timing is Critical: Watch baking time closely; 12-14 minutes is the sweet spot between undercooked and overdone. Even 30 seconds can transform the lava cake’s texture.
- Room Temperature Ingredients: Ensure eggs and other ingredients are at room temperature to create a more uniform, silky batter that blends smoothly and rises evenly.
- Prevent Overbaking: Remove cakes when edges look set but centers appear slightly jiggly. Residual heat continues cooking, so early removal guarantees that signature molten center.
- Prep Time: 10 minutes
- Cook Time: 12 minutes
- Category: Desserts
- Method: Baking
- Cuisine: French
Nutrition
- Serving Size: 3
- Calories: 420
- Sugar: 17g
- Sodium: 50mg
- Fat: 28g
- Saturated Fat: 17g
- Unsaturated Fat: 11g
- Trans Fat: 0g
- Carbohydrates: 39g
- Fiber: 1g
- Protein: 6g
- Cholesterol: 190mg
Marcus Foley
Food Critic & Kitchen Coach
Expertise
Recipe Testing and Troubleshooting; Time-Saving Kitchen Hacks; Global Flavor Exploration; Engaging Food Writing and Honest Reviews.
Education
Institute of Culinary Education (ICE), New York, NY
Marcus Foley, based in Atlanta, GA, is a friendly food expert who makes cooking fun and simple.
With hands-on training from the Institute of Culinary Education and years of tasting everything from street food to fine dining, he shares easy kitchen hacks, global flavor ideas, and step-by-step recipes that turn kitchen mishaps into delicious surprises.