
Irresistibly Sweet Minty Snowball Cookies Recipe
Winter’s charm lies in these delightful minty snowball cookies that melt like magic on your tongue.
Cold days call for sweet comfort wrapped in powdered sugar and cool peppermint notes.
Every bite promises a delicate crunch with refreshing mint essence dancing through buttery dough.
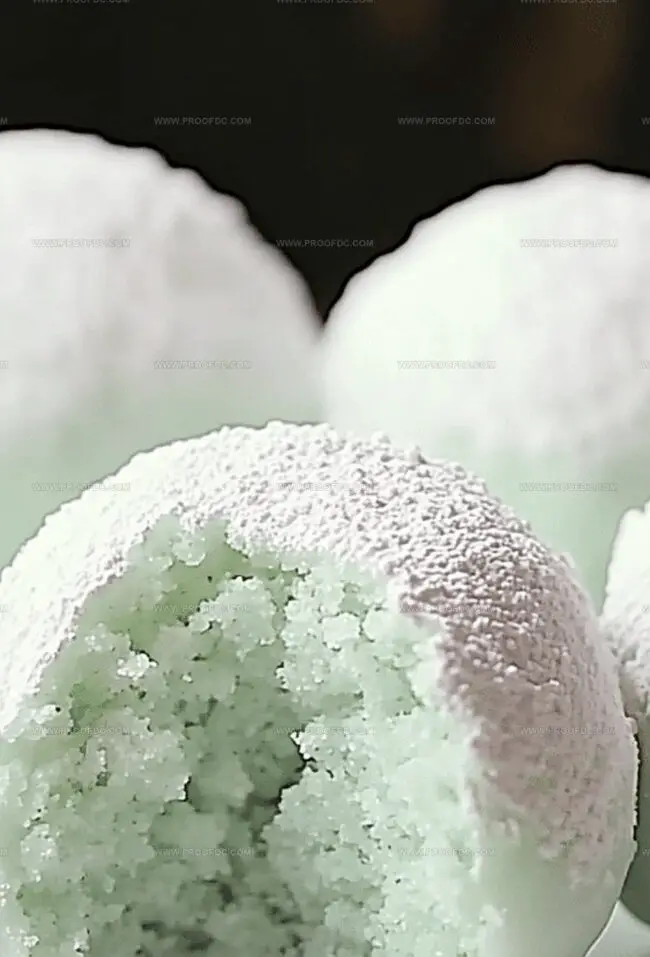
These little rounds sparkle like tiny frost-kissed treats waiting to surprise you.
Crisp edges give way to tender centers infused with gentle mint whispers.
Sharing these delectable morsels beside a warm fireplace, laughter echoing softly.
Pack these cookies for holiday gatherings and watch faces light up with pure joy.
Why Minty Snowball Cookies Feel So Fresh
All Ingredients For Minty Snowball Cookies
Dry Ingredients:Wet Ingredients:Sweeteners and Decorative Ingredients:How To Make Minty Snowball Cookies Fast

Step 1: Warm Up The Oven
Crank your oven to 350°F (175°C). Line a baking sheet with parchment paper for smooth cookie removal.
Step 2: Create Magical Dough
Ingredients for dough:In a spacious mixing bowl, whip butter and powdered sugar until they become cloud-like and fluffy. Splash in vanilla and peppermint extracts. Gently fold in flour and salt, mixing until just combined. Sprinkle mini chocolate chips throughout the dough.
Step 3: Shape Adorable Cookie Spheres
Tenderly roll dough into small, charming one-inch balls. Arrange these delicate spheres on the prepared baking sheet, allowing a bit of breathing room between each cookie.
Step 4: Bake To Perfection
Slide the baking sheet into the preheated oven. Bake for 10-12 minutes until cookies look set but haven’t developed a golden tan. Carefully remove from oven and let them rest for 5 minutes.
Step 5: Sugar Transformation
While cookies are still warm, lovingly roll them in powdered sugar. For a festive twist, mix in green or red sanding sugar. Once completely cooled, give them a second sugar bath for an extra-luxurious coating.
Step 6: Preserve Your Tasty Treasures
Tuck these delightful treats into an airtight container. They’ll maintain their magical charm for up to a week at room temperature.
Enjoy your whimsical minty snowball cookies!
Tips To Help With Minty Snowball Cookies
How To Store Minty Snowball Cookies And Keep Them Soft
Tasty Pairings With Minty Snowball Cookies
Fun Ways To Switch Up Minty Snowball Cookies
FAQs For Minty Snowball Cookies
These cookies combine the classic snowball cookie texture with a delightful peppermint twist and mini chocolate chips, creating a festive and delicious holiday treat that’s both easy to make and incredibly tasty.
Absolutely! The chocolate chips are optional. You can leave them out entirely or substitute with crushed candy canes or white chocolate chips for extra minty flavor.
Chill the dough for about 30 minutes before shaping and baking. This helps the cookies maintain their round shape and prevents excessive spreading in the oven.
Yes! These cookies are perfect for baking with children. Kids will love rolling the dough into balls and coating them in powdered sugar, making it a fun family baking activity.
Print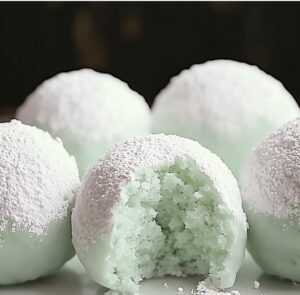
Minty Snowball Cookies Recipe
- Total Time: 27 minutes
- Yield: 24 1x
Description
Delightful Minty Snowball Cookies capture winter’s whimsy with their cool peppermint twist and powdery white coating. Cool crumbles melt delicately, leaving sweet memories of holiday cheer that invite you to savor each delectable bite.
Ingredients
Main Ingredients:
- 2 cups all-purpose flour
- 1 cup unsalted butter, softened
- ¾ cup mini chocolate chips or finely chopped dark chocolate
Flavoring Ingredients:
- ½ cup powdered sugar (plus extra for coating)
- 1 teaspoon vanilla extract
- ½ teaspoon peppermint extract
Finishing Ingredients:
- ¼ teaspoon salt
- Green or red sanding sugar (optional, for a festive touch)
Instructions
- Prepare the oven environment by heating to 350°F and lining a baking sheet with parchment paper, ensuring an optimal baking surface.
- Create a smooth, creamy base by thoroughly blending butter and powdered sugar until the mixture achieves a light, airy texture. Introduce vanilla and peppermint extracts to infuse delightful aromatic notes.
- Gradually incorporate flour and salt into the mixture, gently folding until the ingredients harmonize without overmixing. Delicately integrate mini chocolate chips, distributing them evenly throughout the dough.
- Craft uniform spherical morsels by rolling the dough into consistent 1-inch rounds, positioning them methodically across the prepared baking sheet with slight separation.
- Transfer the cookie sheet to the preheated oven, allowing the delicate treats to bake for 10-12 minutes. Watch carefully to ensure they set without developing excessive browning.
- Immediately after removing from the oven, allow cookies a brief 5-minute resting period to stabilize their structure.
- While still warm, tenderly envelop each cookie in a generous coating of powdered sugar. For a festive flourish, consider incorporating green or red sanding sugar into the powdery mixture.
- permit the cookies to cool completely, then perform a second sugar dusting to achieve a more pronounced, elegant white exterior.
- Preserve the delicate morsels in an airtight container, maintaining their freshness at room temperature for up to one week.
Notes
- Chill the dough for 30 minutes before shaping to prevent spreading and ensure a more compact cookie texture.
- Use room temperature butter for smoother mixing and better cookie consistency.
- For a gluten-free version, substitute all-purpose flour with almond flour or a gluten-free baking blend, which adds a nutty undertone.
- Create flavor variations by swapping peppermint extract with orange or almond extract for a different festive twist.
- Prep Time: 15 minutes
- Cook Time: 12 minutes
- Category: Desserts, Snacks
- Method: Baking
- Cuisine: American
Nutrition
- Serving Size: 24
- Calories: 145
- Sugar: 3 g
- Sodium: 30 mg
- Fat: 10 g
- Saturated Fat: 6 g
- Unsaturated Fat: 4 g
- Trans Fat: 0 g
- Carbohydrates: 15 g
- Fiber: 0.5 g
- Protein: 1.5 g
- Cholesterol: 30 mg
Jenna Stewart
Head Chef & Recipe Innovator
Expertise
Farm-to-Table Cooking; Seasonal Menu Development; Visual Plating Techniques; Flavor Layering and Simple Prep Hacks.
Education
The Culinary Institute of America, Hyde Park, NY
Jenna Stewart is the inventive spirit behind many of our standout dishes at Pro of Delicious Creations. A proud graduate of The Culinary Institute of America, she built her skills mastering both classic recipes and fresh, modern twists.
Now, Jenna celebrates the beauty of seasonal, local ingredients, often sourced from her garden and nearby markets, to create recipes that are bursting with flavor yet easy to follow. When she’s not experimenting in the kitchen, Jenna loves exploring nature on hikes and discovering new treasures at local co-ops.