Mini Red Velvet Cheesecake Recipe: Charming Sweet Bites
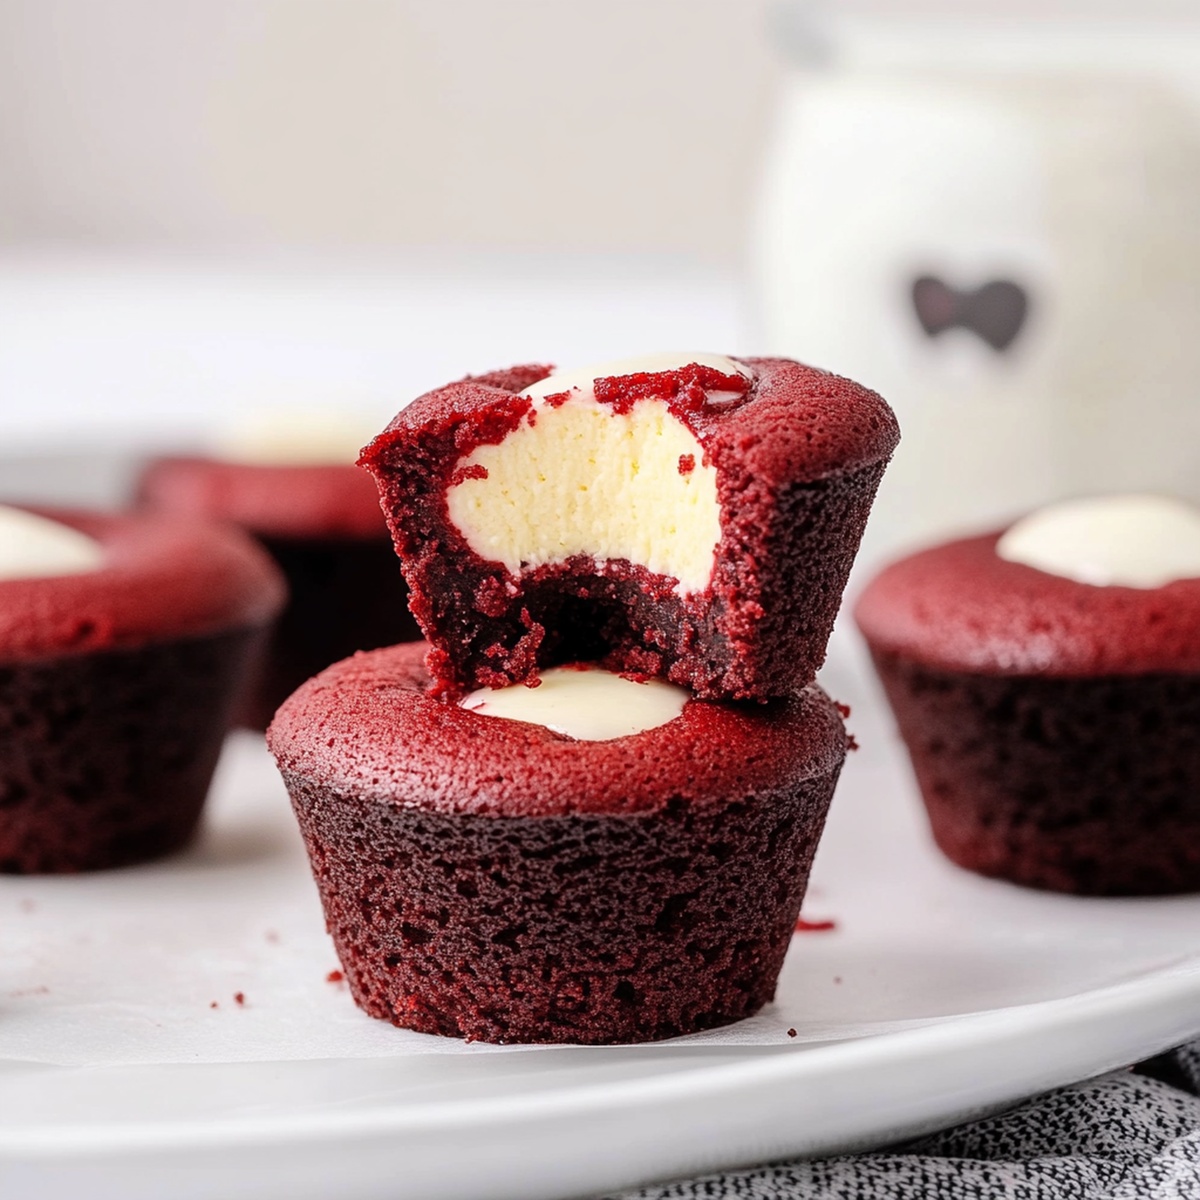
Sinking your fork into a luscious mini red velvet cheesecake that blends rich, velvety textures with decadent flavor.
This adorable dessert packs serious charm in a tiny package.
Creamy cream cheese mingles with smooth chocolate undertones, creating a stunning crimson treat.
Delicate and elegant, these miniature delights promise to impress anyone who takes a bite.
Each little cheesecake offers a perfect balance of tangy and sweet elements.
Small desserts always feel more special, inviting you to savor every delicious morsel.
You’ll want to whip up a batch and watch everyone’s eyes light up with delight.
Why Mini Red Velvet Cheesecake Feels Fancy And Fun
What You’ll Need For Mini Red Velvet Cheesecake
Crust Ingredients:Cheesecake Filling Ingredients:Topping and Garnish Ingredients:Mini Red Velvet Cheesecake Step-By-Step Guide

Step 1: Warm Up the Oven
Crank your oven to a cozy 325F. Grab a muffin tin and line it with cute paper cups.
Step 2: Create the Crumbly Base
Grab Oreo cookies and crush them into fine crumbs. Mix with melted butter until it feels like damp sand. Press a spoonful into each paper liner, packing it down firmly with your fingers or the back of a spoon. Pop the tin in the oven for a quick 5-minute toast. Pull out and let cool.
Step 3: Whip Up the Creamy Filling
In a large bowl, beat cream cheese until silky smooth. Add:Sift in cocoa powder and splash in red food coloring. Mix until the batter looks like a vibrant crimson dream.
Step 4: Fill the Cups
Gently spoon the ruby-red mixture into each liner, filling about three-quarters full. Smooth the tops with a gentle touch.
Step 5: Bake to Perfection
Slide the tin into the oven. Bake for 18-20 minutes until centers look set but still slightly tender. Don’t let them get too firm! Remove and let cool in the pan for 10 minutes.
Step 6: Chill Out
Transfer cheesecakes to a wire rack. Refrigerate for at least 2 hours or overnight to let them firm up and develop deep flavors.
Step 7: Dress Up and Serve
Top each mini cheesecake with:Enjoy your bite-sized red velvet delights!
Tips To Make Mini Red Velvet Cheesecake Even Better
How To Store And Reheat Mini Red Velvet Cheesecake Properly
Tasty Pairings For Mini Red Velvet Cheesecake
New Spins On Mini Red Velvet Cheesecake
Questions About Mini Red Velvet Cheesecake Answered
Red velvet cheesecake has a distinctive cocoa flavor and vibrant red color, created by adding cocoa powder and red food coloring to the traditional cheesecake base. The Oreo cookie crust also gives it a unique twist compared to classic cheesecake.
Absolutely! These mini cheesecakes can be prepared up to 2-3 days in advance. After baking and cooling, store them in the refrigerator and add toppings just before serving. They’re perfect for party prep or making dessert in advance.
Look for a set center that doesn’t jiggle when you gently shake the pan. The edges should look slightly firm, but be careful not to overbake. They’ll continue to set as they cool, creating a creamy, smooth texture.
You can skip the red food coloring for a more natural look. The cocoa powder will still give the cheesecakes a light brown color with a delicious chocolate undertone. Just reduce the amount slightly to maintain the right consistency.
Print
Mini Red Velvet Cheesecake Recipe
- Total Time: 2 hours 35 minutes
- Yield: 12 1x
Description
Indulgent mini red velvet cheesecake promises a luxurious dessert experience that combines classic Southern charm with creamy cheesecake perfection. Chocolate-kissed crimson layers and silky cream cheese filling create an irresistible treat that leaves sweet memories dancing on your palate.
Ingredients
Main Ingredients:
- 8 ounces (225 grams) cream cheese, softened
- 1 large egg, at room temperature
- 12 Oreo cookies (filling removed), crushed into fine crumbs
Baking and Flavoring Ingredients:
- ⅓ cup (65 grams) granulated sugar
- 3 tablespoons unsalted butter, melted
- 1 tablespoon unsweetened cocoa powder
- 1 teaspoon red food coloring (gel or liquid)
- 1 teaspoon vanilla extract
- 2 tablespoons sour cream
Garnish Ingredients:
- Whipped cream or cream cheese frosting
- Chocolate shavings or red sprinkles (optional)
Instructions
- Prepare a 12-cup muffin tin by lining with paper liners and setting the oven temperature to 325F (160C).
- Create a rich cookie base by thoroughly mixing Oreo crumbs with melted butter, then firmly pressing approximately one tablespoon into each liner’s bottom. Toast the crusts for 5 minutes and allow to cool completely.
- Craft the cheesecake filling by whipping cream cheese until silky smooth, gradually incorporating granulated sugar until well blended. Gently fold in egg, vanilla extract, and sour cream, ensuring minimal mixing.
- Sift cocoa powder into the mixture, then introduce red food coloring, stirring until the batter achieves a vibrant crimson hue and uniform consistency.
- Carefully distribute the red velvet batter across each crust, filling each liner about three-quarters full. Smooth the surfaces using a spoon’s back for an even finish.
- Bake mini cheesecakes for 18-20 minutes, watching for set centers that no longer wobble when gently nudged. Remove from oven and let rest in the pan for 10 minutes.
- Transfer cheesecakes to a wire rack, allowing complete cooling at room temperature.
- Refrigerate for a minimum of 2 hours to achieve optimal texture and firmness.
- Embellish each mini cheesecake with delicate whipped cream or cream cheese frosting swirls. Optionally, sprinkle with chocolate shavings, festive red sprinkles, or dust with cocoa powder for an elegant presentation.
Notes
- Choose room temperature ingredients to ensure smooth, lump-free cheesecake batter and optimal mixing consistency.
- Use a light hand when adding food coloring to achieve a vibrant red color without affecting the taste or texture of the cheesecakes.
- Tap the muffin tin gently on the counter after filling to release any air bubbles and create a smooth surface.
- For gluten-free version, swap Oreo cookie crumbs with gluten-free chocolate cookie crumbs or ground almond meal.
- Prep Time: 20 minutes
- Cook Time: 23 hours
- Category: Desserts, Snacks
- Method: Baking
- Cuisine: American
Nutrition
- Serving Size: 12
- Calories: 230
- Sugar: 10 g
- Sodium: 180 mg
- Fat: 12 g
- Saturated Fat: 7 g
- Unsaturated Fat: 3 g
- Trans Fat: 0 g
- Carbohydrates: 28 g
- Fiber: 1 g
- Protein: 3 g
- Cholesterol: 35 mg
Jenna Stewart
Head Chef & Recipe Innovator
Expertise
Farm-to-Table Cooking; Seasonal Menu Development; Visual Plating Techniques; Flavor Layering and Simple Prep Hacks.
Education
The Culinary Institute of America, Hyde Park, NY
Jenna Stewart is the inventive spirit behind many of our standout dishes at Pro of Delicious Creations. A proud graduate of The Culinary Institute of America, she built her skills mastering both classic recipes and fresh, modern twists.
Now, Jenna celebrates the beauty of seasonal, local ingredients, often sourced from her garden and nearby markets, to create recipes that are bursting with flavor yet easy to follow. When she’s not experimenting in the kitchen, Jenna loves exploring nature on hikes and discovering new treasures at local co-ops.