Adorable Melted Snowman Brownies Recipe for Winter Fun
Winter’s whimsy meets chocolate magic in these delightful melted snowman brownies that spark pure joy.
A playful dessert where chocolatey goodness becomes a canvas for creative winter characters.
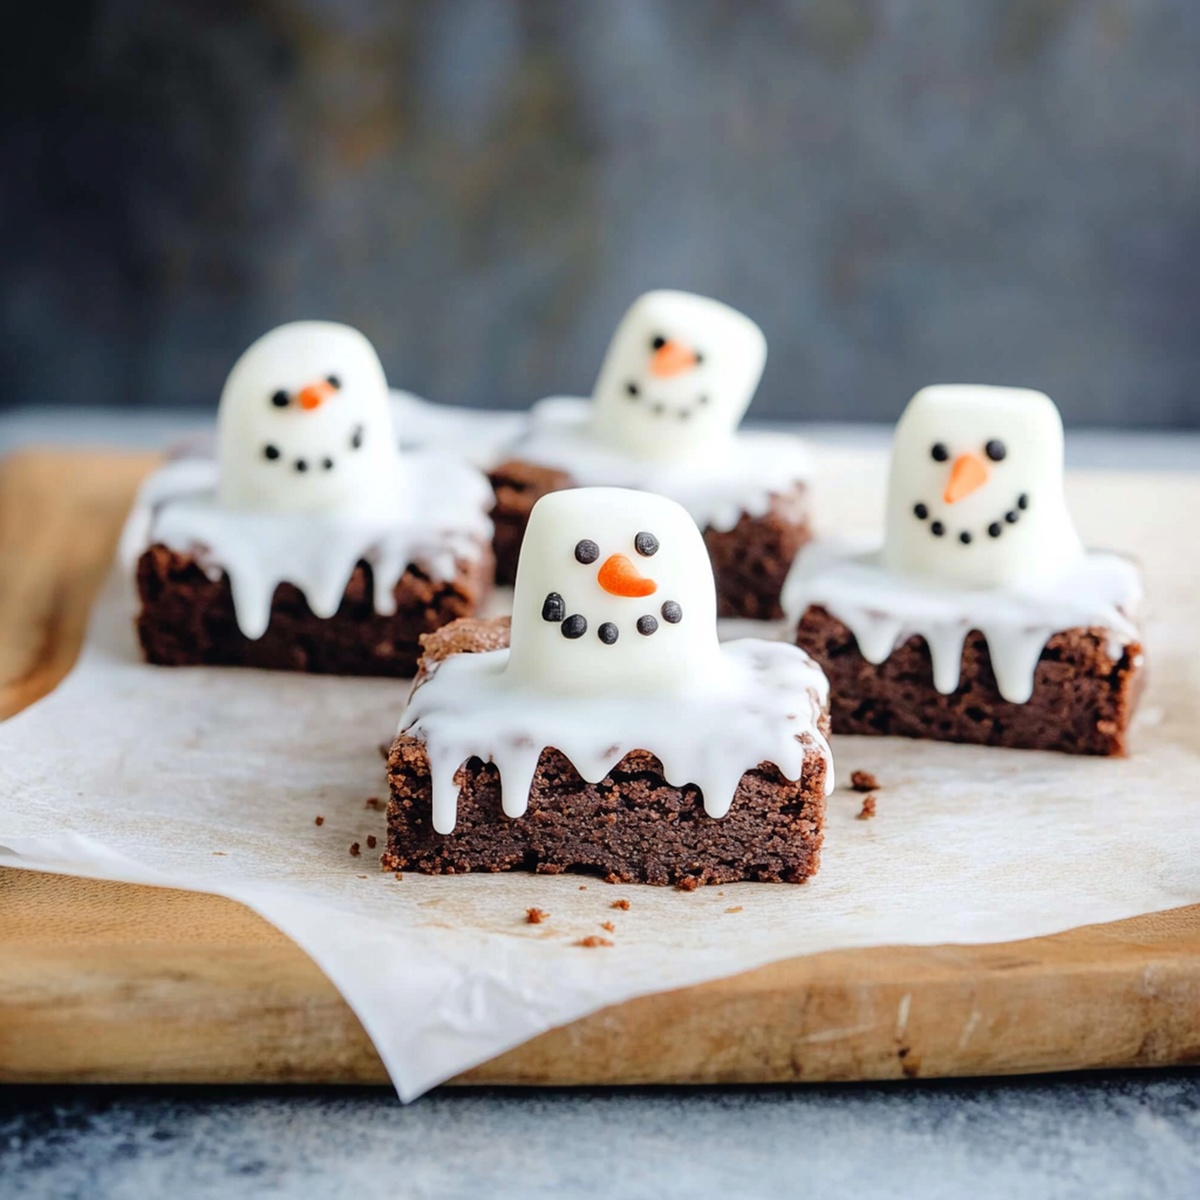
Soft, fudgy brownies transform into adorable snowmen slowly melting under a warm glow.
Marshmallow heads and delicate frosting details bring these sweet treats to life with charming personality.
Cute edible decorations turn a simple chocolate base into a whimsical winter scene that delights both kids and adults.
Each bite promises a perfect blend of rich chocolate and playful design.
You’ll want to gather your decorating supplies and craft these adorable edible snowmen right away.
Why Melted Snowman Brownies Are A Holiday Hit
What You’ll Need For Melted Snowman Brownies
Base Ingredients:Dry Ingredients:Decoration Ingredients:How To Make Melted Snowman Brownies Step By Step
Step 1: Create Chocolatey Base
Preheat the oven to 350F. Grab a square baking pan and line it with parchment paper. In a mixing bowl, combine:Whisk everything until smooth. Add these dry ingredients:Stir until the batter looks perfectly blended. Pour into the prepared pan and spread evenly. Slide the pan into the oven and bake for 20-25 minutes. Check doneness by inserting a toothpick – it should come out clean. Let the brownies cool completely.
Step 2: Design Melting Snowman Topping
Mix powdered sugar with milk to create a smooth, drizzly white icing. Adjust consistency by adding milk droplets as needed. Cut cooled brownies into square pieces.
Step 3: Build Snowman Characters
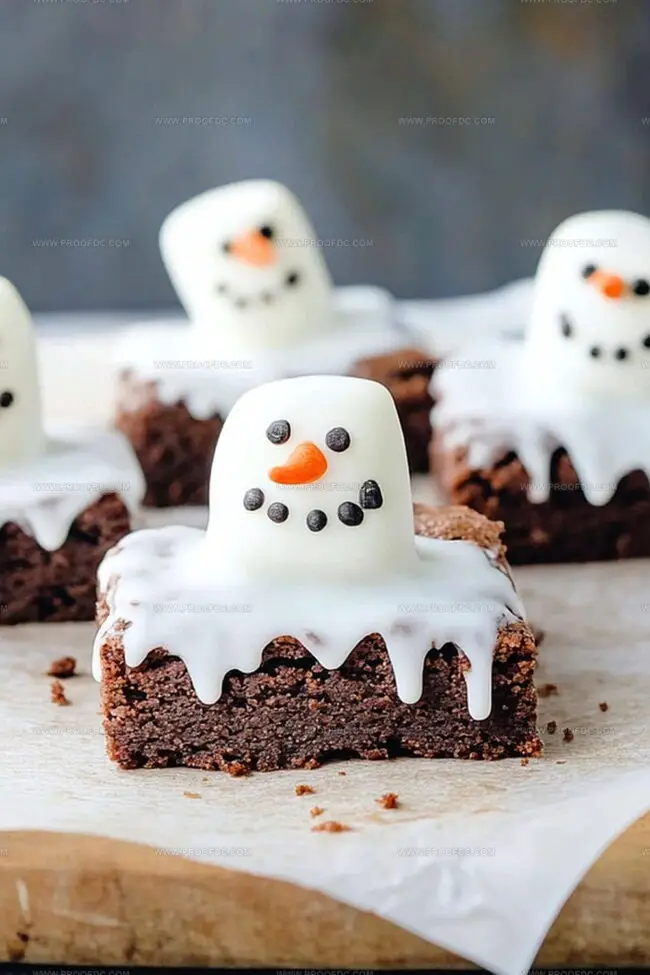
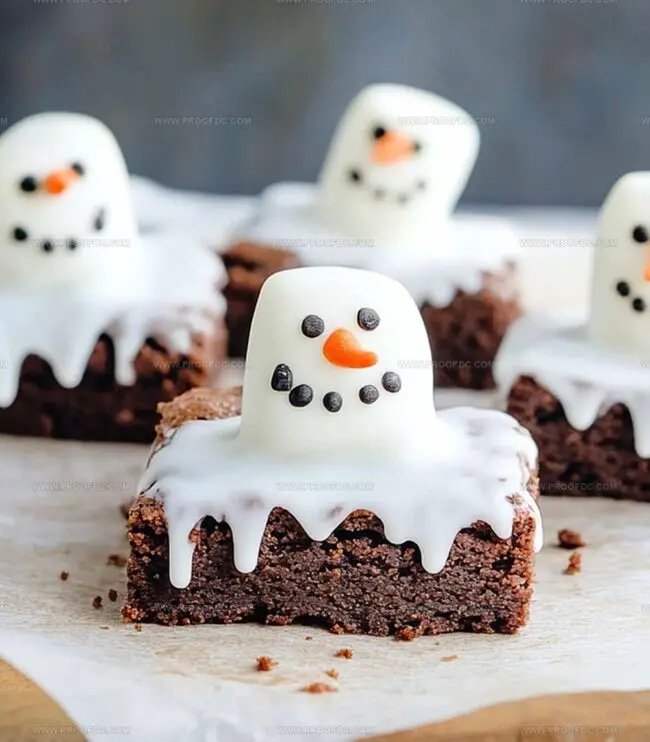
Generously pour icing over each brownie, allowing it to cascade down the sides like melting snow. Place a fluffy marshmallow on top as the snowman’s head.
Step 4: Add Whimsical Details
Use black gel icing to create:Grab orange gel icing for a cute carrot nose. Sprinkle mini candies across the icing to look like buttons.
Step 5: Final Touches
Let the icing set for about 15-20 minutes. Your adorable melted snowman brownies are ready to delight and surprise!
Tips That Help Melted Snowman Brownies Turn Out Perfect
How To Store And Warm Melted Snowman Brownies
Perfect Pairings With Melted Snowman Brownies
Cute Changes For Melted Snowman Brownies
Melted Snowman Brownies FAQ
FAQs for Melted Snowman Brownies
The design mimics a snowman losing its shape in warm weather, with the icing representing melted snow and the marshmallow as the snowman’s head sliding down.
Absolutely! A boxed brownie mix works perfectly. Just prepare the mix according to package instructions and follow the same decorating steps.
No worries! You can use melted chocolate, royal icing, or even carefully place small candies like mini chocolate chips for eyes and buttons to create the snowman’s face.
These are super fun for kids! They’ll love decorating the snowmen and can get creative with different facial expressions and details. Just supervise the icing and cutting steps.
Print
Melted Snowman Brownies Recipe
- Total Time: 1 hour
- Yield: 12 1x
Description
Snowman brownies melt hearts with their whimsical winter charm, bringing playful dessert magic to holiday gatherings. Rich chocolate squares adorned with marshmallow snowmen create a delightful treat you’ll treasure and share with pure delight.
Ingredients
Main Ingredients:
- 1 cup granulated sugar
- 2 large eggs
- ½ cup unsalted butter (melted)
- ⅓ cup cocoa powder
- ½ cup all-purpose flour
- ¼ teaspoon salt
- ¼ teaspoon baking powder
Decoration Ingredients:
- 12 large marshmallows
- 1 cup powdered sugar
- 2 to 3 tablespoons milk (for icing)
Decorative Accents:
- Black gel icing (for eyes and arms)
- Orange gel icing (for noses)
- Mini candies or sprinkles (for buttons)
Instructions
- Craft the Chocolate Base
Preheat the oven to 350F (175C). Prepare an 8×8-inch baking pan by lining it with parchment paper, ensuring complete coverage. Whisk melted butter with sugar, incorporating eggs and vanilla until the mixture transforms into a silky emulsion. Gradually fold in cocoa powder, flour, salt, and baking powder, stirring until a uniform chocolate batter emerges. Transfer the batter to the prepared pan, smoothing the surface with a spatula for even distribution. Bake for 22-27 minutes, verifying doneness by inserting a toothpick that comes out with minimal crumbs. Allow brownies to cool completely on a wire rack.
- Transform into Whimsical Snowmen
Create a glossy icing by gently whisking powdered sugar with milk, adjusting consistency to achieve a smooth, draping texture. Slice the cooled brownies into precise squares. Generously cascade the white icing over each brownie, permitting delicate drips to simulate melting snow. Position a marshmallow atop each brownie to represent the snowman’s head. Utilize black gel icing to meticulously craft expressive eyes and a playful smile. Draw a vibrant orange carrot nose with precision. Embellish the icing with miniature candies or sprinkles to mimic charming buttons. Permit the decorated brownies to rest for 15-20 minutes, allowing the icing to set and stabilize before serving.
Notes
- Customize Texture: Ensure the brownies are fudgy by slightly underbaking, which creates a rich, moist center that complements the melted snowman design.
- Gluten-Free Option: Swap regular flour with almond or gluten-free flour blend to make these adorable treats accessible for those with dietary restrictions.
- Marshmallow Hack: Slightly toast the marshmallow with a kitchen torch for a golden, toasted look that adds depth and warmth to the snowman’s appearance.
- Decorating Tip: Use a piping bag with a fine tip for precise and clean icing details, making the snowman faces look professional and cute.
- Prep Time: 25 minutes
- Cook Time: 20 minutes
- Category: Desserts, Snacks
- Method: Baking
- Cuisine: American
Nutrition
- Serving Size: 12
- Calories: 280
- Sugar: 24 g
- Sodium: 120 mg
- Fat: 10 g
- Saturated Fat: 6 g
- Unsaturated Fat: 4 g
- Trans Fat: 0 g
- Carbohydrates: 42 g
- Fiber: 1 g
- Protein: 3 g
- Cholesterol: 50 mg
Jenna Stewart
Head Chef & Recipe Innovator
Expertise
Farm-to-Table Cooking; Seasonal Menu Development; Visual Plating Techniques; Flavor Layering and Simple Prep Hacks.
Education
The Culinary Institute of America, Hyde Park, NY
Jenna Stewart is the inventive spirit behind many of our standout dishes at Pro of Delicious Creations. A proud graduate of The Culinary Institute of America, she built her skills mastering both classic recipes and fresh, modern twists.
Now, Jenna celebrates the beauty of seasonal, local ingredients, often sourced from her garden and nearby markets, to create recipes that are bursting with flavor yet easy to follow. When she’s not experimenting in the kitchen, Jenna loves exploring nature on hikes and discovering new treasures at local co-ops.