
Irresistible Maple Bacon Cheeseburger Bomb Recipe for Foodies
Sinking your teeth into a mouthwatering maple bacon cheeseburger bomb that explodes with flavor in every single bite.
The combination might sound crazy, but trust me, this recipe is a game-changer.
Crispy bacon and sweet maple syrup create an unexpected harmony that’ll make your taste buds dance.
Rich melted cheese nestled inside promises a gooey surprise with each mouthful.
Forget everything you know about ordinary burgers – this is a culinary adventure waiting to happen.
Home cooks will absolutely love how simple yet spectacular this dish becomes with just a few clever techniques.
You won’t believe how quickly these little flavor bombs come together in your kitchen.
Grab your ingredients and get ready to impress everyone at your next meal.
What Makes Maple Bacon Cheeseburger Bomb Irresistible
Ingredients You Need For Maple Bacon Cheeseburger Bomb
Main Protein:Cheese and Dairy:Flavor Enhancers and Wrap:Optional Toppings:Steps To Cook Maple Bacon Cheeseburger Bomb
Step 1: Craft Flavorful Beef Mixture
In a skillet over medium heat, brown the ground beef, breaking it into crumbly pieces. Drain any extra grease. Sprinkle in seasonings:Drizzle maple syrup and stir until the beef is glossy and well-coated. Set aside to cool slightly.
Step 2: Build Quesadilla Layers
Spread out soft tortillas on a clean surface. Create delicious layers:Step 3: Transform Into Golden Pockets
Carefully fold each tortilla into a half-moon shape, sealing the delicious filling inside. Heat a skillet with a touch of butter or oil. Gently place the quesadillas in the pan, cooking until each side turns a beautiful golden brown and the cheese melts into gooey perfection.
Step 4: Serve With Flair
Slice the quesadillas into tempting wedges. Optional garnish options:Serve immediately while the cheese is still warm and stretchy.
Pro Tip: Enjoy this mouthwatering fusion of classic cheeseburger flavors wrapped in a crispy tortilla blanket!
Helpful Pointers For Maple Bacon Cheeseburger Bomb
How To Store And Reheat Maple Bacon Cheeseburger Bomb Properly
What Matches With Maple Bacon Cheeseburger Bomb
Maple Bacon Cheeseburger Bomb Variations You’ll Like
Quick FAQ On Maple Bacon Cheeseburger Bomb
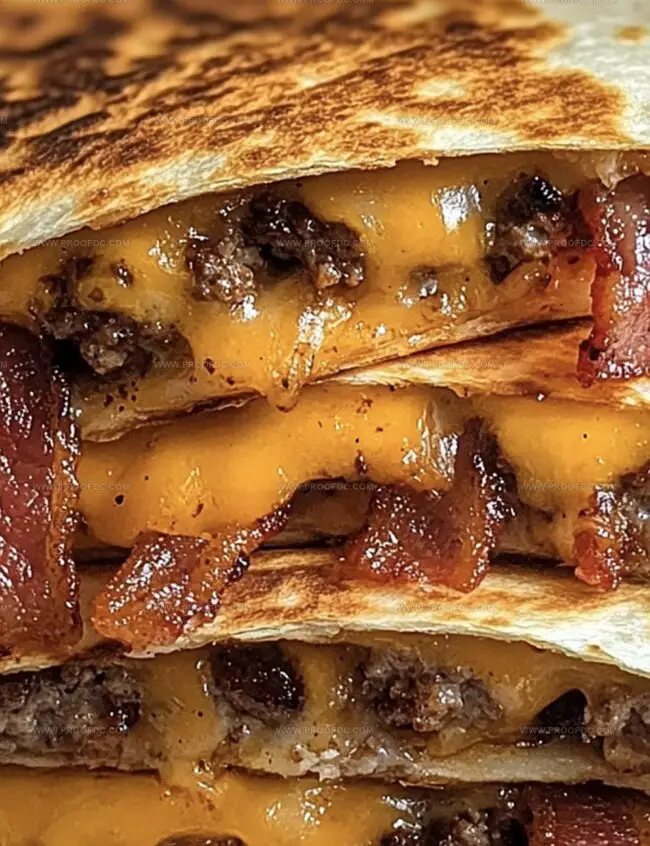
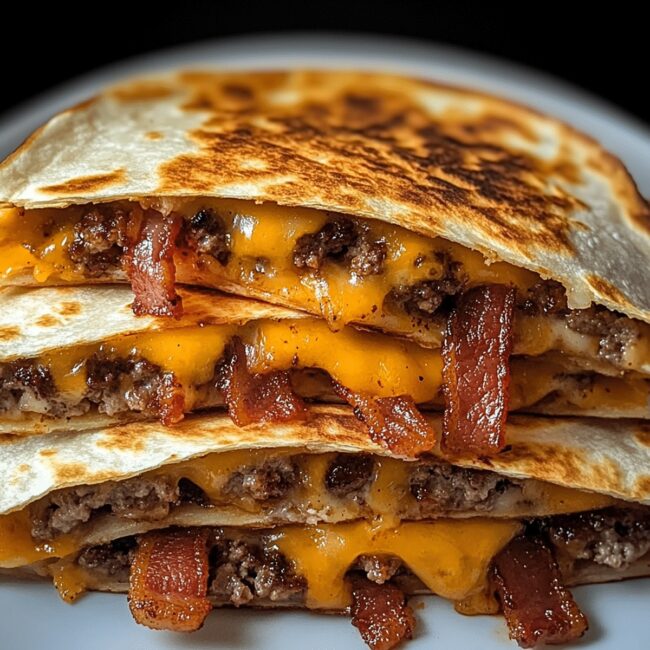
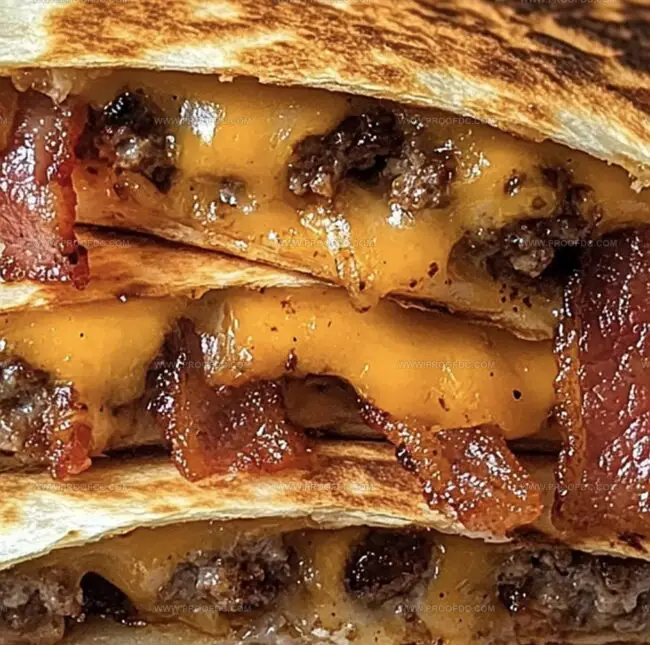
This Maple Bacon Cheeseburger Bomb combines the classic cheeseburger flavors with a quesadilla twist, adding sweet maple syrup and crispy bacon for an unexpected and delicious meal that transforms traditional burger ingredients.
Ground beef works best, but you can substitute ground turkey or chicken if you prefer a leaner protein. Just ensure the meat is fully cooked and seasoned well to maintain the rich flavor profile.
Add some diced jalapeños to the beef mixture or sprinkle red pepper flakes when seasoning the meat. You could also include a spicy hot sauce or chipotle powder to give the quesadillas an extra kick.
Absolutely! Kids typically love quesadillas and the combination of cheese, meat, and slightly sweet maple flavor makes this a fun, appealing meal that’s easy to eat and customize with their favorite toppings.
Print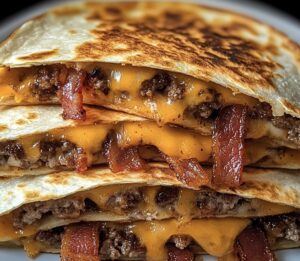
Maple Bacon Cheeseburger Bomb Recipe
- Total Time: 25 minutes
- Yield: 4 1x
Description
Maple bacon cheeseburger bombs pack explosive flavor into crispy, golden parcels of pure deliciousness. Canadian-inspired comfort combines juicy beef, melted cheese, and smoky bacon, promising a mouthwatering experience you’ll crave again and again.
Ingredients
Main Protein:
- 1 pound (1 lb) ground beef
- 6 strips bacon, cooked and crumbled
- 1 cup shredded cheddar cheese
Spices and Seasonings:
- 1 teaspoon (1 tsp) salt
- ½ teaspoon (½ tsp) black pepper
- ½ teaspoon (½ tsp) garlic powder
- ½ teaspoon (½ tsp) onion powder
Additional Ingredients:
- 4 large flour tortillas
- 1 tablespoon (1 tbsp) maple syrup (plus extra for drizzling if desired)
- 2 tablespoons (2 tbsp) butter or oil (for cooking)
- Optional toppings: chopped pickles, shredded lettuce, or diced tomatoes
Instructions
- Sizzle ground beef in a skillet over medium heat, crumbling and browning thoroughly. Eliminate excess grease and infuse with salt, pepper, garlic powder, and onion powder.
- Drizzle maple syrup into the seasoned meat, creating a sweet and savory blend. Allow mixture to cool slightly while preparing the next stage.
- Arrange tortillas on a clean work surface, spreading a generous cheese layer across one half of each tortilla.
- Distribute the maple-infused beef mixture evenly over the cheese, ensuring consistent coverage.
- Sprinkle crumbled bacon fragments atop the beef, creating an additional layer of flavor and texture.
- Incorporate another light cheese dusting to help seal the quesadilla edges when folding.
- Carefully fold each tortilla into a half-moon shape, pressing edges to secure the filling.
- Melt butter in a large skillet over medium heat, creating a golden cooking surface.
- Gently place folded quesadillas into the skillet, cooking until each side transforms into a crispy, golden-brown exterior.
- Once cheese melts completely and tortillas achieve a perfect crunch, remove from heat.
- Slice quesadillas into triangular wedges, revealing the tempting interior layers.
- Optionally embellish with additional maple syrup drizzle, chopped pickles, fresh lettuce, or diced tomatoes for a gourmet cheeseburger presentation.
Notes
- Master the meat’s flavor by cooking ground beef slowly, ensuring it’s evenly browned and seasoned for maximum taste richness.
- Control grease levels by thoroughly draining excess fat after browning beef, preventing soggy quesadillas and maintaining a crisp texture.
- Experiment with cheese varieties like sharp cheddar or smoky gouda to elevate the classic cheeseburger profile and add unexpected depth.
- Create gluten-free versions by substituting regular tortillas with corn tortillas or using lettuce wraps for a low-carb alternative that doesn’t compromise on flavor.
- Prep Time: 10 minutes
- Cook Time: 15 minutes
- Category: Lunch, Dinner, Snacks
- Method: Frying
- Cuisine: American
Nutrition
- Serving Size: 4
- Calories: 554
- Sugar: 2 g
- Sodium: 785 mg
- Fat: 36 g
- Saturated Fat: 15 g
- Unsaturated Fat: 18 g
- Trans Fat: 0 g
- Carbohydrates: 33 g
- Fiber: 1 g
- Protein: 27 g
- Cholesterol: 83 mg
Jenna Stewart
Head Chef & Recipe Innovator
Expertise
Farm-to-Table Cooking; Seasonal Menu Development; Visual Plating Techniques; Flavor Layering and Simple Prep Hacks.
Education
The Culinary Institute of America, Hyde Park, NY
Jenna Stewart is the inventive spirit behind many of our standout dishes at Pro of Delicious Creations. A proud graduate of The Culinary Institute of America, she built her skills mastering both classic recipes and fresh, modern twists.
Now, Jenna celebrates the beauty of seasonal, local ingredients, often sourced from her garden and nearby markets, to create recipes that are bursting with flavor yet easy to follow. When she’s not experimenting in the kitchen, Jenna loves exploring nature on hikes and discovering new treasures at local co-ops.