Sweet Magic: Red Velvet Oreo Brownies Recipe for Chocoholics
Decadent chocolate lovers find pure bliss in these red velvet oreo brownies that blend rich cocoa with creamy cookie crunch.
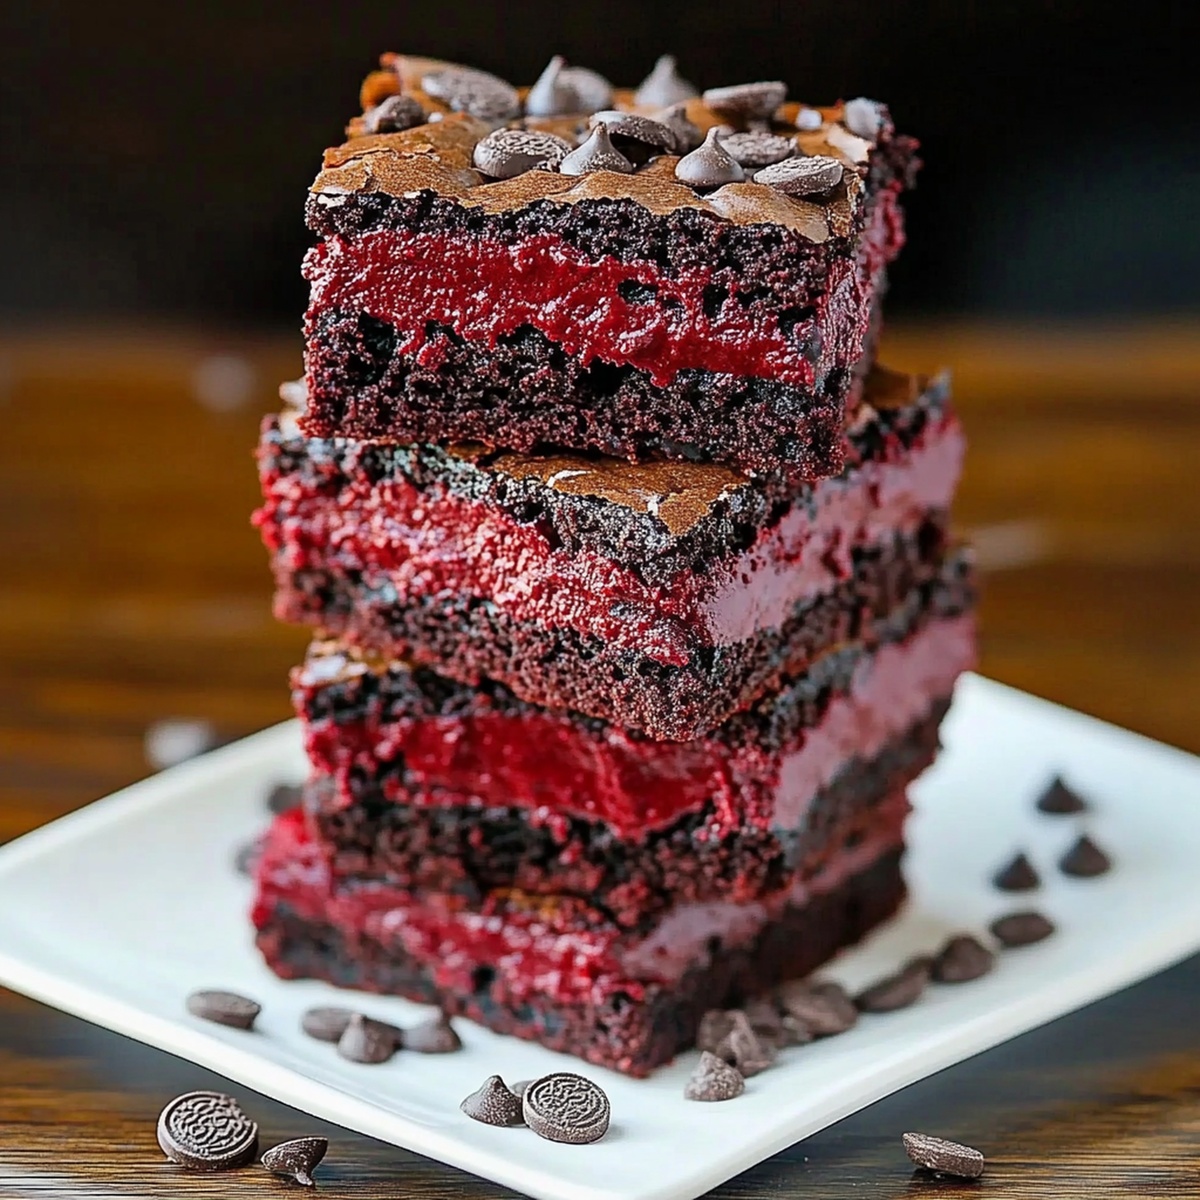
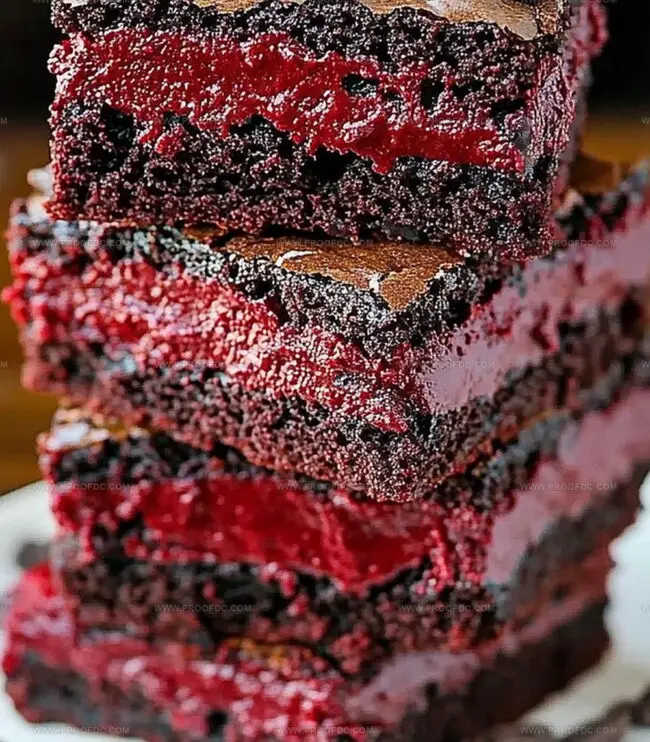
Layers of velvety batter swirl with classic oreo cookies, creating a dessert that melts hearts.
Every bite promises a luxurious experience of sweet and tangy flavors.
The deep crimson color catches eyes and sparks immediate dessert excitement.
Crumbled oreos nestled throughout add delightful texture and unexpected crunch.
Smooth cream cheese frosting tops these brownies, elevating them from simple treat to extraordinary indulgence.
You’ll want to savor each delectable square slowly and deliberately.
Let these red velvet oreo brownies become your next irresistible baking adventure.
Quick Recipe Overview

What’s In Red Velvet Oreo Brownies
For Brownie Base:For Dry Ingredients:For Mix-Ins and Topping:Baking Tools For Red Velvet Oreo Brownies
How You Bake Red Velvet Oreo Brownies
Crank the oven to a toasty 350°F and grab your trusty 8×8 baking pan. Coat it with a light layer of grease and line with parchment paper for easy brownie removal.
Grab a large mixing bowl and whisk together melted butter with sugars until they become best friends. Splash in some eggs, vanilla, and a dash of red food coloring to create a vibrant batter that’ll make mouths water.
In a separate bowl, whip cream cheese with sugar until silky smooth. This dreamy layer will add a tangy twist to your decadent brownies.
Pour half the brownie batter into the pan. Dot the cream cheese mixture across the surface and use a knife to create beautiful swirls. Sprinkle crushed Oreos over the top for extra crunch. Slide into the oven and bake until a toothpick comes out with just a few moist crumbs.
Let the brownies chill for about 30 minutes. Slice into squares and serve with a scoop of vanilla ice cream if you’re feeling extra indulgent.
Extra Hints For Red Velvet Oreo Brownies
Serving Red Velvet Oreo Brownies With Ease
Storage Plan For Red Velvet Oreo Brownies
Print
Indulgent Red Velvet Oreo Brownies Recipe
- Total Time: 1 hour 15 minutes
- Yield: 17 1x
Description
Red velvet oreo brownies blend rich chocolate with creamy Oreo cookies for an indulgent dessert. Chocolate lovers will savor each fudgy, layered bite of this irresistible treat.
Ingredients
- 4 oz (115g) cream cheese, softened
- ½ cup (115g) unsalted butter, melted
- 2 large eggs
- 1 egg yolk
- ¾ cup (150g) granulated sugar
- ¼ cup (50g) granulated sugar
- ¼ cup (50g) brown sugar
- ¾ cup (95g) all-purpose flour
- ¼ cup (25g) cocoa powder
- 10–12 Oreo cookies, crushed
- 1 tbsp red food coloring
- 1 tsp vanilla extract
- ½ tsp vanilla extract
- ½ tsp salt
- ½ tsp baking powder
Instructions
- Preheat: Warm the oven to 350F (175C) and line an 8×8-inch pan with parchment paper, creating slight overhang for effortless removal.
- Mix Wet Components: Whisk melted butter with granulated and brown sugars until glossy, then blend in eggs, red food coloring, and vanilla extract until achieving a vibrant, uniform crimson mixture.
- Combine Dry Ingredients: Sift flour, cocoa powder, salt, and baking powder into the wet mixture, folding gently to maintain a luxurious, smooth consistency without overmixing.
- Incorporate Oreos: Crush cookies into varied sizes, folding most into the batter while reserving some for topping, ensuring even distribution throughout the mixture.
- Prepare Cream Cheese Swirl: Beat cream cheese with sugar, egg yolk, and vanilla until achieving a silky, lump-free texture that will create elegant marbling.
- Layer and Swirl: Pour half the brownie batter into the prepared pan, drop cream cheese mixture in strategic spoonfuls, and use a knife to create intricate swirls across the surface.
- Final Assembly: Cover the swirled layer with remaining brownie batter, then artfully sprinkle reserved crushed Oreos across the top for added texture and visual interest.
- Bake and Cool: Place in preheated oven for 28-32 minutes, checking for slightly moist crumbs with a toothpick. Allow brownies to cool completely in the pan for at least 30 minutes to set and intensify flavors.
- Serve: Lift brownies from pan using parchment paper edges, slice into precise squares, and enjoy chilled or at room temperature.
Notes
- Prevent Overmixing: Gently fold dry ingredients into wet mixture to maintain a tender, soft brownie texture without developing tough gluten strands.
- Color Intensity Control: Adjust red food coloring quantity based on desired vibrant red hue, starting with less and incrementally adding to achieve perfect color saturation.
- Cream Cheese Swirl Technique: Ensure cream cheese is at room temperature and beaten until completely smooth to avoid lumpy or grainy swirl patterns in the brownies.
- Oreo Distribution Strategy: Crush Oreos into varied sizes for interesting texture contrasts, saving some larger chunks for topping to enhance visual and taste complexity.
- Prep Time: 15 minutes
- Cook Time: 30 minutes
- Category: Desserts, Snacks
- Method: Baking
- Cuisine: American
Nutrition
- Serving Size: 17
- Calories: 200
- Sugar: 18g
- Sodium: 150mg
- Fat: 10g
- Saturated Fat: 6g
- Unsaturated Fat: 3g
- Trans Fat: 0g
- Carbohydrates: 27g
- Fiber: 1g
- Protein: 2g
- Cholesterol: 50mg
Marcus Foley
Food Critic & Kitchen Coach
Expertise
Recipe Testing and Troubleshooting; Time-Saving Kitchen Hacks; Global Flavor Exploration; Engaging Food Writing and Honest Reviews.
Education
Institute of Culinary Education (ICE), New York, NY
Marcus Foley, based in Atlanta, GA, is a friendly food expert who makes cooking fun and simple.
With hands-on training from the Institute of Culinary Education and years of tasting everything from street food to fine dining, he shares easy kitchen hacks, global flavor ideas, and step-by-step recipes that turn kitchen mishaps into delicious surprises.