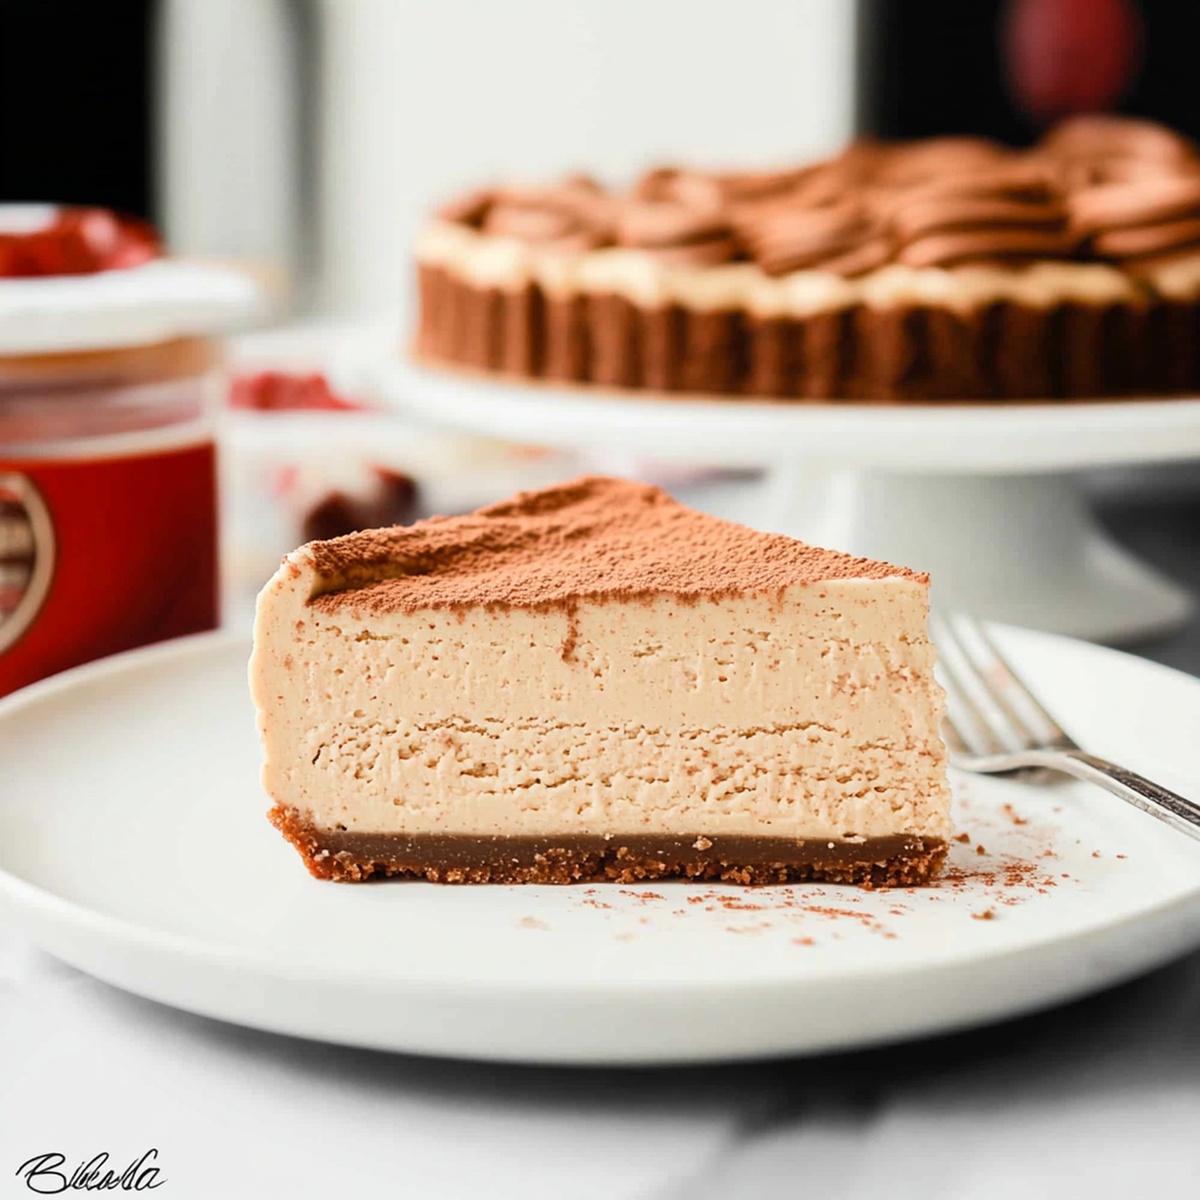
Irresistible Biscoff Cheesecake Recipe: Sweet Harmony in Every Bite
Creamy, decadent cheesecake meets the irresistible flavor of biscoff cookies in a dessert that promises pure indulgence.
This biscoff cheesecake recipe blends rich, smooth cream cheese with the caramelized warmth of speculoos.
The crushed cookie base provides a delightful crunch that perfectly complements the silky filling.
Each bite delivers a luxurious combination of sweet and spiced notes that dance across your palate.
Crumbly, golden biscoff cookies transform an ordinary cheesecake into an extraordinary dessert experience.
No special baking skills required—just a passion for incredible flavors.
Dive into this simple yet spectacular treat that will have everyone asking for seconds.
Quick Recipe Overview
What’s Inside Biscoff Cheesecake
For Crust Base:For Creamy Filling:For Topping and Garnish:Kitchen Tools For Biscoff Cheesecake Magic
How To Make Creamy Biscoff Cheesecake
Create a buttery base by crushing Biscoff cookies and blending with melted butter. Press the mixture firmly into a springform pan, ensuring a smooth, compact layer. Pop it in the refrigerator to firm up while preparing the creamy filling.
Whip cream cheese until silky smooth, then gently fold in powdered sugar and vanilla. Swirl in warm Biscoff cookie butter, creating a dreamy mixture that’s both rich and indulgent. Carefully incorporate fluffy whipped cream for an extra cloud-like texture.
Pour the velvety filling over the chilled crust, spreading it evenly with a gentle touch. Refrigerate for several hours, allowing the cheesecake to set and develop its incredible flavor profile.
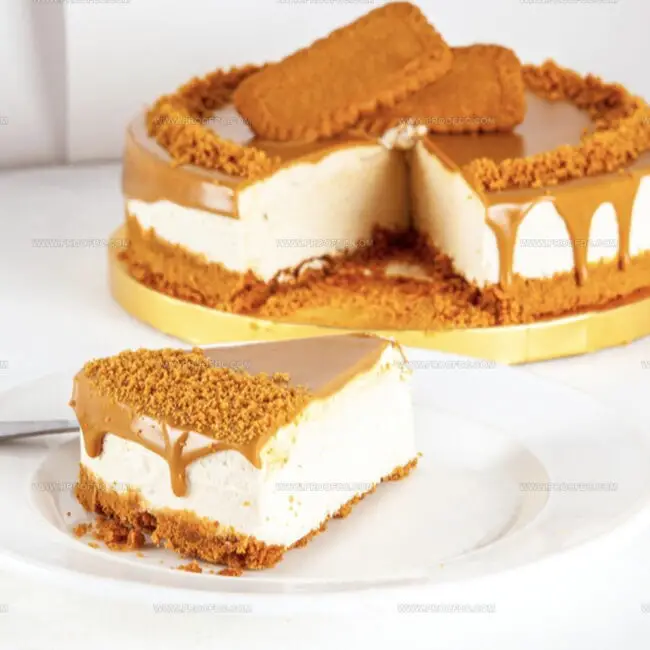
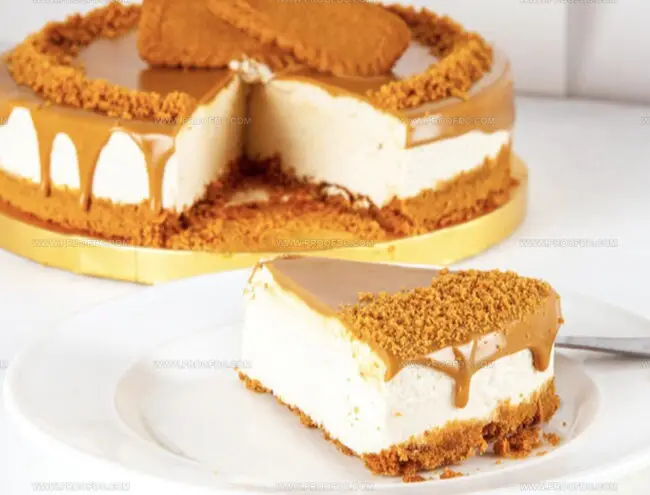
Drizzle melted Biscoff cookie butter across the top, creating a glossy, tempting surface. Sprinkle crushed cookies for an extra crunch and visual appeal that will make mouths water.
Release the cheesecake from its pan with care. Slice into perfect wedges and serve chilled, revealing layers of creamy goodness that will delight every single bite.
Flavor Tips For Biscoff Cheesecake Fans
How To Serve Biscoff Cheesecake With Flair
Storing Biscoff Cheesecake So It Stays Fresh
Print
Indulgent Biscoff Cheesecake Recipe
- Total Time: 4 hours 20 minutes
- Yield: 7 1x
Description
Creamy Biscoff Cheesecake promises a delightful blend of smooth cream cheese and caramelized cookie butter. Rich layers of spiced Belgian cookies and velvety filling create an irresistible dessert you’ll savor with pure indulgence.
Ingredients
- 16 oz (454 g) cream cheese, softened
- 1 cup powdered sugar
- 1 cup heavy cream, whipped to stiff peaks
- 2 cups (about 20 cookies) Biscoff cookies, crushed
- ½ cup (113 g) unsalted butter, melted
- 1 tsp vanilla extract
- 1 cup (236 ml) Biscoff cookie butter, melted
- Optional: Crushed Biscoff cookies for garnish
Instructions
- Crust Creation: Pulverize Biscoff cookies into fine crumbs, merge with melted butter, and press firmly into a springform pan’s base. Chill briefly to set the foundation’s integrity.
- Filling Fusion: Whip cream cheese until supremely silky, blend with powdered sugar and vanilla extract. Fold in liquefied Biscoff cookie butter, creating a luxurious, smooth mixture. Gently incorporate whipped cream to maintain an airy, light texture.
- Assembly Technique: Pour the creamy filling over the chilled crust, smoothing with a spatula to eliminate air pockets and achieve a flawless surface.
- Refrigeration Ritual: Refrigerate the cheesecake for a minimum of four hours, preferably overnight, allowing flavors to harmonize and filling to set completely.
- Finishing Flourish: Before serving, drizzle melted Biscoff cookie butter across the top. Garnish with crushed Biscoff cookies for added texture and visual appeal. Carefully release from springform pan, slice with a heated knife, and serve chilled for optimal enjoyment.
Notes
- Prevent Cracking Technique: Bake cheesecake in a water bath to maintain consistent temperature and prevent surface cracks, ensuring a smooth, creamy texture without unsightly fissures.
- Softening Cream Cheese: Allow cream cheese to reach room temperature before mixing to guarantee ultra-smooth consistency and eliminate lumpy patches in the filling.
- Crushing Cookie Technique: Use a food processor or rolling pin to create ultra-fine Biscoff cookie crumbs, ensuring a compact, even crust that holds together perfectly when sliced.
- Dairy-Free Adaptation: Substitute dairy cream cheese with vegan alternatives like cashew or coconut-based cream cheese to create a delectable plant-based version that maintains the dessert’s rich, creamy essence.
- Prep Time: 20 minutes
- Cook Time: 4 hours
- Category: Desserts
- Method: Mixing
- Cuisine: American
Nutrition
- Serving Size: 7
- Calories: 490
- Sugar: 30 g
- Sodium: 300 mg
- Fat: 34 g
- Saturated Fat: 21 g
- Unsaturated Fat: 10 g
- Trans Fat: 0 g
- Carbohydrates: 42 g
- Fiber: 1 g
- Protein: 5 g
- Cholesterol: 100 mg
Marcus Foley
Food Critic & Kitchen Coach
Expertise
Recipe Testing and Troubleshooting; Time-Saving Kitchen Hacks; Global Flavor Exploration; Engaging Food Writing and Honest Reviews.
Education
Institute of Culinary Education (ICE), New York, NY
Marcus Foley, based in Atlanta, GA, is a friendly food expert who makes cooking fun and simple.
With hands-on training from the Institute of Culinary Education and years of tasting everything from street food to fine dining, he shares easy kitchen hacks, global flavor ideas, and step-by-step recipes that turn kitchen mishaps into delicious surprises.