Cozy Homemade Eggnog Recipe for Heartwarming Holiday Sips
Sipping on a creamy homemade eggnog during chilly winter evenings brings pure comfort and nostalgia.
Traditional recipes pass through generations, each with unique twists and secret ingredients.
My grandmother’s classic version always made holiday gatherings feel magical and warm.
Cold nights call for something rich and indulgent that warms you from inside out.
Seasonal spices like nutmeg and cinnamon dance deliciously through this smooth, velvety drink.
Some people hesitate to make eggnog at home, thinking it’s complicated.
Trust me, you can craft an incredible batch with just a few simple ingredients.
Grab a whisk and let’s create a festive beverage that will impress everyone at your celebration.
Why Homemade Eggnog Is So Good
What You Need To Make Homemade Eggnog
Base Ingredients:Spice and Flavor Enhancers:Optional Spirits:How To Whip Up Homemade Eggnog
Step 1: Whip Up Silky Egg Base
In a roomy mixing bowl, crack open those golden egg yolks and sprinkle in some sugar. Grab a whisk and go to town, blending until the mixture transforms into a light, dreamy cream with a pale yellow hue. Keep whisking until it looks smooth and glossy.
Step 2: Warm Spiced Milk Mixture
Grab a sturdy saucepan and pour in:Crank up the heat to medium and warm the liquid until it’s steamy and fragrant. Watch carefully to prevent boiling – you want a gentle heat that releases those cozy holiday spices.
Step 3: Carefully Blend Hot and Cold
Here’s where magic happens! Slowly drizzle the hot milk mixture into the egg blend, whisking like crazy. This prevents the eggs from scrambling and creates a luxurious, smooth base. Pour gradually and keep that whisk moving constantly.
Step 4: Cook to Perfection
Return the entire mixture back to the saucepan. Stir continuously over medium heat until the liquid starts to thicken. Use a wooden spoon to check – it should coat the back of the spoon without dripping too quickly. Aim for a temperature around 160°F using a kitchen thermometer.
Step 5: Flavor Explosion
Pull the pan off the heat and stir in:Each splash adds depth and warmth to your eggnog.
Step 6: Chill and Thrill
Transfer your liquid gold to a pitcher or sealed container. Slide it into the refrigerator and let it cool completely – at least two hours. The flavors will mingle and develop during this time.
Step 7: Serve with Festive Flair
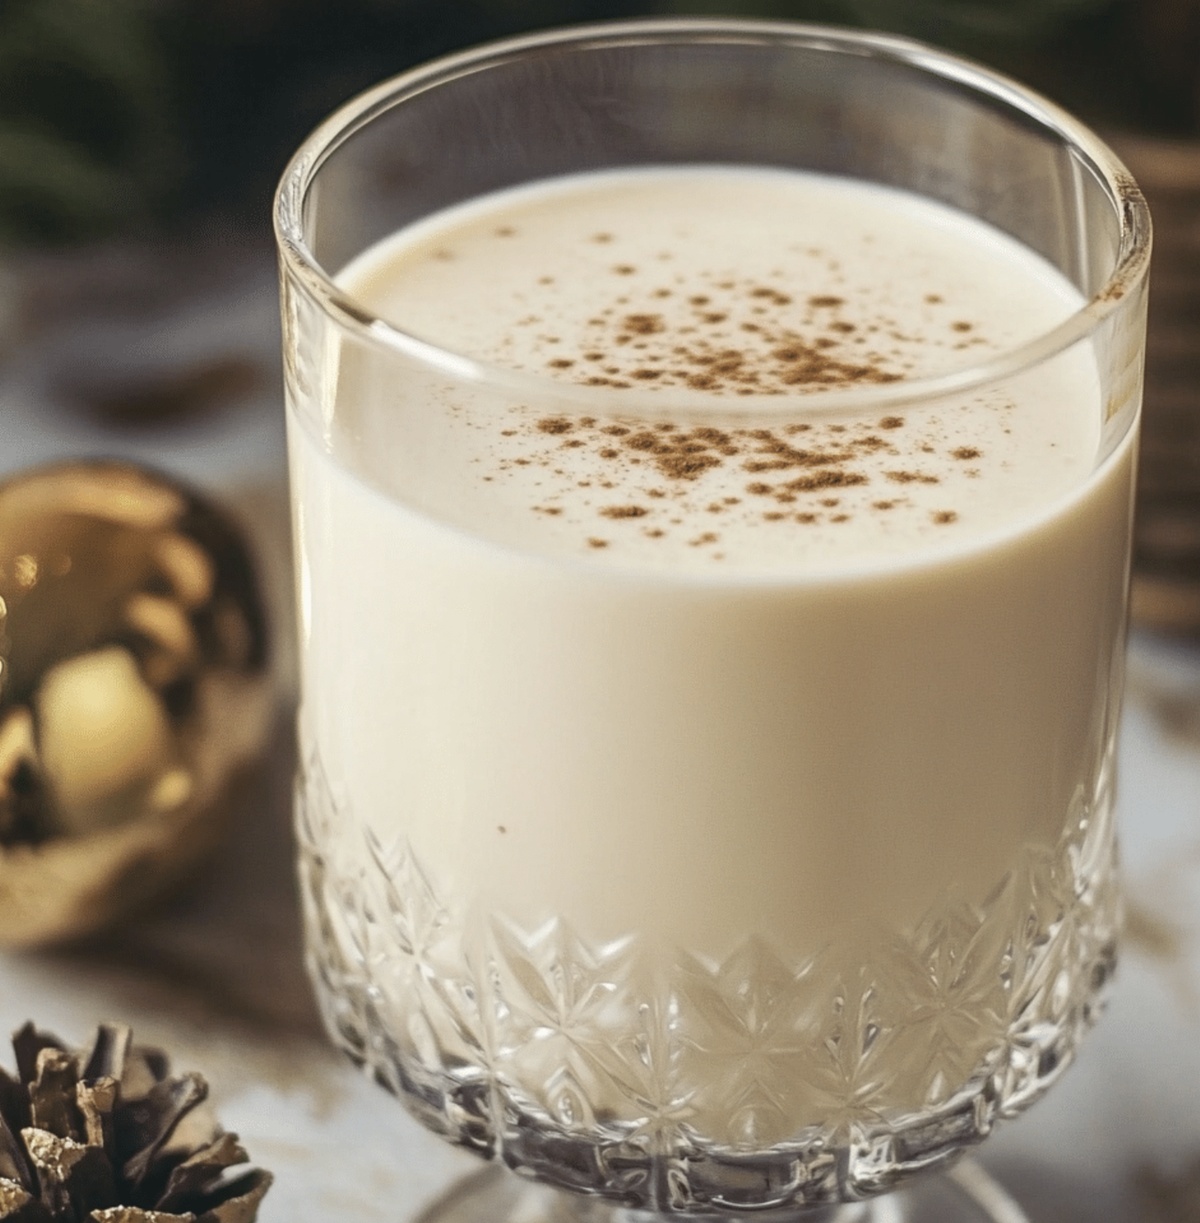
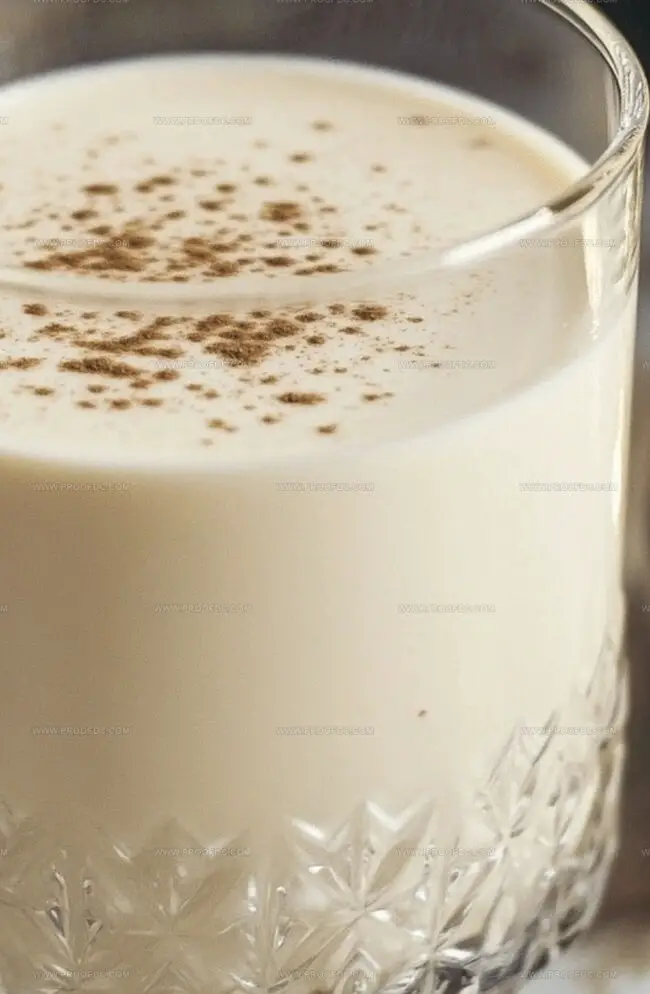
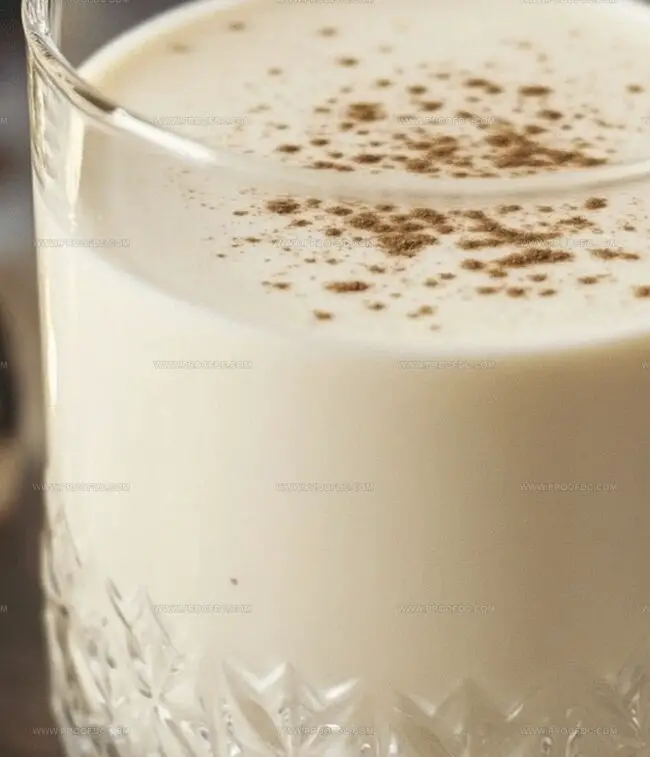
When ready to enjoy, pour into festive glasses. Top with a billowy cloud of whipped cream and a delicate sprinkle of fresh nutmeg. Grab a cozy spot by the fireplace and savor your homemade holiday creation!
Easy Tips For Homemade Eggnog
How To Store And Reheat Homemade Eggnog
Best Pairings With Homemade Eggnog
Twists To Try On Homemade Eggnog
Common Questions About Homemade Eggnog
Tempering prevents the eggs from scrambling when added to hot milk. By slowly introducing hot liquid to egg yolks while whisking, you gradually raise their temperature without cooking them, creating a smooth and creamy texture.
Absolutely! The recipe works perfectly without alcohol. Simply skip the bourbon, rum, or brandy. The eggnog will still be delicious and creamy, making it family-friendly and suitable for all ages.
Yes, when you cook the mixture to 160F (70C), you eliminate any potential bacteria in the eggs, making it safe to consume. Using a kitchen thermometer helps ensure the proper temperature is reached for food safety.
Homemade eggnog typically stays fresh for 3-4 days when stored in a sealed container in the refrigerator. Always check for any changes in smell or texture before consuming, and discard if it seems off.
Print
Homemade Eggnog Recipe
- Total Time: 2 hours 20 minutes
- Yield: 8 1x
Description
Creamy homemade eggnog delights winter gatherings with rich, nostalgic flavors from classic American holiday traditions. Smooth bourbon and fresh nutmeg create a luxurious drink that warms hearts and brings festive cheer to all who sip this beloved seasonal classic.
Ingredients
Main Ingredients:
- 6 large egg yolks
- ¾ cup (150 g) granulated sugar
- 2 cups (480 ml/16.2 fluid ounces) whole milk
- 1 cup (240 ml/8.1 fluid ounces) heavy cream
Spices and Flavor Enhancers:
- ½ teaspoon ground nutmeg
- ½ teaspoon ground cinnamon
- 1 teaspoon vanilla extract
Optional Alcoholic Component:
- ½ cup (120 ml/4 fluid ounces) bourbon, rum, or brandy
Garnish:
- Whipped cream
- Ground nutmeg
- Cinnamon sticks
Instructions
- Craft a silky foundation by vigorously blending egg yolks with sugar until the mixture transforms into a pale, luxurious cream with a ribbony texture.
- Create a fragrant dairy base by gently warming milk, heavy cream, nutmeg, and cinnamon in a saucepan, allowing the spices to infuse without reaching a boil.
- Execute a delicate temperature merger by gradually introducing hot dairy into the egg mixture, whisking meticulously to prevent curdling and ensure a smooth integration.
- Transform the liquid into a velvety custard by returning the combined mixture to the saucepan, stirring constantly while monitoring the temperature until it reaches a gentle thickening point.
- Elevate the flavor profile by incorporating vanilla extract and optional spirits like bourbon, rum, or brandy, stirring to distribute the aromatic elements evenly.
- Achieve optimal refreshment by transferring the eggnog to a chilled container and allowing it to rest in the refrigerator, developing depth and complexity.
- Present the final creation adorned with a cloud of whipped cream and a delicate dusting of nutmeg, inviting guests to indulge in this classic seasonal libation.
Notes
- Tempering technique ensures smooth, silky eggnog without scrambling eggs, requiring slow and steady addition of hot milk while whisking vigorously.
- Use fresh, high-quality eggs from trusted sources to minimize potential salmonella risks, especially when consuming slightly raw egg mixture.
- Experiment with alternative milk options like almond, oat, or coconut milk for dairy-free versions, adjusting sweetness and consistency as needed.
- Control alcohol intensity by gradually adding bourbon, rum, or brandy, allowing personal preference for strength and flavor profile to guide your creation.
- Prep Time: 20 minutes
- Cook Time: 2 hours
- Category: Drinks, Cocktails
- Method: Simmering
- Cuisine: American
Nutrition
- Serving Size: 8
- Calories: 233
- Sugar: 20 g
- Sodium: 50 mg
- Fat: 16 g
- Saturated Fat: 10 g
- Unsaturated Fat: 6 g
- Trans Fat: 0 g
- Carbohydrates: 22 g
- Fiber: 0 g
- Protein: 4 g
- Cholesterol: 150 mg
Jenna Stewart
Head Chef & Recipe Innovator
Expertise
Farm-to-Table Cooking; Seasonal Menu Development; Visual Plating Techniques; Flavor Layering and Simple Prep Hacks.
Education
The Culinary Institute of America, Hyde Park, NY
Jenna Stewart is the inventive spirit behind many of our standout dishes at Pro of Delicious Creations. A proud graduate of The Culinary Institute of America, she built her skills mastering both classic recipes and fresh, modern twists.
Now, Jenna celebrates the beauty of seasonal, local ingredients, often sourced from her garden and nearby markets, to create recipes that are bursting with flavor yet easy to follow. When she’s not experimenting in the kitchen, Jenna loves exploring nature on hikes and discovering new treasures at local co-ops.