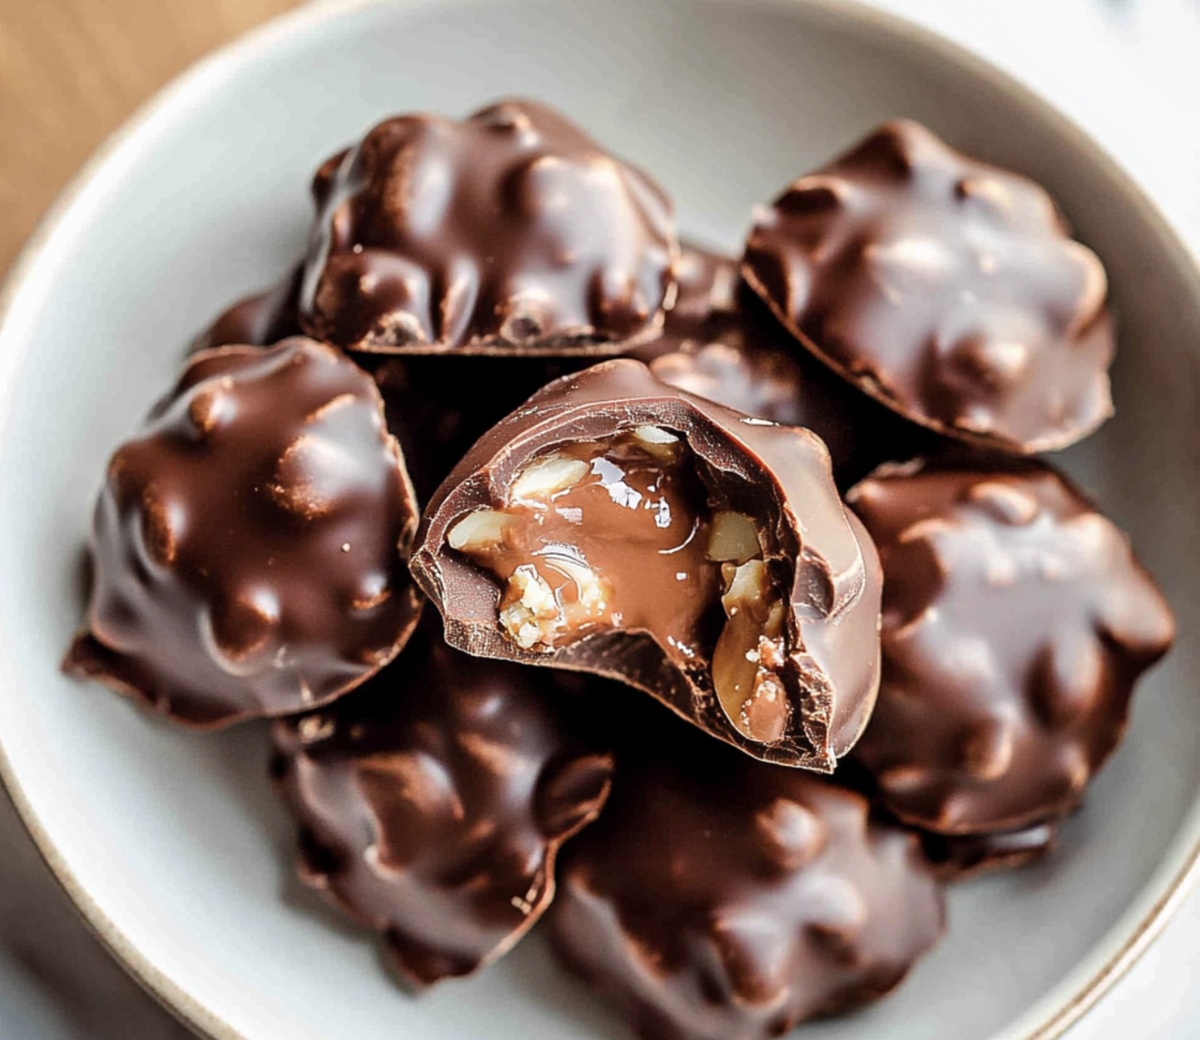
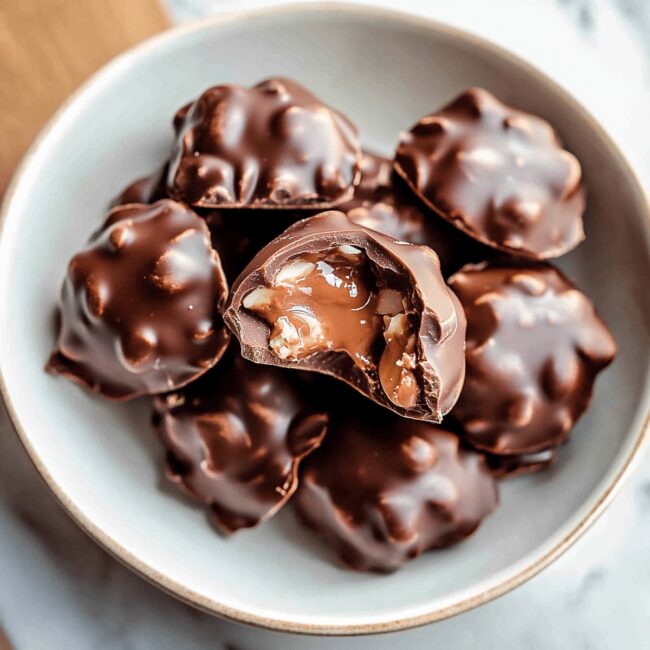
Irresistibly Gooey Homemade Chocolate Turtles Recipe
Memories of grandma’s kitchen dance through my mind whenever I whip up these delectable homemade chocolate turtles that always spark joy.
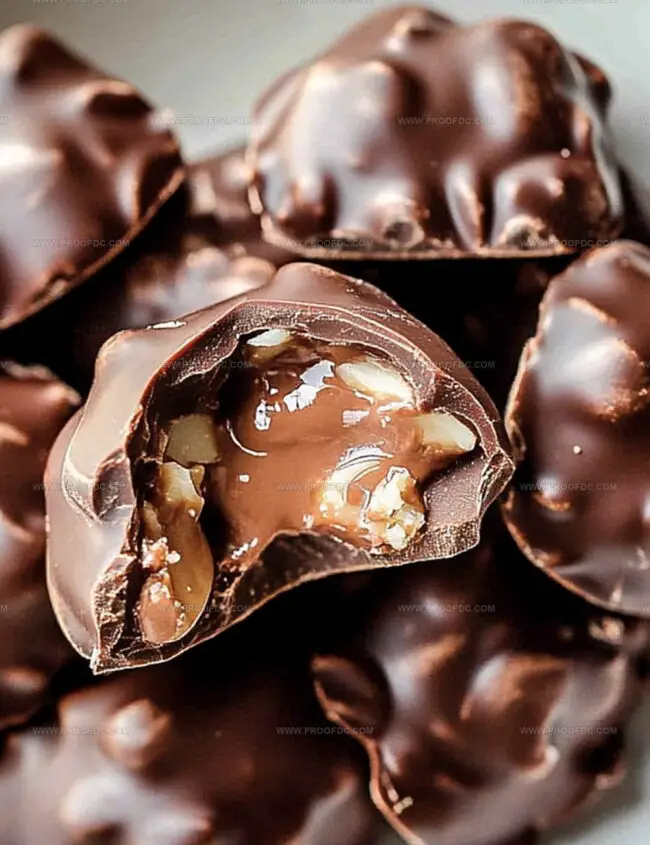
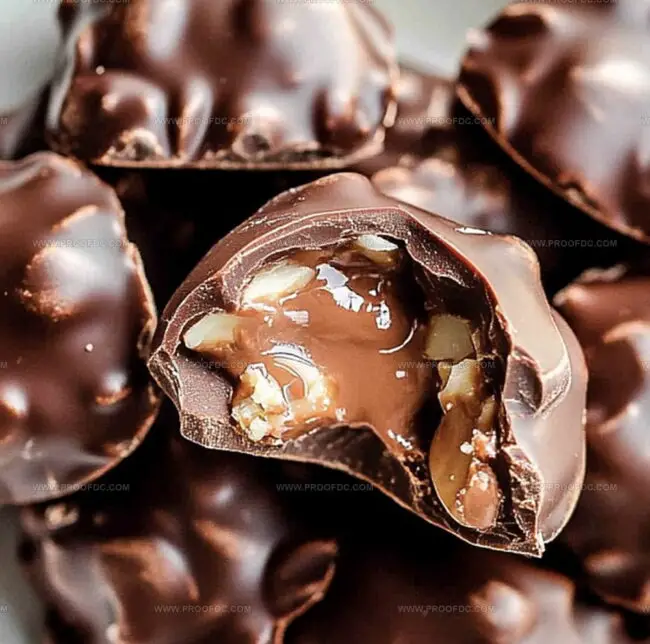
Caramel’s rich sweetness mingles with roasted pecans, creating a symphony of flavors that melts on your tongue.
Crafting these decadent treats right in your own kitchen, where simple ingredients become extraordinary confections.
Each bite tells a story of tradition and comfort, blending smooth chocolate with gooey caramel and crunchy nuts.
Surprisingly easy to prepare, these turtles will transform your dessert repertoire with minimal effort.
The magic happens when layers of flavor combine into something truly spectacular.
You’ll become the neighborhood’s most celebrated sweet-maker after sharing these irresistible morsels.
Grab an apron and let’s create edible magic that will delight everyone around your table.
Why Homemade Chocolate Turtles Make A Great Treat
Everything You Need For Homemade Chocolate Turtles
Turtle Clusters Base:Chocolate Coating:Flavor Enhancers:How To Make Homemade Chocolate Turtles At Home
Step 1: Create Pecan Bases
Grab a baking sheet and line it with parchment paper. Arrange pecan halves into cute little clusters that look like tiny turtle shapes. Space them out so they have room to become delicious. Make sure each cluster has 3-4 pecan halves positioned to resemble a playful turtle with a head, legs, and tail.
Step 2: Craft Gooey Caramel Centers
Grab soft caramels and heavy cream. Pop them into a microwave-safe bowl and give them some warm love. Zap in short bursts, stirring between each interval, until the mixture transforms into a smooth, silky river of caramel goodness. Drizzle a generous spoonful of caramel right over the center of each pecan cluster. Let the caramel work its magic and stick those pecans together. Give it about 10 minutes to set and get cozy.
Step 3: Melt Chocolate Magic
Time to bring out the chocolate! Use a double boiler or microwave to transform your chocolate into a glossy, liquid dream. Pro tip: Add a touch of coconut oil or vegetable shortening to give your chocolate an extra stunning shine. Stir carefully and watch it melt into pure chocolate bliss.
Step 4: Chocolate Dunking Extravaganza
Cover those caramel-pecan clusters completely in melted chocolate. Use a spoon to drench each cluster or get artistic with a drizzling technique. Want an extra flavor punch? Sprinkle some sea salt flakes on top for a gourmet touch that will make taste buds dance.
Step 5: Cooling and Setting
Let your chocolate turtles chill at room temperature for about an hour. In a hurry? Pop them in the refrigerator for 15-20 minutes to speed up the setting process. Watch as they transform into solid, glossy treats.
Step 6: Store and Enjoy
Once set, transfer these delectable treats to an airtight container. They’ll happily hang out at room temperature for a week or stay fresh in the refrigerator for up to two weeks. Perfect for satisfying sudden sweet cravings or impressing friends with your culinary skills!
Tips That Help With Homemade Chocolate Turtles
Storing And Warming Up Homemade Chocolate Turtles
What Tastes Good With Homemade Chocolate Turtles
Twist Ideas For Homemade Chocolate Turtles
Homemade Chocolate Turtles Questions Answered
Chocolate turtles are delicious candy treats made with pecans, caramel, and chocolate, shaped to look like a turtle with clusters of nuts representing the head, legs, and tail.
Absolutely! While pecans are traditional, you can substitute with almonds, walnuts, or cashews to create your own unique twist on this classic candy.
No special equipment is required. You’ll just need basic kitchen tools like a microwave or double boiler, a baking sheet, parchment paper, and some measuring spoons.
These are surprisingly easy to make! Even beginner bakers can create these candies with a little patience. The process is simple and doesn’t require advanced cooking skills, making them a fun and impressive homemade treat.
Print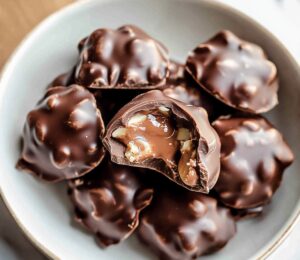
Homemade Chocolate Turtles Recipe
- Total Time: 1 hour 15 minutes
- Yield: 12 1x
Description
Irresistible chocolate turtles blend caramel, pecans, and smooth chocolate into a heavenly dessert that melts hearts instantly. Sweet indulgence meets classic comfort, promising pure delight with each delectable bite.
Ingredients
Primary Ingredients:
- 200 g (2 cups) pecan halves, lightly toasted
- 200 g (7 ounces) soft caramels
- 200 g (7 ounces) semi-sweet or milk chocolate, chopped
Additional Ingredients:
- 2 tablespoons heavy cream
- 1 teaspoon coconut oil or vegetable shortening (optional)
Garnish (Optional):
- Sea salt flakes
Instructions
- Meticulously arrange pecan halves on a parchment-lined baking sheet, creating turtle-like configurations with precise spacing between each cluster to ensure even coating and separation.
- Transform soft caramels into a luxurious, velvety sauce by gently melting them with heavy cream, using short microwave bursts and stirring until achieving a silky consistency.
- Carefully drizzle the warm caramel mixture over each pecan formation, ensuring complete coverage and allowing the nuts to adhere together seamlessly.
- Prepare the chocolate coating by melting chocolate using a double boiler technique, creating a smooth, glossy texture that will encase the caramel-pecan base.
- Generously enrobe each caramel-pecan cluster with the molten chocolate, using a delicate pouring or spooning technique to achieve full coverage.
- Optional: Sprinkle a whisper of flaky sea salt across the chocolate surface for an elevated flavor profile and elegant finishing touch.
- Allow the chocolate turtles to solidify naturally at room temperature, or expedite the process by placing them in the refrigerator for a swift setting.
- Once completely set, carefully transfer the turtles to a sealed container, preserving their texture and flavor for future enjoyment.
Notes
- Choose high-quality pecans for a rich, buttery flavor that elevates the entire turtle experience.
- Toast pecans lightly before assembling to enhance their nutty depth and create a more intense taste profile.
- Ensure caramel is not too hot when spooning over pecans to prevent spreading and maintain the turtle shape.
- Use chocolate with at least 60% cocoa content for a more sophisticated and less sweet flavor.
- Experiment with different nut variations like roasted almonds or hazelnuts for unique texture and taste.
- Keep chocolate tempered by maintaining a consistent temperature to achieve a glossy, professional-looking finish.
- Add a pinch of flaky sea salt to balance the sweetness and create a gourmet feel.
- Store turtles in a cool, dry place away from direct sunlight to prevent chocolate from melting or developing bloom.
- Prep Time: 15 minutes
- Cook Time: 1 hour
- Category: Desserts, Snacks
- Method: Mixing
- Cuisine: American
Nutrition
- Serving Size: 12
- Calories: 220
- Sugar: 18 g
- Sodium: 50 mg
- Fat: 14 g
- Saturated Fat: 6 g
- Unsaturated Fat: 8 g
- Trans Fat: 0 g
- Carbohydrates: 24 g
- Fiber: 2 g
- Protein: 3 g
- Cholesterol: 5 mg
Jenna Stewart
Head Chef & Recipe Innovator
Expertise
Farm-to-Table Cooking; Seasonal Menu Development; Visual Plating Techniques; Flavor Layering and Simple Prep Hacks.
Education
The Culinary Institute of America, Hyde Park, NY
Jenna Stewart is the inventive spirit behind many of our standout dishes at Pro of Delicious Creations. A proud graduate of The Culinary Institute of America, she built her skills mastering both classic recipes and fresh, modern twists.
Now, Jenna celebrates the beauty of seasonal, local ingredients, often sourced from her garden and nearby markets, to create recipes that are bursting with flavor yet easy to follow. When she’s not experimenting in the kitchen, Jenna loves exploring nature on hikes and discovering new treasures at local co-ops.