
Simple Peanut Butter Blossoms Recipe: Sweet Candy-Topped Joy
Soft, buttery cookies dance with chocolate in this irresistible peanut butter blossoms recipe that promises pure delight.
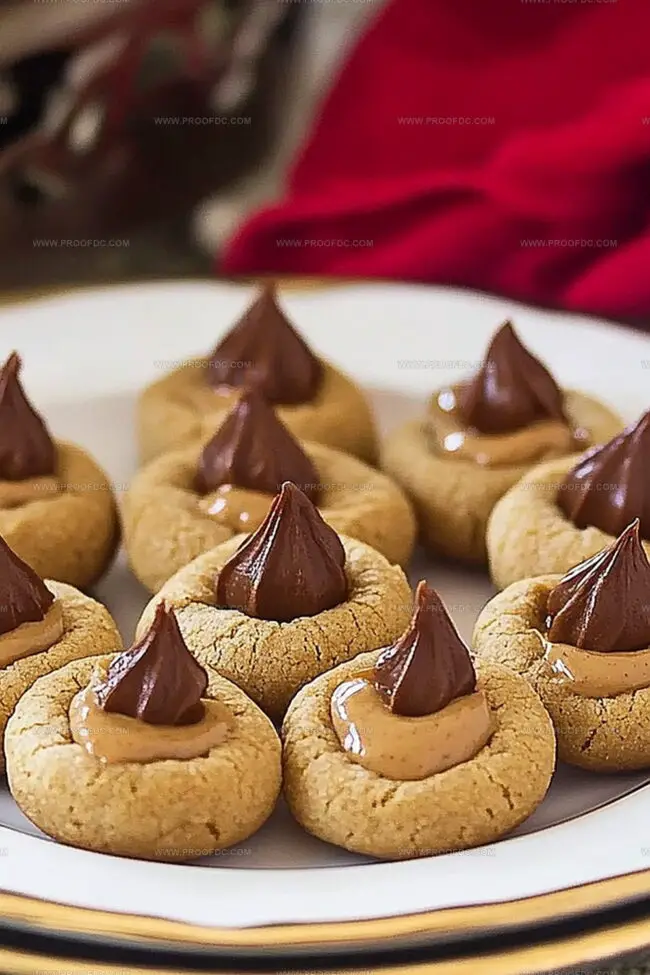
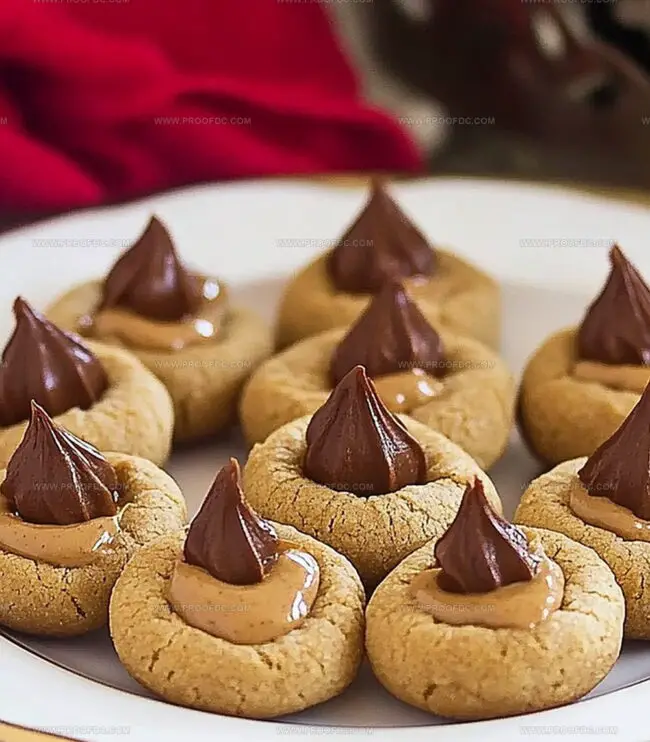
These classic treats blend rich, creamy peanut butter with a signature chocolate kiss nestled perfectly in the center.
Every bite offers a melt-in-your-mouth experience that brings back childhood memories.
The simple ingredients create magic in just a few easy steps.
Bakers of all skill levels can master these delectable cookies with confidence.
Sweet, nutty, and utterly charming, these blossoms will become an instant favorite at any gathering.
Prepare to fall in love with the most addictive cookie you’ll ever bake.
Quick Recipe Overview
What’s In Peanut Butter Blossoms
For Cookie Base:For Creamy and Sweet Elements:For Moisture and Binding:For Topping and Finishing:Tools You’ll Need For Peanut Butter Blossoms
How To Bake Peanut Butter Blossoms

Crank the oven to a toasty 375°F. Grab your baking sheets and dress them up with parchment paper for a smooth cookie experience.
Grab a big bowl and whip together butter, peanut butter, and sugars until they transform into a fluffy cloud. Splash in egg, milk, and vanilla for extra flavor. In another bowl, blend flour, baking soda, and salt.
Scoop out small dough balls and roll them in sugar. Place these sweet gems on your prepared baking sheets, giving them room to breathe.
Pop the sheets into the oven for 8-10 minutes until edges look set but centers stay soft. After pulling them out, crown each cookie with a chocolate kiss, letting them crack charmingly around the edges.
Let cookies rest on the baking sheet for a quick five minutes. Transfer to a cooling rack and get ready to enjoy these nutty, chocolatey treats that’ll make everyone smile.
Tips To Improve Peanut Butter Blossoms
Serving Peanut Butter Blossoms The Fun Way
Storage Tips For Peanut Butter Blossoms
Print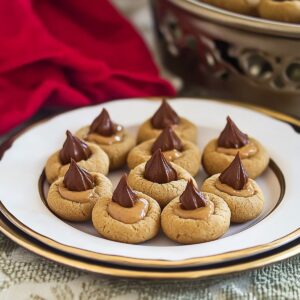
Heavenly Peanut Butter Blossoms Recipe
- Total Time: 25 minutes
- Yield: 31 1x
Description
Irresistible peanut butter blossoms bring classic cookie comfort to holiday gatherings. Chocolate kisses nestled atop buttery peanut cookies create perfect sweet moments you will savor with friends and family.
Ingredients
- 1 ¾ cups (220g / 7.8 oz) all-purpose flour
- ½ cup (115g / 4 oz) unsalted butter, softened
- ½ cup (120g / 4.2 oz) creamy peanut butter
- ½ cup (100g / 3.5 oz) granulated sugar (plus extra for rolling)
- ½ cup (110g / 3.9 oz) brown sugar, packed
- 1 large egg
- 2 tbsps milk
- 1 tsp vanilla extract
- 1 tsp baking soda
- ½ tsp salt
- 24–30 Hershey’s Kisses, unwrapped
Instructions
- Preheat Preparation: Set oven to 375F (190C) and line baking sheets with parchment paper for optimal heat circulation and effortless cookie removal.
- Creamy Fusion: Whip softened butter, peanut butter, and sugars into a light, fluffy mixture. Blend in egg, milk, and vanilla extract until completely harmonized.
- Dry Ingredient Integration: Sift together flour, baking soda, and salt, ensuring even distribution of dry components.
- Dough Formation: Carefully merge dry ingredients with wet mixture, stirring until a cohesive dough develops without overworking the batter.
- Cookie Shaping: Craft uniform dough balls, rolling each in granulated sugar to create a glistening, crystalline exterior. Arrange on prepared baking sheets with sufficient spacing.
- Baking Technique: Bake for 8-10 minutes, targeting golden-edged cookies with slightly tender centers that promise a delicate texture.
- Chocolate Embellishment: Upon removal from oven, delicately nestle a Hersheys Kiss into the center of each warm cookie, allowing the residual heat to create a subtle cracking effect around the chocolate.
- Cooling Process: Let cookies rest briefly on baking sheet, then transfer to a wire rack for complete cooling, ensuring optimal texture and preventing additional baking.
Notes
- Measure Ingredients Precisely: Use exact measurements for flour, sugar, and peanut butter to maintain the perfect cookie texture and prevent dry or overly dense results.
- Butter Temperature Matters: Ensure butter is softened but not melted, creating a smooth, creamy base that helps cookies achieve ideal consistency and even mixing.
- Kiss Placement Technique: Press chocolate kiss into warm cookies immediately after baking, but don’t push too hard – a gentle touch allows the chocolate to settle naturally without breaking.
- Make-Ahead and Storage Tips: Store cooled cookies in an airtight container at room temperature for up to 5 days, separating layers with parchment paper to prevent sticking and maintain their delicate shape.
- Prep Time: 10 minutes
- Cook Time: 15 minutes
- Category: Desserts, Snacks
- Method: Baking
- Cuisine: American
Nutrition
- Serving Size: 31
- Calories: 120
- Sugar: 8g
- Sodium: 80mg
- Fat: 6g
- Saturated Fat: 3g
- Unsaturated Fat: 2g
- Trans Fat: 0g
- Carbohydrates: 15g
- Fiber: 1g
- Protein: 3g
- Cholesterol: 10mg
Marcus Foley
Food Critic & Kitchen Coach
Expertise
Recipe Testing and Troubleshooting; Time-Saving Kitchen Hacks; Global Flavor Exploration; Engaging Food Writing and Honest Reviews.
Education
Institute of Culinary Education (ICE), New York, NY
Marcus Foley, based in Atlanta, GA, is a friendly food expert who makes cooking fun and simple.
With hands-on training from the Institute of Culinary Education and years of tasting everything from street food to fine dining, he shares easy kitchen hacks, global flavor ideas, and step-by-step recipes that turn kitchen mishaps into delicious surprises.